

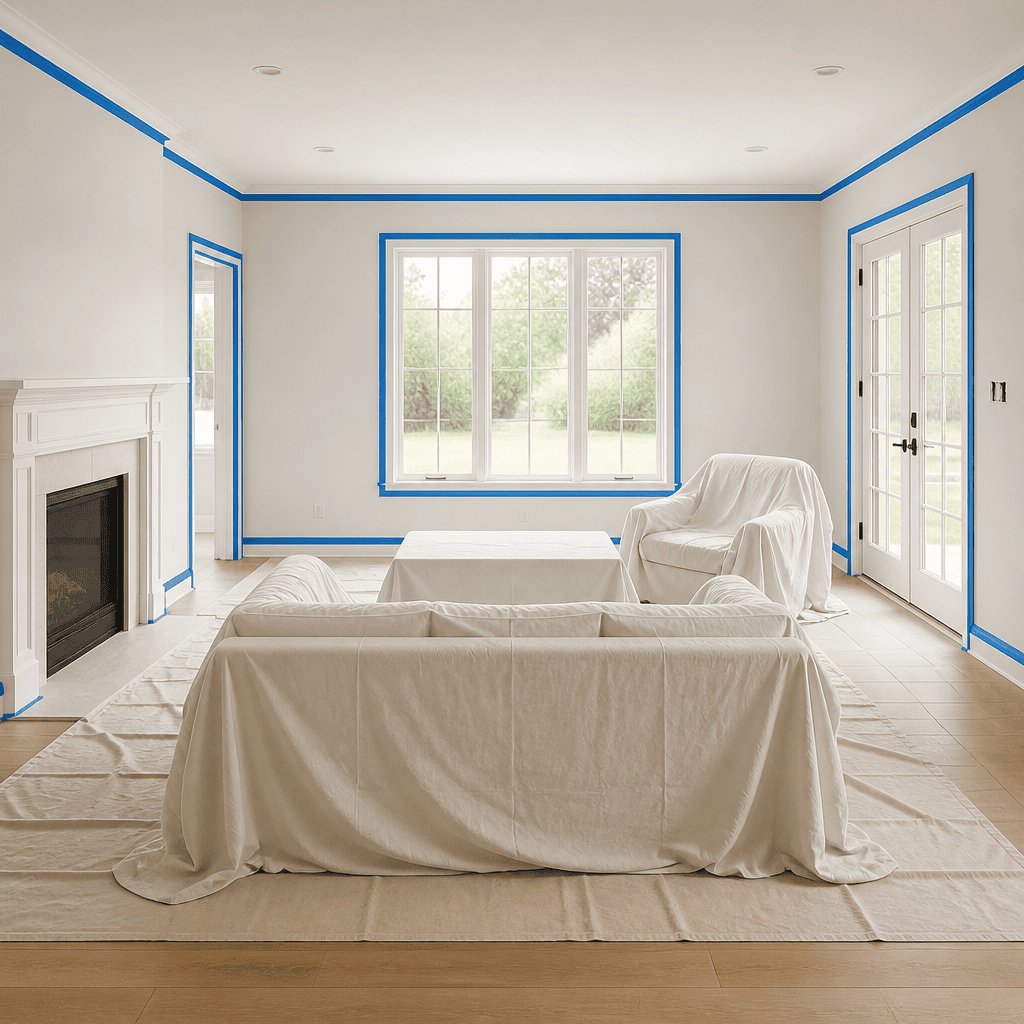
Most interior painting projects that go sideways do so before a single brush touches the wall. Skipped prep steps, last-minute furniture scrambles, and walls that were never properly cleaned or patched all add hours to the job and compromise the final result. If you are about to prepare your home for interior painting, whether you are handling it yourself or getting ready for a professional crew from a company like Dreamscape Painting to arrive, what you do in the days before painting day matters just as much as what happens on the day itself. This guide walks you through every step in the right order.
Table of Contents
- Quick Takeaways
- Clear the Room and Protect Your Belongings
- Clean Your Walls the Right Way
- Repair, Patch, and Sand Surfaces
- Prime the Walls: When and Why
- Nail Down Your Colors and Sheen Before Day One
- Interior Painting Checklist Comparison Table
- Working With Professional Interior Painters
- Frequently Asked Questions
- References
Quick Takeaways
| Key Insight | Explanation |
|---|---|
| Remove fragile and sentimental items before the crew arrives | Family photos, collectibles, and irreplaceable items should be packed into rooms not being painted. Accidents happen when painters carry ladders and extension poles through tight spaces. |
| Kitchen and bathroom walls need pre-cleaning by the homeowner | Standard painter’s prep cleaners do not cut through thick grease or active mildew. Wipe kitchen walls with a degreaser and bathroom walls with a diluted bleach solution before the crew arrives. |
| Confirm your paint colors in advance, not on painting day | Last-minute color changes delay the project and can cost extra. Test sample swatches on actual walls and observe them in different lighting conditions at least a week before the start date. |
| Surface prep determines how long the paint job lasts | Paint applied over dusty, glossy, or unrepaired walls will peel and crack within months. Cleaning, patching, sanding, and priming are what separate a two-year paint job from a ten-year one. |
| Match paint sheen to the room’s traffic level | Flat and matte finishes hide imperfections and suit low-traffic rooms and ceilings. Satin and eggshell work well in living rooms and bedrooms. Semi-gloss and gloss finishes are durable enough for trim, kitchens, and bathrooms. |
| Move large items toward the center of the room, not out entirely | Professional crews will cover centrally staged furniture with drop cloths. Trying to empty an entire room is often unnecessary and adds stress to your prep day. |
| Get clarity on what your painting company handles versus what you handle | Some crews move all furniture and patch every wall. Others expect surfaces to be client-prepped. Confirm the scope during your estimate walkthrough to avoid surprises on day one. |
Clear the Room and Protect Your Belongings
The single most useful thing you can do the day before painters arrive is to remove everything from the walls and clear the perimeter of every room being painted. Take down artwork, mirrors, shelves, switch plate covers, and outlet covers. Small decorative objects on shelves and countertops should come down too. The goal is a clean perimeter, not an empty room.
Professional painting crews will move light furniture such as dining chairs, side tables, ottomans, nightstands, and lamps away from the walls and cover everything with drop cloths. Heavy items like sofas, beds, and dressers are typically staged in the center of the room and protected. You do not need to carry your couch to another room. What you do need to do is remove anything fragile, valuable, or sentimental from every surface in the painting zone.
Roll up area rugs and move them to an unaffected room. Floors left uncovered beneath painter’s drop cloths are still at risk from foot traffic, ladder feet, and paint cans rolling off work surfaces. Getting rugs out entirely removes the risk completely.
For kitchens being painted, clear all countertops of small appliances and decorative items. If cabinet refinishing is part of the project, such as the type Dreamscape Painting offers for Fraser Valley homeowners, empty every cabinet completely before the crew arrives. This is the most time-consuming homeowner task and should be started at least two to three days in advance, not the morning of.
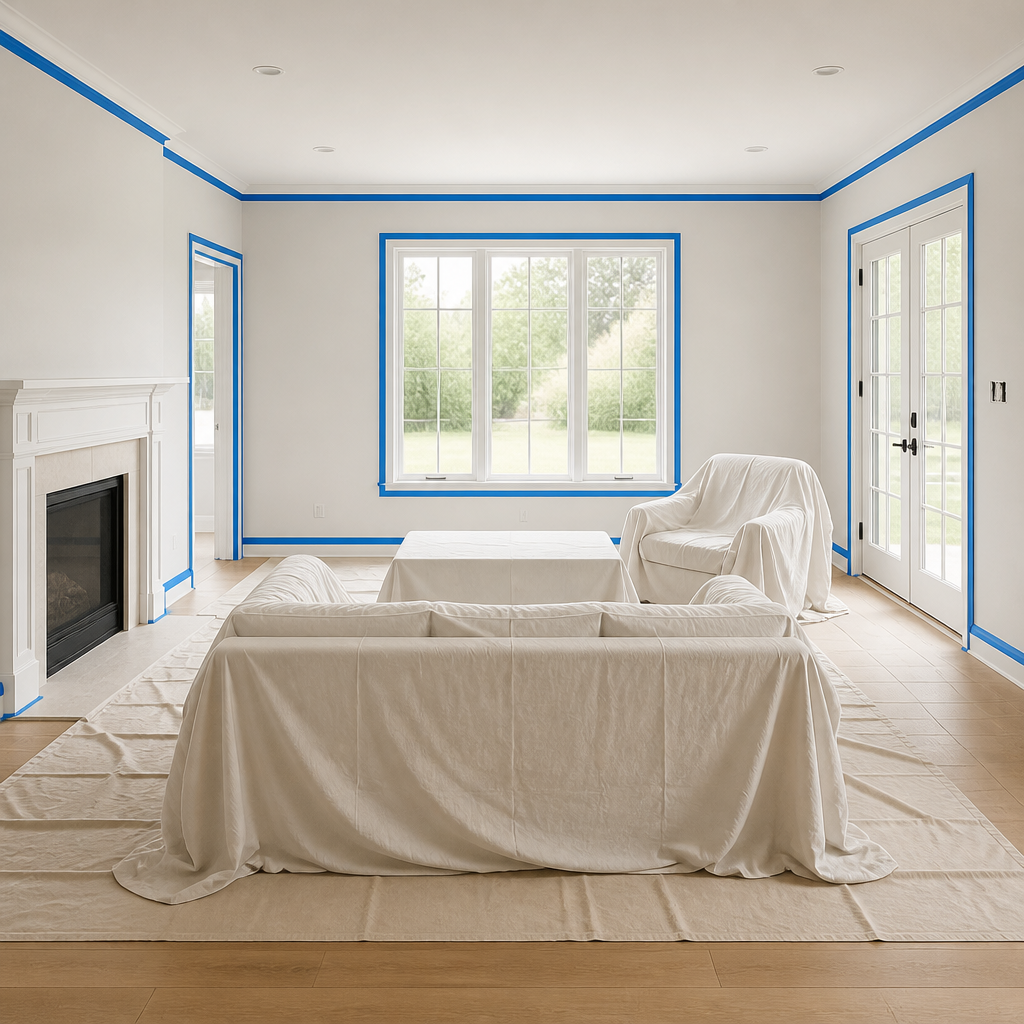
For bathrooms, remove all toiletries, towels, rugs, and personal items from countertops, shelves, and shower caddies. If only one of two bathrooms is being painted, consolidate your daily essentials into the one that is outside the project scope for the duration of the work.
Pro tip: Label all removed items and store them together in a designated room or closet. Taking before photos of each wall and bookshelf arrangement also makes reinstalling everything afterward far less guesswork.
Clean Your Walls the Right Way
This is where homeowners most often underestimate their role. Professional painters do clean walls as part of their prep process, but there are specific situations where pre-cleaning is the homeowner’s responsibility, and skipping it creates problems that no primer can fix.
Kitchen Walls With Grease Buildup
Standard painter’s prep cleaners are not formulated to cut through the thick grease film that accumulates on kitchen walls near the stove and above cooking surfaces. If your kitchen walls are glossy with cooking residue, wipe them down with a dedicated kitchen degreaser before the crew arrives. Allow the walls to dry fully before painting day. Grease left on the surface prevents paint from bonding properly, and the result is peeling within weeks.
Bathroom Walls With Mildew or Soap Scum
Active mildew that goes unpainted over will show through or continue growing beneath new paint. Before your Dreamscape Painting crew arrives for a bathroom project in Surrey, Langley, or Abbotsford, wipe affected walls with a diluted bleach solution (one part bleach to ten parts water) and allow them to dry completely. If you have persistent mildew, discuss an odor-sealing or mildew-resistant primer with your estimator during the walkthrough.
Rooms With Smoke or Heavy Odor Staining
Homes with years of cigarette smoke, heavy cooking odors, or pet-related staining need more than a standard coat of paint. Pre-cleaning with a degreaser helps primer adhesion, but you will also need a stain-blocking primer specifically designed to seal odors and tannins. Flag this clearly to your painting contractor before work begins so the right products are sourced in advance.
Pro tip: In most bedrooms, living rooms, and hallways in good condition, your professional painting crew will handle all necessary wall prep. When in doubt about whether your walls need pre-cleaning, ask during the estimate walkthrough. That conversation takes two minutes and can prevent a full day of delays.
Repair, Patch, and Sand Surfaces
The condition of your walls going into a paint job is the biggest variable in how long the result lasts. Even premium paint will fail on a poorly prepared surface. Cracks, nail pops, and rough patches do not disappear under two coats of paint. They become more visible, because fresh paint draws the eye and reveals surface inconsistencies that faded old paint was hiding.
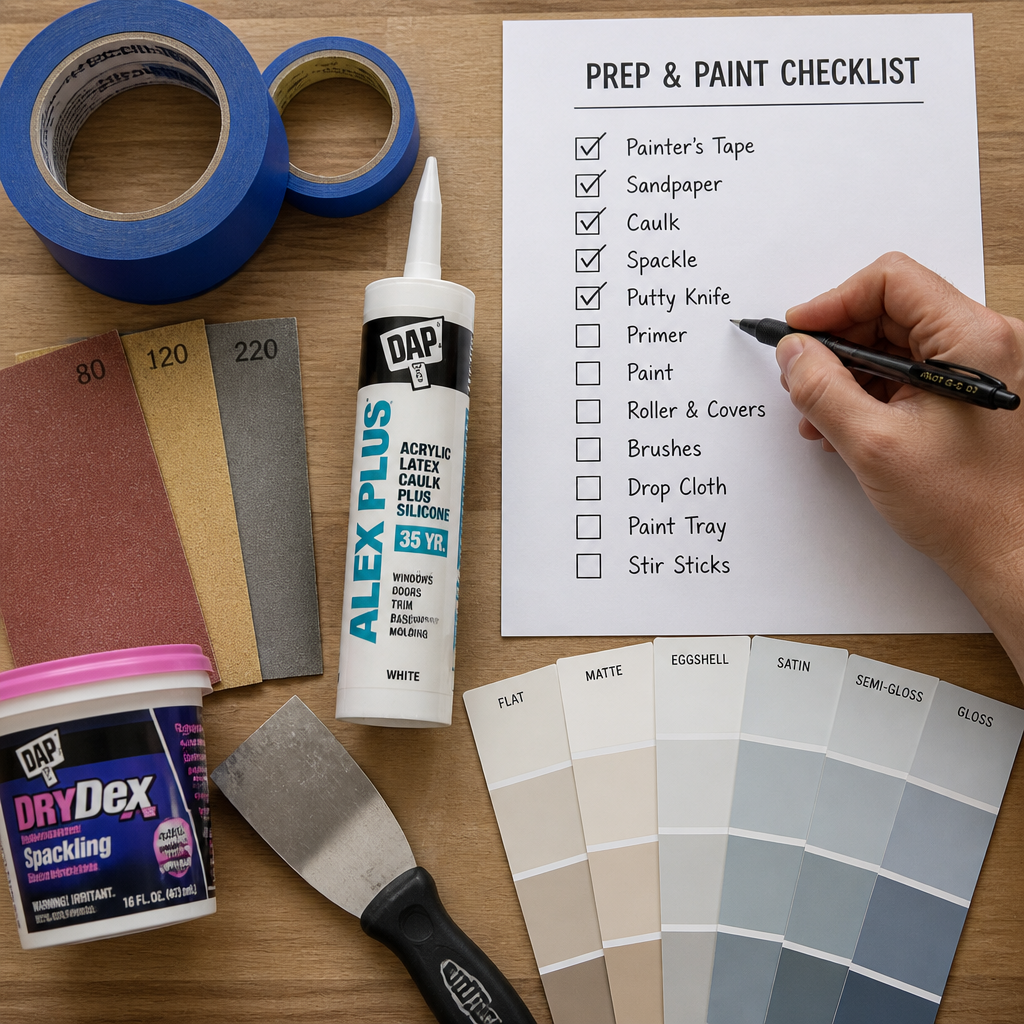
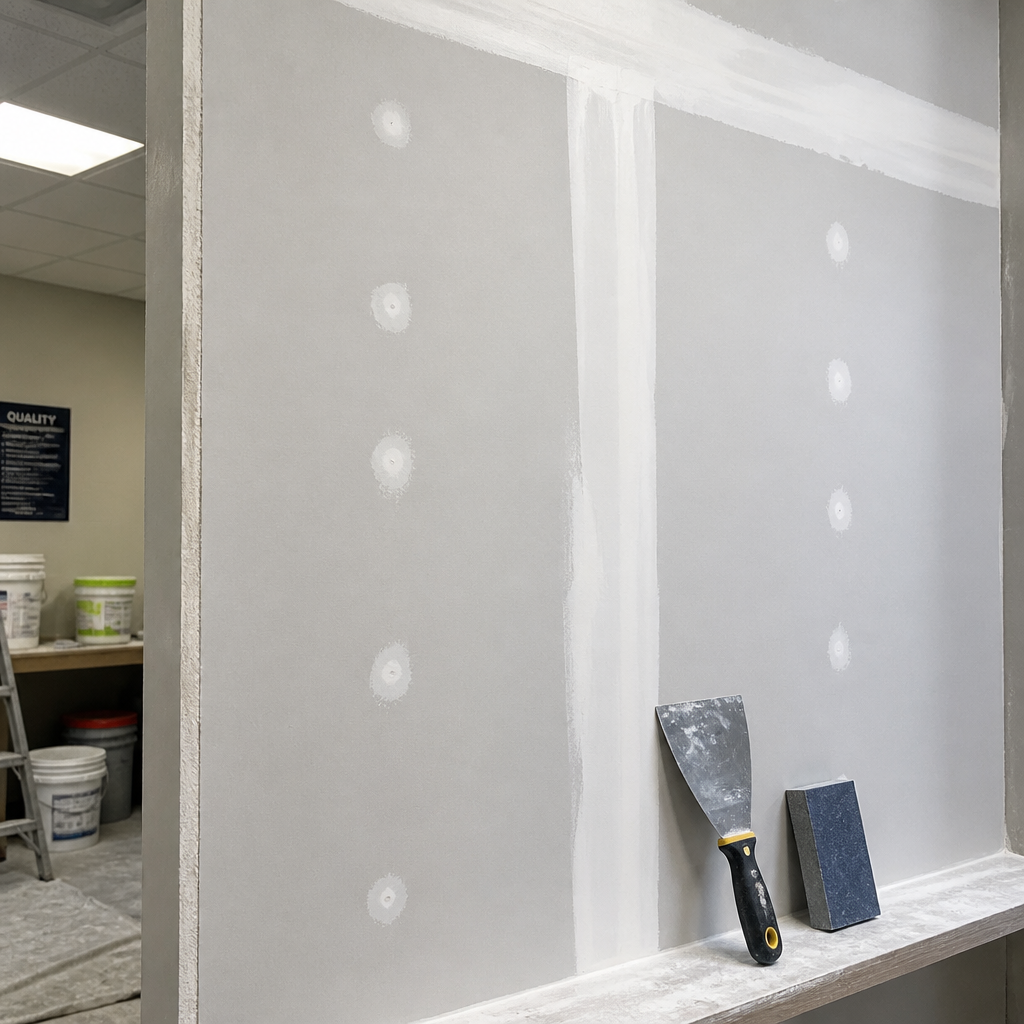
For a homeowner managing a DIY project, surface repair means filling nail holes with spackle, using a flexible filler for hairline cracks, and sanding patched areas smooth with fine-grit sandpaper once dry. Sand in a circular motion and feather the edges of each patch into the surrounding wall to avoid a visible ridge under paint.
For a professional crew, surface repair is more thorough. Trained painters spot moisture damage, uneven textures, and surface contamination that a homeowner walking through the room daily tends to tune out. They use skim coating for rough patches, bonding agents for glossy or problem surfaces, and dustless sanding tools that contain debris rather than distributing it across the room.
Skipping or rushing prep work is the fastest way to ruin an otherwise high-quality paint job. Even premium paint can fail if the surface underneath is not properly cleaned, repaired, and primed.
If you are getting a professional interior painting quote in Abbotsford or Langley, ask during the estimate whether wall repair is included in the scope or quoted separately. Some companies handle everything from patching to priming as part of their standard service. Dreamscape Painting’s experienced estimators walk through the space specifically to catch these details before a single drop cloth goes down.
Prime the Walls: When and Why
Primer is not always required, but skipping it when it is needed is one of the most common ways paint jobs fail early. The general rule is straightforward: if the surface is bare, repaired, porous, stained, or going from a dark color to a light one, prime it.
When Primer Is Non-Negotiable
Bare drywall and freshly patched areas absorb paint unevenly, which shows up as dull or flat spots in an otherwise even finish. These surfaces need primer to achieve uniform absorption before paint is applied. Similarly, if you are painting over a deep navy or charcoal wall with a lighter color, skipping primer means applying three or four coats of finish paint to achieve the same coverage that one coat of primer and two coats of topcoat would deliver more cleanly.
When You Can Skip It
In good condition walls with no staining, no recent repairs, and a color change that is relatively minor (light to medium, or same-family tones), a professional crew using quality paint may be able to achieve excellent results without a separate primer coat. Many premium paints now include primer in their formulation. Discuss this with your Dreamscape Painting estimator based on your specific wall conditions.
The wrong call on priming is almost always skipping it when it was needed. The right call saves you a callback, a re-coat, and the frustration of watching a new paint job develop uneven sheen across walls within a few months.
Nail Down Your Colors and Sheen Before Day One
Paint color selection feels like a fun, low-pressure task until painting day arrives and a homeowner changes their mind after the first wall goes up. Last-minute color changes delay projects, add product costs, and create scheduling complications that ripple through the rest of the job. Confirm your colors at least one week before the project start date.
How to Test Colors Properly
Do not trust paint chips or phone screens to represent how a color will look on your walls. Get sample pots and paint large swatches (at least 30 cm x 30 cm) directly on the walls in each room. Then observe those swatches at different times of day, under morning natural light, midday light, and evening artificial light. Colors shift dramatically between these conditions. What looks like a warm greige in afternoon sun can read as a cool taupe under LED lighting at night.
Choosing the Right Sheen for Each Room
Sheen selection is often an afterthought, but it directly affects both the appearance and durability of the finished job. Flat and matte finishes hide surface imperfections and suit low-traffic rooms and ceilings well. Satin and eggshell finishes are easy to clean and work well in living rooms and bedrooms. Semi-gloss and gloss are the right choice for trim, doors, kitchens, and bathrooms where you need a surface that can be wiped down repeatedly without losing its finish.
A common mistake is using the same sheen throughout an entire home to simplify ordering. The result is trim that blends into walls, bathrooms that are harder to keep clean, and ceilings that reflect light in a way that makes a room feel lower. Use sheen intentionally, room by room.
Interior Painting Checklist Comparison Table
Understanding what you are responsible for versus what your professional painting crew handles eliminates the most common source of friction on painting day. The table below covers three different prep approaches.
| Prep Task | DIY Painter | Homeowner Before Professional Crew | Professional Crew Responsibility |
|---|---|---|---|
| Remove wall art and shelves | Required | Required before crew arrives | Not typically included |
| Move and protect furniture | Required | Move small items; stage large items centrally | Moves light items, covers all with drop cloths |
| Clean kitchen or bathroom walls | Required | Homeowner pre-cleans grease and mildew | Standard wipe-down as part of prep |
| Patch nail holes and cracks | Required | Optional if crew includes repair scope | Included in full-service quotes |
| Sand surfaces smooth | Required | Not required | Included; professional crews use dustless tools |
| Apply primer | Required for bare or stained walls | Discuss with estimator | Applied based on surface assessment |
| Confirm paint colors and sheen | Required before buying paint | Required at least one week before start | Can assist with recommendations |
Working With Professional Interior Painters
Hiring professional interior painters in the Lower Mainland and Fraser Valley is only half the equation. The other half is communicating clearly before the project starts and setting up conditions that let the crew work efficiently from day one.
What to Clarify During Your Estimate Walkthrough
Before Dreamscape Painting’s estimators leave after your initial walkthrough, confirm a few things in writing. Ask whether wall preparation, which includes patching, sanding, and priming, is included or quoted separately. Clarify whether the crew moves furniture or whether you need to stage everything in advance. Verify the cleanup procedure so you know what the space will look like when the crew signs off at the end of each day. Get the full project scope documented before any paint is purchased.
Providing Access and a Clean Working Environment
On painting day, make sure the crew has unobstructed access to the areas being painted. This means pets secured in a room or crate away from the work zone, children’s schedules planned around the noise and restricted room access, and HVAC vents in painted rooms covered or noted for the crew. If sanding or patching has taken place before painting day, ventilate the space and contain dust so it does not settle on freshly cleaned surfaces.
For multi-room projects across a home in Langley, Abbotsford, or the broader Fraser Valley, professional painters appreciate knowing which rooms need to be completed first if scheduling matters for your household. Communicate this at the start of day one, not at the end.
Inspecting the Work Before Sign-Off
Walk through the completed project with the lead painter before signing off. Look at walls in natural light, not just under overhead lighting. Bring a flashlight and hold it at a low angle parallel to the wall surface to catch any missed spots, texture inconsistencies, or areas where the finish looks uneven. A reputable painting company will address any legitimate touch-up items before leaving. Dreamscape Painting’s crew prioritizes exactly this kind of final walkthrough as part of their standard process.
Frequently Asked Questions
How far in advance should I prepare my home before interior painters arrive?
Start two to three days before the project begins for a multi-room job. Use the first day to remove wall art, fragile items, and room-by-room clutter. Use the second day to pre-clean any kitchen or bathroom walls with grease or mildew. Leave the morning before painting day for final furniture staging. Trying to do everything the morning of slows the crew down and adds stress you do not need.
Do professional painters move furniture?
Most full-service professional painting companies, including Dreamscape Painting, will move light furniture such as chairs, lamps, and side tables away from walls and cover larger pieces with drop cloths in the center of the room. What crews typically do not move are extremely heavy items like pianos, large wardrobes, or packed bookshelves. Confirm the specifics during your estimate so there are no surprises on day one.
Should I patch my own walls before the painters arrive?
If you are getting a full-service quote that includes surface preparation, you do not need to patch your own walls. However, if your quote covers painting only, basic patching is your responsibility. The safest approach is to ask during the estimate walkthrough what the scope of included surface preparation covers. Small nail holes you patch yourself will not cause problems. Larger cracks, drywall damage, or texture repairs are better left to experienced painters who have the right tools and materials.
What paint sheen should I use for interior walls in the Lower Mainland?
For most bedrooms and living rooms in Lower Mainland homes, eggshell or satin finishes strike the right balance between durability and a clean, non-reflective look. Kitchens and bathrooms benefit from semi-gloss, which holds up to moisture and repeated cleaning. Use flat or matte for ceilings throughout the home. Trim and doors look sharpest in semi-gloss or gloss, which creates contrast against the wall color and is easy to wipe down over time.
Do I need to be home while the painters are working?
You do not need to be present the entire time, but you should be available on day one while the crew sets up, and accessible by phone throughout the project in case decisions come up. It is worth being home for the final walkthrough at the end of the job so you can inspect the work in person and request any touch-ups before the crew packs up. Leaving a list of any specific concerns or priority areas for the lead painter at the start of each day is a practical alternative if you cannot be there in person.
How long does interior painting prep typically take for a professional crew?
Professional crews with dustless sanding equipment and dedicated prep processes work significantly faster than DIY prep. For a standard room with minor repairs, prep including cleaning, patching, sanding, and masking typically takes a few hours before the first coat goes on. For rooms with significant drywall repairs, heavy texture, or stain-blocking primer requirements, prep may take most of the first day. A thorough estimate walkthrough with Dreamscape Painting’s experienced estimators will give you an accurate timeline for your specific project.
Have you recently prepared your home for an interior painting project? Share what worked well for you or what you wish you had done differently before the crew arrived.
References
- Step-by-step homeowner guide to preparing your home before professional painters arrive
- What homeowners need to do before an interior painting crew shows up
- Complete interior painting preparation checklist for homeowners hiring professionals
- How professional painters prepare interior walls for a lasting finish
- Ten practical steps for interior paint preparation

