

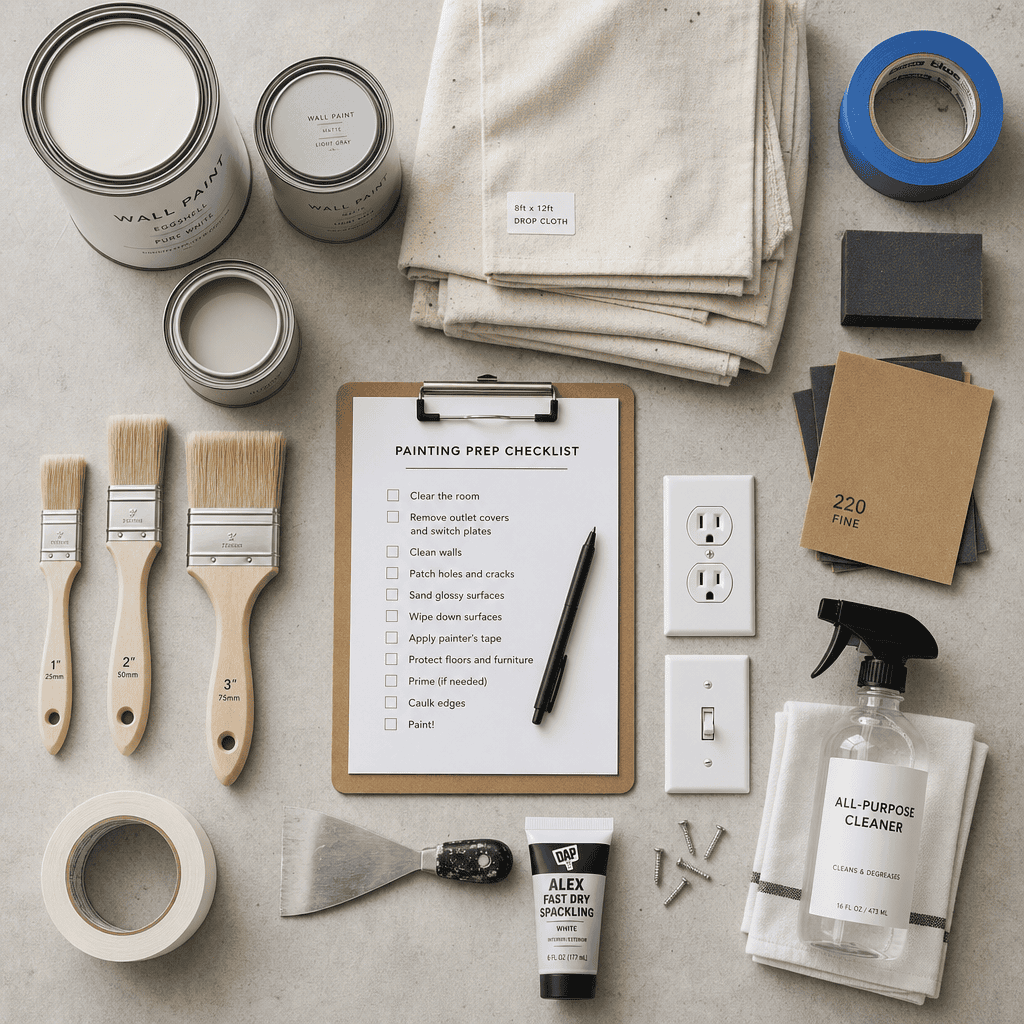
Most interior painting projects that go wrong do not fail because of the paint or the painter. They fail because of poor preparation. Surfaces that were not cleaned, furniture that was not moved, outlets that were not covered. According to the Paint Quality Institute, improper surface preparation is the leading cause of premature paint failure, accounting for more than 80 percent of all paint-related problems. If you are preparing your home for interior painting, whether you are hiring a professional team like Dreamscape Painting Ltd. or doing a portion of the work yourself, a structured room-by-room approach is the only reliable way to get results that last.
Table of Contents
- Quick Takeaways
- Why Preparation Determines the Final Result
- General Prep Steps Before Painters Arrive
- Living Room and Dining Room Prep
- Kitchen Prep: The Room Most Homeowners Underestimate
- Bedroom Prep: Protecting What Matters Most
- Bathroom Prep: Moisture and Mildew Come First
- Hallways and Stairwells: Access and Safety
- Prep Approach Comparison: DIY vs. Partial Prep vs. Full Professional Prep
- What to Expect When Professional Painters Take Over
- Frequently Asked Questions
- References
Quick Takeaways
| Key Insight | Explanation |
|---|---|
| Surface cleaning is non-negotiable | Grease, dust, and residue prevent paint adhesion. Kitchens and bathrooms need TSP or a degreaser before any primer is applied. |
| Move furniture completely, not just to the center | Furniture pushed to the middle of a room still limits roller reach near baseboards and creates safety hazards for painters moving ladders. |
| Fill holes before the painters arrive | Small nail holes, anchor holes, and drywall dings should be patched with spackle and sanded smooth. Painters can do this, but it adds to your project cost. |
| Remove outlet covers and switch plates yourself | This takes under 10 minutes per room and saves your painter significant taping time. Store screws in a labeled zip-lock bag by room. |
| Check for moisture damage before painting bathrooms or kitchens | Painting over active mold or water staining without remediation will cause the new paint to fail within months, regardless of paint quality. |
| Protect flooring with canvas drop cloths, not plastic sheeting | Plastic sheeting is slippery and does not absorb paint drips. Canvas drop cloths are the standard used by professional painters in the Lower Mainland for good reason. |
| Communicate finish and colour decisions before prep day | Last-minute colour changes after surfaces are prepped and primed waste both time and materials. Finalize selections at least 48 hours in advance. |
Why Preparation Determines the Final Result
Professional painters bring skill, tools, and quality materials to your project. But even the best interior painters in Vancouver or the Fraser Valley cannot make paint adhere properly to a greasy kitchen wall or hide a patch of mold behind a fresh coat of eggshell. The paint itself is only as good as what is underneath it.
In practice, the homes that produce the most satisfying finished results are the ones where homeowners have done their part before the crew arrives. That does not mean you need to do the painters’ job for them. It means removing personal items, clearing access, communicating clearly, and addressing obvious surface problems before primer ever touches a wall.
Dreamscape Painting has been serving the Lower Mainland since 1990, and the clearest differentiator between a smooth project and a complicated one is almost always how prepared the home was on day one.
General Prep Steps Before Painters Arrive
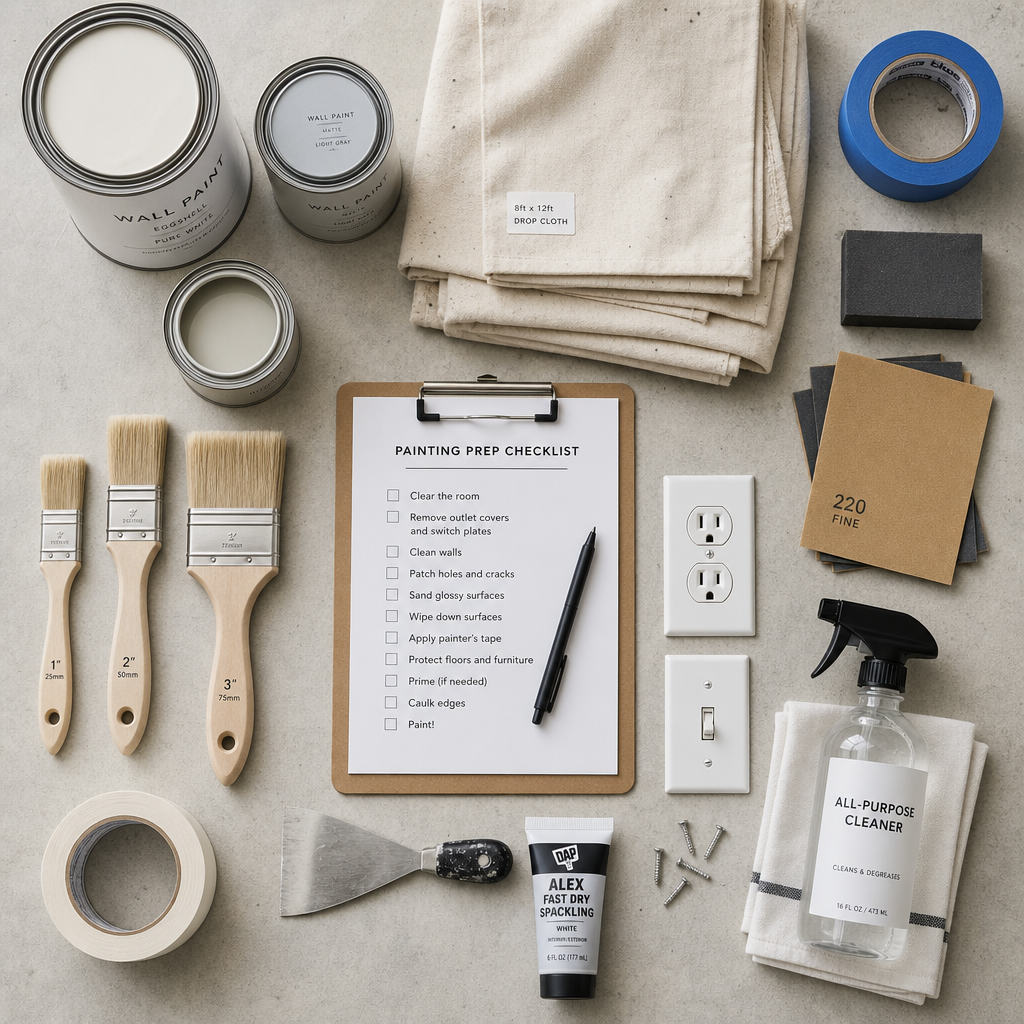
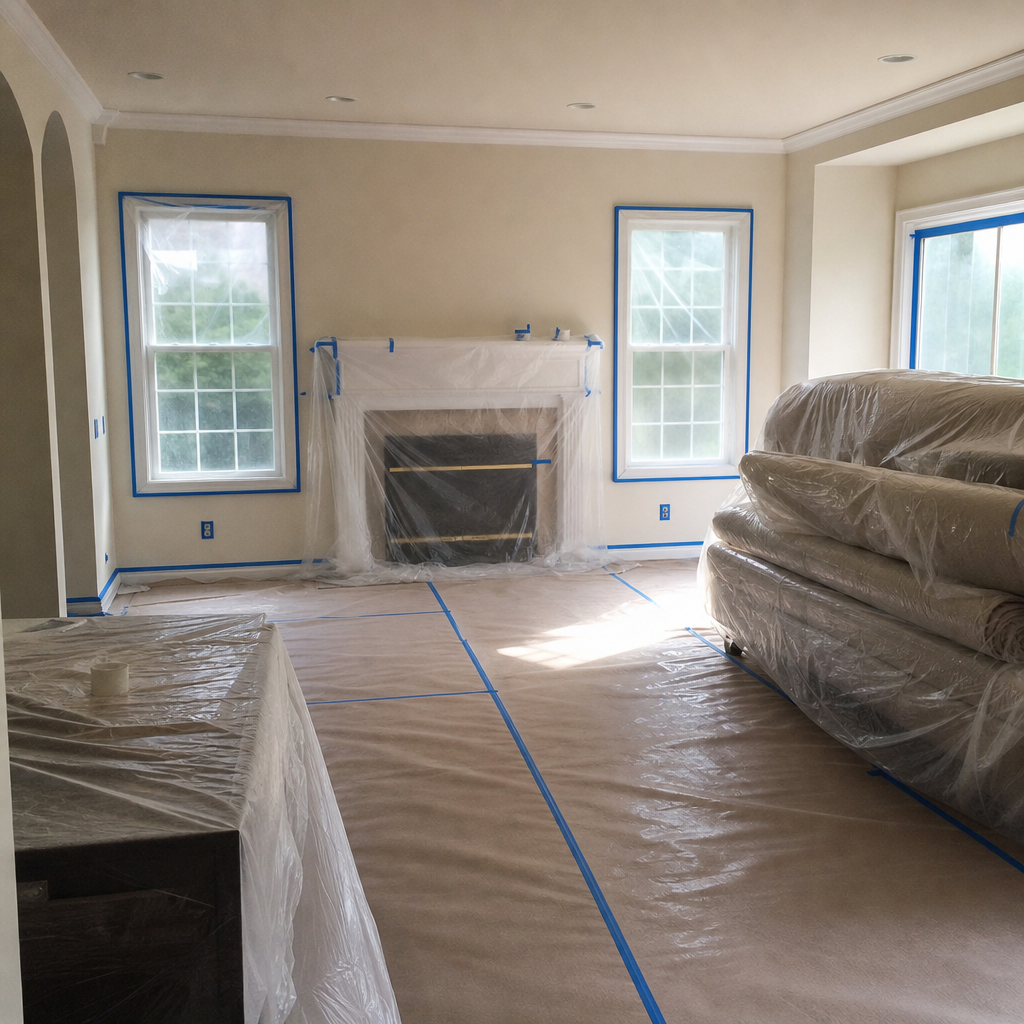
Regardless of which room is being painted, there is a core checklist that applies to every space in your home. Skipping any of these steps creates compounding problems that slow down your project and increase cost.
Remove or Relocate Valuables and Breakables
Wall art, framed photos, mirrors, and decorative shelving should come down entirely. Do not just lean them against the wall in the corner. Move them to a room that is not being painted. Paint overspray, brush splatter, and even the vibration of moving equipment can damage fragile items.
The same applies to plants. Paint fumes are not healthy for most houseplants, and a pot of soil near a freshly taped baseboard is a recipe for a mess.
Clean Walls With the Right Product
TSP (trisodium phosphate) is the industry standard for wall cleaning before painting. It removes grease, smoke residue, and surface grime that regular household cleaners leave behind. For homeowners in BC, TSP is available at most hardware stores. Mix it according to package directions, wipe down walls top to bottom, and allow them to dry completely before any painter touches them.
A common mistake is using a regular all-purpose spray cleaner and calling it done. That approach leaves a thin film on the surface that reduces paint adhesion, particularly on semi-gloss or high-gloss finishes.
Patch and Sand Before Primer Day
Nail holes, picture hook holes, and minor wall dings should be filled with spackling compound, allowed to cure, then sanded smooth and feathered out. Use 120-grit sandpaper for the initial fill and 220-grit to finish. Anything larger than about a half-inch in diameter warrants a proper drywall patch, which your painting contractor can assess during the estimate.
Pro tip: Apply two thin coats of spackle rather than one thick coat. Thick coats shrink as they dry and often leave a small depression that shows through paint, requiring a second round of patching.
Living Room and Dining Room Prep
These rooms typically have the most furniture and the most wall surface area. The prep work here sets the tone for the whole project.
Furniture Removal and Staging
Move all furniture completely out of the room if possible. If a large piece like a sectional sofa or dining table cannot be moved to another room, push it to the absolute center, away from every wall by at least four feet, and cover it with canvas drop cloths. Painters need full access to baseboards, wall-floor transitions, and ceiling lines.
Remove all light fixtures and ceiling fans if they are being repainted or if the ceiling is part of the scope. Cap wires with wire nuts and leave the breaker off for that circuit until the fixture is reinstalled. If you are unsure about this step, your painting contractor can coordinate it, but note it adds time.
Window Treatments and Hardware
Take down curtains, drapes, and blinds entirely. Leaving them up and trying to tape around them never works cleanly. Remove curtain rods and brackets as well. These are easy to reinstall and their removal allows painters to cut in cleanly along the ceiling line at every window without obstruction.
In the dining room, remove any built-in shelving contents and cover the shelves themselves. If a buffet or china cabinet cannot be moved, empty it fully before covering it.
Kitchen Prep: The Room Most Homeowners Underestimate
Kitchens are the most challenging interior space to prepare for painting, primarily because of grease accumulation. Cooking oils become airborne and settle on every wall surface over time. Even in kitchens that are cleaned regularly, there is a thin greasy film on the walls that is invisible to the eye but devastating to paint adhesion.
Degreasing Kitchen Walls
Use a TSP solution or a commercial degreaser specifically rated for kitchen surfaces. Pay particular attention to the wall behind and beside the stove, the wall above the stove if there is no range hood extending to the ceiling, and any wall within three feet of the cooking area. These zones accumulate the most residue.
Rinse the walls after degreasing with clean water and allow at least 24 hours of drying time before primer is applied. In BC’s wetter months, proper ventilation during this drying period makes a significant difference.
Clearing Countertops and Appliances
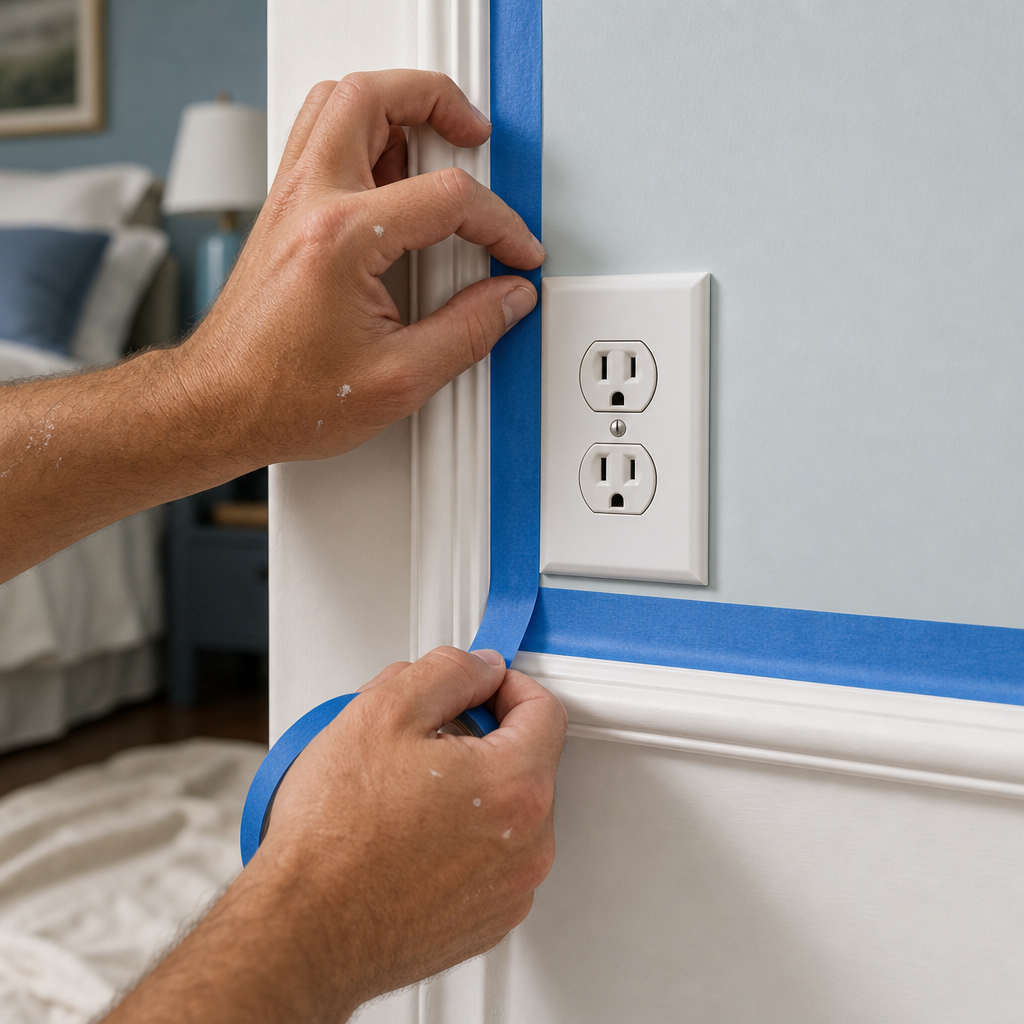
Everything on the countertops needs to come off. Small appliances, knife blocks, coffee makers, dish racks. Cover countertops with plastic sheeting taped at the edges, then lay a canvas drop cloth over that. Appliances that cannot be moved should be covered tightly with plastic and taped at every seam.
If your kitchen includes open shelving, remove all items from those shelves. Cover the empty shelves with painter’s tape and paper before the crew arrives.
Pro tip: If your kitchen painting project includes cabinet refinishing, which Dreamscape Painting specializes in, the cabinet prep process is entirely separate from wall prep. Cabinet doors and drawer fronts are typically removed, cleaned with a specialty degreaser, lightly sanded, and primed before any finish coat is applied. Do not attempt to prep cabinets the same way you prep walls.
Bedroom Prep: Protecting What Matters Most
Bedrooms are usually the easiest rooms to prep because they have less built-in surface complexity than kitchens or bathrooms. The main challenge is the volume of personal belongings and the importance of protecting textiles from paint fumes and overspray.
Clearing the Room for Full Wall Access
Move the bed frame and mattress to another room if possible. If the bedroom is large enough, push the mattress upright against the far wall and cover it with canvas drop cloths. Dressers, nightstands, and wardrobes should either leave the room or move to the center.
Remove all wall-mounted items including shelves, mirrors, and artwork. Take down any hooks or hardware and fill those holes before the painters arrive. Patch and sand as described in the general prep section above.
Protecting Closet Contents
If closet interiors are being painted, empty them completely. Clothing and soft furnishings absorb paint odors more than any other material in a room, and even low-VOC paints have a detectable smell during application. If closet interiors are not part of the scope, close the closet doors and tape a layer of plastic sheeting across the bottom gap.
Children’s rooms deserve extra care. Remove all toys from shelves and bins, and consider relocating children to another sleeping area during painting. Low-VOC and zero-VOC paints are widely available and recommended for children’s spaces. Ask your painter about specific product options before the project begins.
Bathroom Prep: Moisture and Mildew Come First
Bathrooms require a different kind of preparation than any other room in the house. The combination of high humidity, temperature fluctuations, and limited ventilation means that paint failures in bathrooms almost always trace back to moisture problems that were not addressed before painting started.
Inspect for Mold and Water Damage Before Anything Else
Look at the ceiling above the shower and tub surround. Check the wall behind the toilet. Examine the wall under the window if there is one. Any dark spotting, discoloration, soft drywall, or peeling existing paint is a red flag. Do not paint over active mold. Mold must be remediated first, the source of moisture identified and fixed, and the surface allowed to fully dry before any coating is applied.
According to Health Canada, mold in residential spaces poses health risks and should be addressed by qualified professionals for areas larger than one square meter. For small surface mold on non-porous surfaces, a diluted bleach solution followed by thorough drying is the standard approach. Consult your painting contractor if you are unsure of the extent of the problem.
Removing Bathroom Fixtures and Hardware
Take down towel bars, toilet paper holders, robe hooks, and any decorative hardware. These items are always easier to remove than to tape around, and the finished result is far cleaner. Store all hardware and screws in a labeled bag so reinstallation is quick.
Cover the toilet, vanity, and any freestanding storage units with canvas or plastic. Tape plastic sheeting tightly over any mirrors that are not being removed.
Hallways and Stairwells: Access and Safety
Hallways and stairwells are frequently underestimated in terms of prep complexity. They are narrow, high-traffic zones where painters need to move ladders and extension poles safely while maintaining clean cut lines on multiple intersecting surfaces.
Clearing the Path for Ladder Work
Remove all wall art, mirrors, and decorative items from hallway walls entirely. In stairwells, this means removing every single frame from the staircase wall gallery that many homeowners use. This is not optional. Working around hung items in a stairwell while managing an extension ladder is a safety hazard.
Ensure the flooring in hallways and at the base of staircases is covered with canvas drop cloths that are taped securely at the edges. A slipping drop cloth in a stairwell is dangerous for everyone involved.
Protecting Adjacent Rooms During Hallway Painting
Because hallways connect every room, fumes and airborne particles travel easily. If rooms adjacent to the hallway are not being painted and contain sensitive items, close those doors and place a rolled towel or foam draft stopper at the base to limit fume transfer.
Prep Approach Comparison: DIY vs. Partial Prep vs. Full Professional Prep
Homeowners in Surrey, Langley, Abbotsford, and across the Lower Mainland often ask how much preparation they need to do themselves versus what a professional painting company handles. The honest answer is that it depends on what is included in your contract, but here is a direct comparison of three common approaches.
| Prep Approach | What It Includes | Best For |
|---|---|---|
| Homeowner DIY Prep | Homeowner removes furniture, cleans walls, patches holes, removes hardware, covers floors. Painters arrive to prime and paint only. | Budget-conscious projects where the homeowner has time and is comfortable doing prep work correctly. Works well when surfaces are in good condition. |
| Partial Prep by Homeowner | Homeowner moves furniture and removes personal items. Painters handle cleaning, patching, sanding, priming, and painting. Most common arrangement. | Most residential projects. Divides responsibility logically. Painters catch prep issues the homeowner might miss. Adds modest cost versus full DIY prep. |
| Full Professional Prep | Painting company handles all prep including furniture protection, surface cleaning, patching, caulking, priming, and painting. Homeowner only needs to vacate the space. | Occupied homes with complex schedules, elderly or mobility-limited homeowners, high-end projects, or commercial spaces where disruption must be minimized. |
“The difference between a paint job that lasts five years and one that lasts fifteen is almost never the paint. It is the preparation. Primers, patching, and cleaning are where durability is built.” – Bob Vila, home improvement authority and longtime advocate for professional surface preparation standards.
What to Expect When Professional Painters Take Over
Once your home is prepped and the Dreamscape Painting crew arrives, there is a clear sequence of work that experienced interior painters follow. Understanding this sequence helps you plan your schedule and avoid interrupting the work at critical stages.
The Sequence: Protection, Prime, Paint
Professional painters begin by protecting everything that is not being painted. Drop cloths go down on all flooring, plastic is applied to remaining furniture, and all trim edges that border a different colour get taped. This protection phase typically takes 30 to 60 minutes per room depending on complexity.
Priming follows surface cleaning and any final patching. In most residential projects in BC, a quality PVA primer or a high-hide primer on repaired areas ensures the finish coat applies evenly and achieves full coverage in the specified number of coats. Skipping primer on patched areas is one of the most common shortcuts that produces uneven sheen, which becomes visible in raking light.
Drying Times and Re-entry
Most interior latex paints reach a touch-dry state within one to two hours, but full cure takes 30 days. Rooms should not be reoccupied with furniture immediately after the final coat. A minimum of 24 hours before returning furniture to a freshly painted room is standard practice. For high-humidity spaces like bathrooms, wait 48 to 72 hours before reinstalling hardware and resuming normal use.
Ventilate painted rooms as aggressively as possible during the first 24 hours. Open windows, run fans set to exhaust, and keep interior doors open to move air through the space. This accelerates off-gassing and shortens the time before the room feels fully comfortable again.
Pro tip: Take a photo of every room before the crew starts work. This gives you a clear reference point for reinstalling art, hardware, and furniture in the same positions after the project is complete, and it documents the pre-painting condition of the space.
Frequently Asked Questions
How far in advance should I start preparing my home for interior painting?
Start at least 48 to 72 hours before the painters arrive. That gives you enough time to move furniture, clean walls, patch holes, allow patches to cure and dry, and handle any last-minute issues like mold spots or damaged drywall. Rushing prep to the morning of the project almost always results in at least one room being not fully ready, which delays the crew and increases your cost.
Do I need to empty my closets before interior painters arrive?
Only if the closet interiors are being painted. If closets are not part of the scope, simply close the doors and tape plastic sheeting across the bottom gap to block paint fumes from settling on clothing. However, if closet walls are part of the project, everything must come out. Paint fumes absorbed by clothing are difficult to remove and some fabrics hold odors for weeks.
Should I buy the paint myself or let my painting contractor supply it?
In most cases, letting your professional painter supply the paint is the better choice. Experienced painting companies like Dreamscape Painting have trade accounts with suppliers, access to professional-grade products not available at retail, and the expertise to select the right sheen and formulation for each surface. If you have a strong preference for a specific brand or colour line, communicate that during the estimate and your contractor can work with those preferences.
What is the difference between paint prep for walls versus prep for cabinets?
Cabinet refinishing requires significantly more intensive preparation than wall painting. Cabinet surfaces need to be degreased with a specialty product, lightly scuff-sanded to create adhesion, wiped clean of all dust, and primed with a bonding primer before any finish coat is applied. Doors and drawer fronts are typically removed and sprayed separately for a smooth factory-like finish. Wall prep is comparatively straightforward. Do not apply wall painting prep standards to cabinet refinishing and expect professional results.
Can I stay in my home while interior painting is happening?
Yes, in most cases. Professional interior painting does not require you to vacate your home entirely, though it is helpful to stay out of the rooms actively being worked on. Low-VOC and zero-VOC paint formulations have significantly reduced the health concerns associated with staying in an occupied painted home. That said, anyone with respiratory sensitivities, young children, or pets should consider spending the first full day of painting elsewhere, particularly during priming when VOC levels tend to peak.
How do I protect hardwood floors during an interior painting project?
Use canvas drop cloths, not plastic sheeting. Canvas absorbs paint drips, does not shift underfoot, and does not create a slip hazard the way plastic does. Tape the drop cloth edges at the baseboard line to prevent paint from wicking underneath at the wall-floor junction. For high-traffic pathways through the home, overlap multiple cloths and tape them together. Professional painters use canvas as the standard for this reason.
Have you recently prepped your home for a painting project? We would love to hear what worked for you and what you wish you had done differently before the painters arrived.
References
- Health Canada official guidance on residential mold assessment and remediation standards
- U.S. Environmental Protection Agency resources on indoor air quality and VOC exposure in residential painting projects
- Forbes home improvement editorial coverage of professional painting standards and surface preparation best practices
- Statista data and statistics on the residential painting services industry in North America
- InterNACHI professional inspection standards for identifying pre-paint surface defects including moisture damage and mold

