

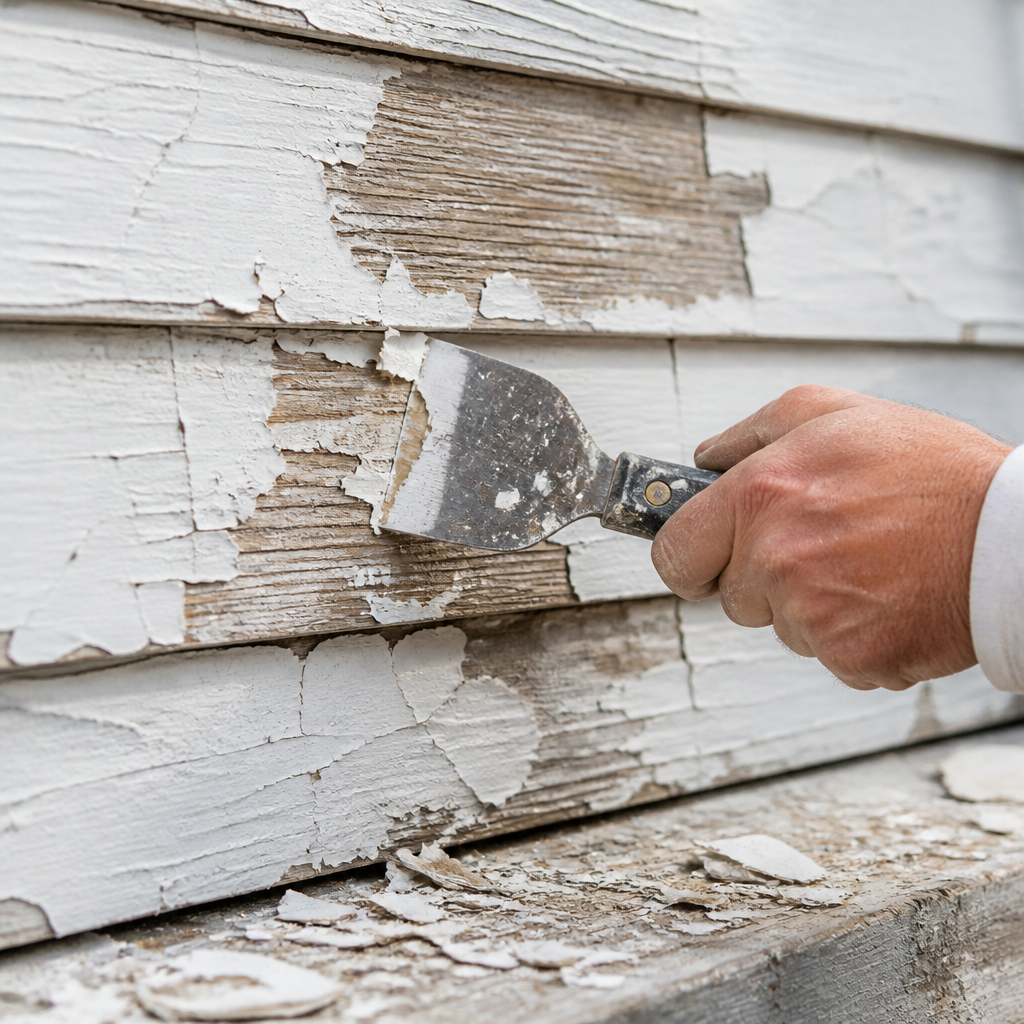
Most exterior painting problems do not start with the wrong colour or the wrong brand of paint. They start well before a brush or roller ever touches the siding. Homeowners across Abbotsford, Langley, Surrey, and the wider Fraser Valley attempt exterior repaints every season, and a predictable set of exterior painting mistakes keeps showing up: peeling finishes, lap marks, blistering coats, and paint that fails within two or three seasons instead of lasting a decade. After 35 years painting homes across the Lower Mainland, the team at Dreamscape Painting Ltd. has seen every version of these errors. This guide names the five most common ones and tells you exactly how to avoid them.
Table of Contents
- Quick Takeaways
- Mistake 1: Skipping Surface Preparation
- Mistake 2: Painting in the Wrong Weather
- Mistake 3: Skipping Primer
- Mistake 4: Using Low-Quality Paint
- Mistake 5: Wrong Application Technique
- DIY vs. Professional: A Realistic Comparison
- Frequently Asked Questions
- References
Quick Takeaways
| Key Insight | Explanation |
|---|---|
| Surface prep is the majority of the job | Cleaning, scraping, sanding, caulking, and priming determine how long paint lasts. Rushing this step is the single costliest DIY painting problem. |
| Weather windows in the Fraser Valley are narrow | The Lower Mainland’s reliable dry season runs from roughly late May through September. Painting outside this window risks adhesion failure, slow curing, and blistering. |
| Primer is not optional on bare wood or patched surfaces | “Paint-and-primer-in-one” products do not replace a dedicated primer coat on bare wood, repaired stucco, or new caulk lines. Skipping it shortens paint life noticeably. |
| Cheap paint costs more in the long run | Bargain-bin exterior paint contains more filler and less resin, meaning less adhesion, faster fading, and a repaint cycle measured in years rather than a decade. |
| Too much pressure creates streaks, not coverage | Applying paint with a heavily loaded brush or excessive roller pressure pushes paint to the edges and creates an uneven, streaky finish that is difficult to fix once dry. |
| Lap marks come from losing the wet edge | Painting too slowly, or breaking off mid-wall, allows the leading edge to dry before the next stroke overlaps it. The result is a visible ridge that does not sand out easily. |
| Professional painters account for all five mistakes simultaneously | Experienced exterior painters in Abbotsford and the Lower Mainland manage prep, weather timing, primer, product selection, and technique as one coordinated process, not five separate tasks. |
Mistake 1: Skipping Surface Preparation
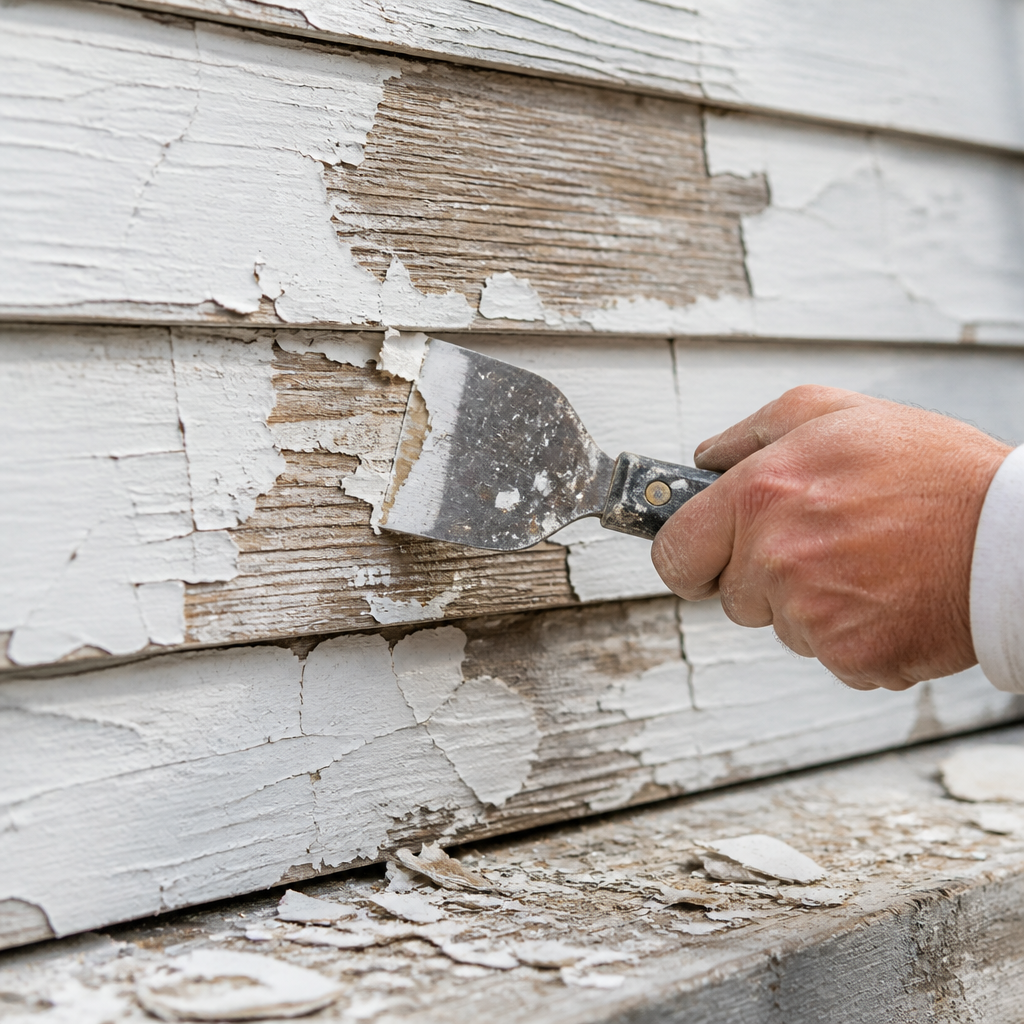
This is the most common and most expensive of all exterior painting mistakes. Paint is not a filler. It does not bond to dirt, mildew, chalky residue, or loose existing paint. When a homeowner skips or rushes prep, the new coat looks fine for a few months, then starts peeling from underneath as the compromised surface beneath it continues to degrade.
Proper surface preparation for a Lower Mainland home includes pressure washing the entire exterior to remove dirt, mould, and mildew, scraping away every section of loose or flaking paint, sanding rough edges smooth, repairing any rot or damaged wood, filling cracks and gaps with a quality exterior caulk, and spot-priming bare or repaired areas before any topcoat goes on. On an average Fraser Valley home, this process alone can take one to two full days before a single drop of topcoat is applied.
The temptation to skip steps is understandable when you are standing at the bottom of a ladder on a warm July morning wanting to get the colour on the wall. Resist it. A paint job with poor prep will fail in two to three years. A properly prepped surface supports a finish that lasts eight to twelve years.
Pro tip: Pay close attention to caulk lines around window frames, door trim, and where siding meets fascia boards. These joints are where water gets in. If the caulk is cracked, crumbling, or pulling away, remove it completely and replace it before painting. Painting over failing caulk does not seal it.
Mistake 2: Painting in the Wrong Weather
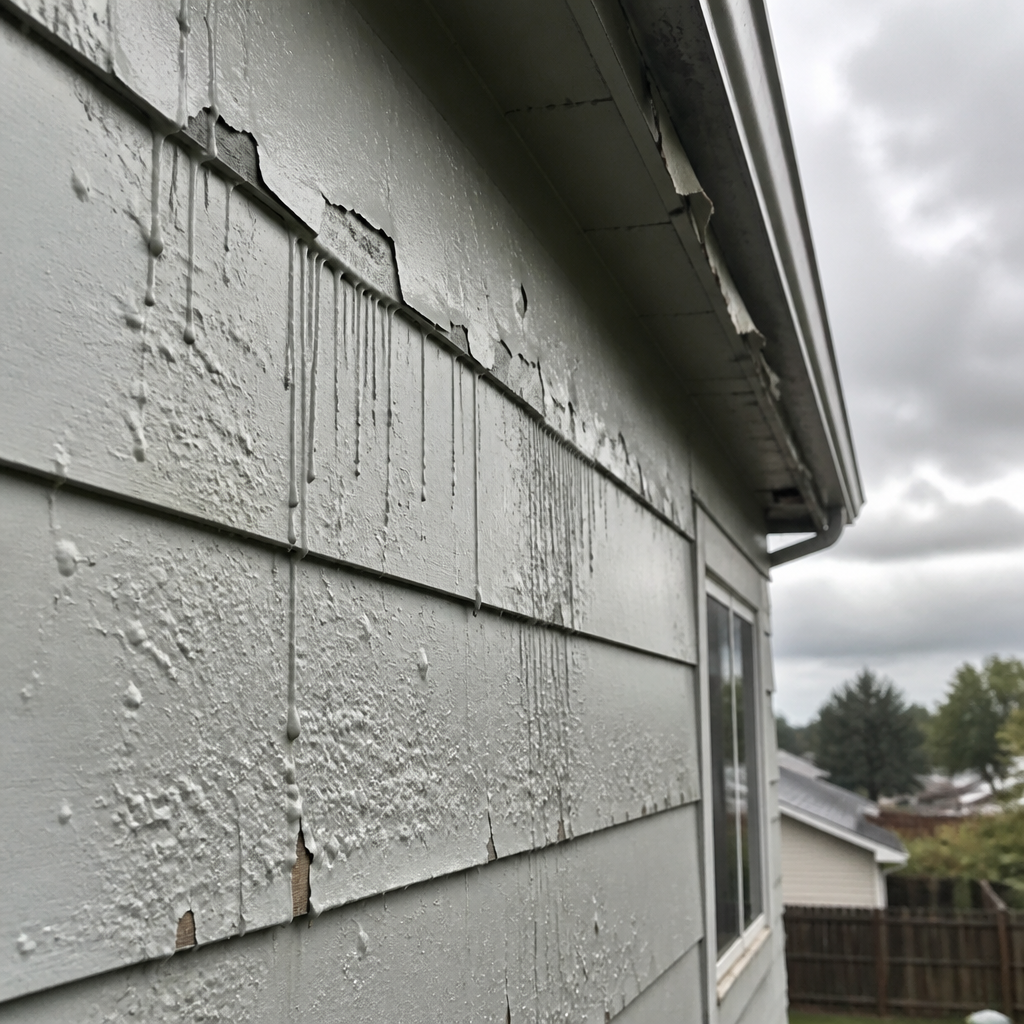
Weather is not a minor factor in exterior painting. It is one of the primary variables that determines whether a paint job lasts or fails. The Fraser Valley and Lower Mainland have a climate that is genuinely challenging for exterior painters. Most of the year, the region is cool and wet. Humidity runs high from October through April, and even during the summer, early mornings can carry enough dew to prevent proper paint adhesion if you start too early.
What Goes Wrong in Poor Conditions
When temperatures drop below roughly 10 degrees Celsius, latex and acrylic exterior paints do not form a proper film. The paint goes on but does not cure correctly, leaving a soft, porous coating that will crack and peel far ahead of schedule. On the other end of the scale, painting in direct summer sun above 30 degrees Celsius causes the surface layer to skin over before solvents can escape from underneath. The result is blistering.
Painting before rain is an obvious problem, but many homeowners underestimate how soon after rain a surface needs to be dry before it can accept paint. Even if the sky is clear, a surface that was rained on the night before may hold enough residual moisture in wood grain or stucco pores to cause adhesion failure.
The Lower Mainland’s Reliable Window
The dependable exterior painting window in the Lower Mainland runs from late May through the end of September. July and August offer the most consistent conditions, with lower humidity, warmer temperatures, and shorter rain events. This does not mean painting is impossible outside those months, but it requires careful weather monitoring and a willingness to pause when conditions are not right.
The best exterior paint job starts with the right day, not just the right paint. Applying a premium product in poor conditions will always underperform a standard product applied in ideal ones.
Pro tip: Check the forecast for at least 48 hours ahead, not just the current day. Avoid painting in the early morning when dew is present on the surface, and stop application a few hours before sunset to allow enough dry time before overnight temperatures drop.
Mistake 3: Skipping Primer
Primer is not decorative. It is a bonding and sealing layer that prepares the surface to accept and hold the topcoat. When homeowners skip it on bare wood, newly patched stucco, or fresh caulk, the topcoat absorbs unevenly, leaving areas that look dull or blotchy. Worse, without primer, the topcoat has weaker adhesion and will begin to fail sooner.
The “paint and primer in one” category has grown significantly in recent years, and these products do perform well on surfaces that are already in good shape, properly cleaned, and covered with an existing paint layer. They are not a substitute when you are dealing with bare wood, a stained surface, a significant colour change from dark to light, or any area where the existing surface has been repaired. In these cases, a dedicated primer coat is the correct approach.
Why Bare Wood Especially Needs Primer
Bare or exposed wood is highly absorbent. Without a sealing primer layer, the wood will soak up the topcoat unevenly, consuming far more paint than expected and still leaving an inconsistent sheen. A quality oil-based or shellac-based primer on bare or tannin-rich wood seals the surface and gives the topcoat a stable, even base to grip.
On the BC coast, mould and mildew are a persistent concern. Many professional painters use a primer with mould-inhibiting properties on surfaces that have had previous mould growth. Painting over mould-stained wood without treating the surface first means the discolouration will bleed through the topcoat within months.
Mistake 4: Using Low-Quality Paint
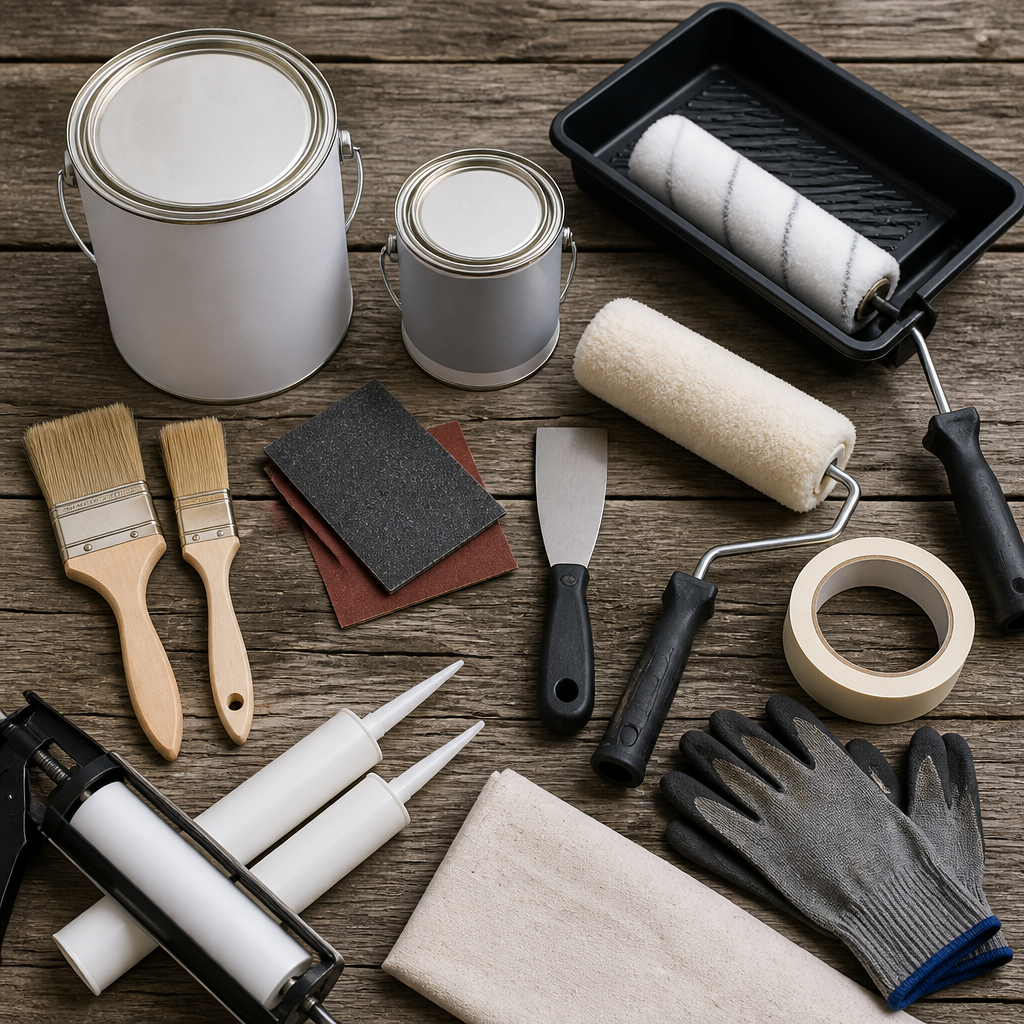
This is the mistake that looks like savings on the day of purchase and reveals itself as a loss within a few seasons. Budget exterior paint contains a higher proportion of filler and a lower proportion of the resins, pigments, and binders that actually make paint stick, flex, and resist UV and moisture. The coverage is thinner, meaning you use more of it to achieve opacity. The adhesion is weaker, meaning it fails sooner. The colour retention is poor, meaning it fades noticeably before the finish itself breaks down.
Premium 100% acrylic latex exterior paint costs more per litre, but it covers more surface area per coat, flexes with the seasonal expansion and contraction of wood and stucco rather than cracking, resists mildew, and retains colour significantly longer. A quality exterior repaint with proper prep and a premium product on a Fraser Valley home should last eight to twelve years. A budget paint job on the same home might look worn in three to five years, forcing an earlier repaint cycle that eliminates any initial savings.
The other quality issue homeowners overlook is paint age. Paint has a shelf life. Old or improperly stored paint can separate, grow bacteria, or lose its binding properties. Using paint left over from a garage storage project two or three summers ago is a gamble that rarely pays off on an exterior application.
Mistake 5: Wrong Application Technique
Even with a clean surface, proper primer, and quality paint, the application itself can undermine the result. The two most common technique problems among DIY painters are applying too much pressure and losing the wet edge.
Too Much Pressure and Uneven Loading
When a roller or brush is pressed too hard against the surface, paint is pushed to the edges of the tool rather than deposited evenly across the surface. The result is a streaky, uneven finish that looks inconsistent in different light and does not provide uniform film thickness. On a vertical exterior surface, excessive brush loading also causes runs and drips that dry before the painter notices them.
The correct approach is to load the brush or roller properly, apply with moderate and even pressure, and work methodically. On textured surfaces like stucco or rough cedar siding, a thicker roller nap is necessary to get paint into the surface texture rather than just across the high points.
Losing the Wet Edge
Lap marks are one of the most visible signs of a DIY paint job, and they are almost entirely caused by losing the wet edge. When you paint one section of a wall, then take a break, then start a new section, the edge of the first section has dried by the time the brush overlaps it. The two wet-dry boundary creates a ridge that shows clearly once the paint cures. Maintaining a wet edge means working quickly enough that each new stroke overlaps the previous one before it begins to dry, working in manageable sections, and not stopping mid-wall.
Pro tip: On a hot day, work on shaded elevations first. Direct sun accelerates drying so aggressively that maintaining a wet edge becomes difficult even for experienced painters. Move around the house with the shade, and save the sun-facing walls for later in the afternoon when temperatures start to ease.
DIY vs. Professional: A Realistic Comparison
Not every homeowner is in a position to hire professional exterior painters, and not every exterior painting job demands one. But the comparison below is worth reading honestly before deciding how to proceed. The gap between a well-executed professional result and a typical DIY outcome is wider than most homeowners expect before they start.
| Factor | Typical DIY Approach | Professional Exterior Painters (Abbotsford / Lower Mainland) |
|---|---|---|
| Surface preparation | Often rushed or partially completed; pressure washing done but scraping and caulking shortcuts taken | Full pressure wash, scrape, sand, caulk all penetrations, repair rot, and spot-prime before any topcoat |
| Weather monitoring | Typically based on the current day’s forecast; projects often proceed in marginal conditions to stay on schedule | 48-72 hour forecast monitoring; work paused when temperature, humidity, or rain risk falls outside acceptable range |
| Primer use | Often skipped on repaired areas or treated as optional; paint-and-primer products used on surfaces where they are not sufficient | Dedicated primer applied to all bare wood, patches, stains, and significant colour transitions as a standard step |
| Paint quality | Product selected primarily on price; quality varies widely based on what is available and on sale | Professional-grade 100% acrylic latex exterior paint selected for the specific surface type and regional climate conditions |
| Application technique | Variable; lap marks, drips, and uneven coverage are common, especially on large wall surfaces and overhead areas | Consistent technique, correct roller nap selection, maintained wet edge, and multiple thin coats for even film build |
| Expected paint life | Three to six years before visible fading, peeling, or cracking in Lower Mainland conditions | Eight to twelve years with proper prep and quality materials under normal Fraser Valley weather exposure |
Frequently Asked Questions
How long does exterior paint last on a home in Abbotsford or the Fraser Valley?
A properly prepared exterior paint job using a quality 100% acrylic latex product should last eight to twelve years in the Fraser Valley’s climate. Jobs with rushed prep, cheap paint, or application in poor weather conditions will typically show failure in three to six years. The wet winters and UV exposure during summer are hard on paint that was not applied correctly from the start.
Can I paint the exterior of my house myself to save money?
You can, and for some smaller projects or single-story homes with straightforward surfaces, an experienced DIY painter will get a reasonable result. The honest challenge is that the five mistakes outlined here are difficult to avoid without experience. Surface prep alone is physically demanding and time-consuming. If any of the five mistakes are made, the cost of repainting sooner offsets the initial savings. For large homes, multi-storey properties, or surfaces with significant pre-existing problems, hiring professional exterior painters in Abbotsford or across the Lower Mainland is a more cost-effective long-term decision. See our exterior painting services.
What is the best time of year to paint a house exterior in the Lower Mainland?
Late May through the end of September is the most reliable window. July and August offer the most consistent conditions, with lower humidity, warmer overnight temperatures, and fewer extended rain events. Painting outside this window is possible during dry spells but requires careful weather monitoring. The Lower Mainland’s wet season, from October through April, makes sustained exterior painting work very difficult.
Do I really need primer if the paint says “paint and primer in one”?
On a clean, sound, previously painted surface with no major colour change, a paint-and-primer product can perform well. On bare wood, newly patched areas, surfaces with old stains, or significant colour transitions, a separate dedicated primer coat is necessary. Skipping primer in these situations results in uneven sheen, poor adhesion, and noticeably shorter paint life. Professional exterior painters do not skip primer on problem surfaces regardless of what the topcoat label says.
What kind of paint should I use for an exterior in the Fraser Valley?
A 100% acrylic latex exterior paint is the right choice for most Fraser Valley homes. This formulation flexes with temperature changes, resists moisture and mildew, and retains colour under UV exposure better than cheaper alternatives. The specific product should match the surface type: stucco, wood siding, cedar, composite, or masonry each have products designed for their characteristics. A professional painter can recommend the correct product for your specific surfaces and conditions.
Why is my new exterior paint already peeling after only a year or two?
Early peeling almost always points back to one of the five mistakes: painting over a surface that was not properly cleaned or primed, applying paint in conditions that were too cold or too wet, using a paint product that was not suited for exterior use or the specific surface type, or painting over a surface that had underlying moisture problems. The fix requires stripping the failing paint back to a sound surface, addressing any moisture source if one exists, and starting the prep process properly from scratch.
How do professional exterior painters handle the unpredictable weather in BC?
Experienced painters in the Lower Mainland build weather monitoring into every project. They check forecasts 48 to 72 hours ahead, stage work so that sections can be completed without mid-wall breaks, and schedule projects within the late May to September window wherever possible. When conditions deteriorate unexpectedly, they stop rather than proceed with marginal conditions. This flexibility is one of the clearest advantages of working with an experienced local painting company over a rushed DIY timeline.
If you have tackled an exterior painting project on your Lower Mainland home and ran into any of these problems, share what happened in the comments below. We are always interested in hearing what homeowners experienced firsthand.
We would love your feedback and any insights you would share with others. What perspective would you add?
References
- Seven exterior house painting mistakes and how professionals avoid each one
- Expert guide to preventing common exterior painting mistakes, including weather and primer issues
- Five exterior painting mistakes every homeowner should know before starting a project
- Practical breakdown of the top exterior house painting mistakes homeowners make
- Why exterior paint fails early and what the difference between cheap and premium paint means in practice

