

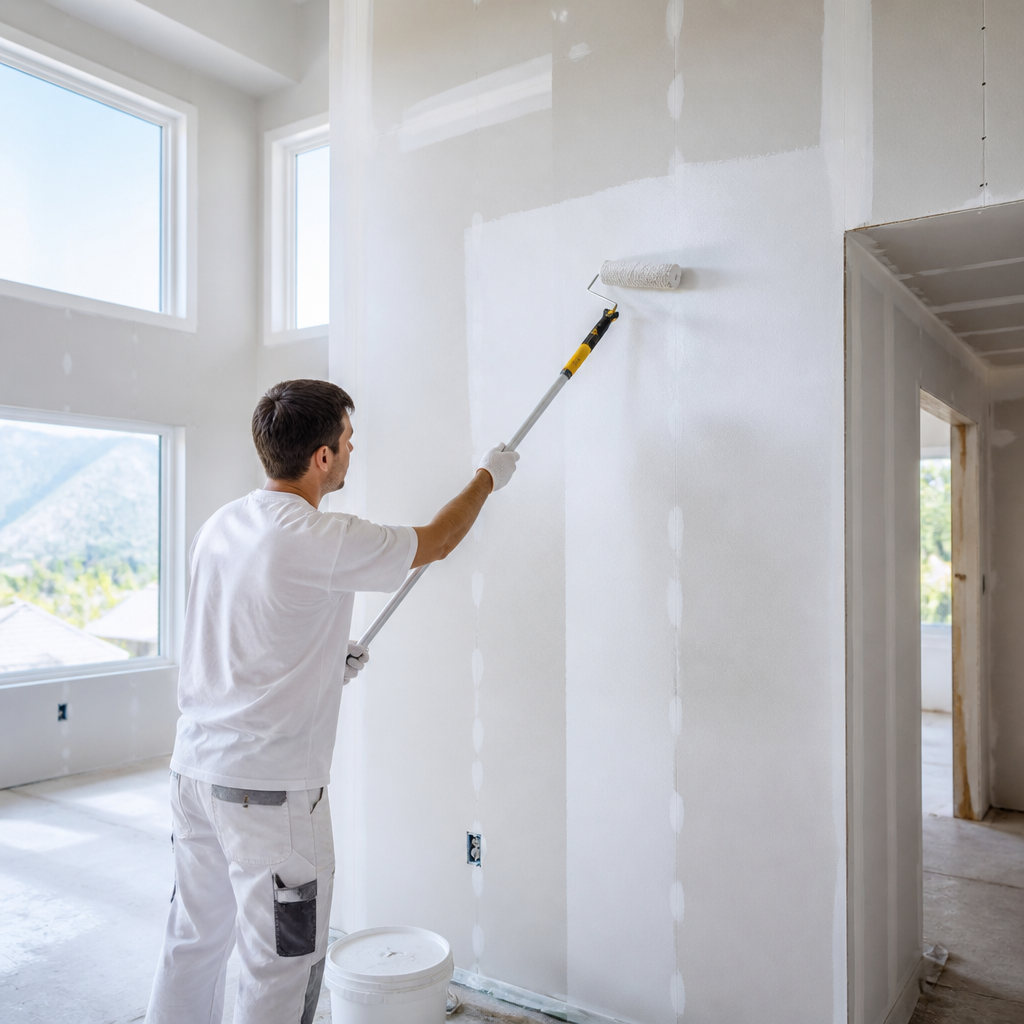
Most Fraser Valley homeowners moving into a new build assume the paint job that comes with the home is finished. It isn’t. What builders apply during construction is a starting point, not a completed product, and understanding the difference between spec-grade construction painting and a properly finished interior will save you from costly surprises within the first year of living there. Whether you’re building a new home in Abbotsford, Langley, or Surrey, the painting process for new construction follows a specific sequence and set of rules that are entirely different from repainting an existing home. This guide walks you through exactly what to expect when it comes to new construction painting in the Fraser Valley, from the first coat of primer to the touch-up that comes after your home settles.
Table of Contents
- Why New Construction Painting Is Different
- Quick Takeaways
- The Painting Sequence in a New Build
- What Builder-Grade Paint Actually Means
- Settling Cracks and the Touch-Up Visit
- Choosing Paint Finishes for New Construction
- Comparing Your Painting Options for New Builds
- Working with a Painting Contractor on a New Build
- Frequently Asked Questions
- References
Why New Construction Painting Is Different
Painting a newly built home is a coordination exercise as much as it is a craft. The painting crew arrives after drywall mudding and sanding is complete but before flooring, trim, light fixtures, and cabinetry are fully installed. That sequencing is intentional. It protects finished flooring from drips, allows painters to work freely without masking around a hundred obstacles, and produces a cleaner result overall.
The surfaces themselves behave differently too. Fresh drywall is highly porous, meaning it absorbs primer and paint at an uneven rate. Mud-taped joints, screw dimples, and corner beads all pull paint differently than the surrounding paper face. Without proper priming, you get flashing, which is that patchy, uneven sheen that shows up across the wall when light hits it at an angle. It’s one of the most common quality complaints in new construction, and it’s entirely preventable.
New builds in the Fraser Valley also contend with wood framing and engineered lumber that contains moisture. As the home dries out through its first heating season, walls shift slightly. That movement shows up as hairline cracks along drywall seams and at corners, particularly above door and window openings. These aren’t structural problems, but they do need to be addressed as part of a proper new construction paint program.
Quick Takeaways
| Key Insight | Explanation |
|---|---|
| Priming new drywall is not optional | Fresh drywall is extremely porous and will absorb topcoat unevenly without a dedicated primer coat, causing flashing and poor adhesion. |
| Builder-grade paint is not a finished product | Spec-grade paints used during construction are lower sheen and lower durability. A proper finish coat with quality paint makes a significant visual and practical difference. |
| Painting happens before flooring and fixtures | Professional painters work in a specific sequence within the construction timeline to protect other trades’ work and produce cleaner results. |
| Settling cracks should be expected in year one | New construction homes in BC go through a drying and settling period. A planned touch-up visit at 6 to 12 months is standard professional practice, not a sign of poor workmanship. |
| Trim and doors require different products than walls | Woodwork, baseboards, and doors need a harder finish, typically a semi-gloss or satin alkyd or waterborne enamel, not the same flat or eggshell used on walls. |
| Color selection for new builds is more complex | Choosing colors for an entire home at once, coordinating with flooring, cabinets, and countertops, requires more planning than repainting a single room. |
| Spray application is standard for new builds | Professional painters use airless sprayers in new construction to achieve consistent coverage on large, unobstructed surfaces, followed by back-rolling where needed. |
The Painting Sequence in a New Build
Understanding the order of operations in a new build prevents scheduling mistakes that cost time and money. Painting doesn’t happen once. It happens in distinct phases, each tied to where other trades are in the construction process.
Phase One: Prime Coat After Drywall
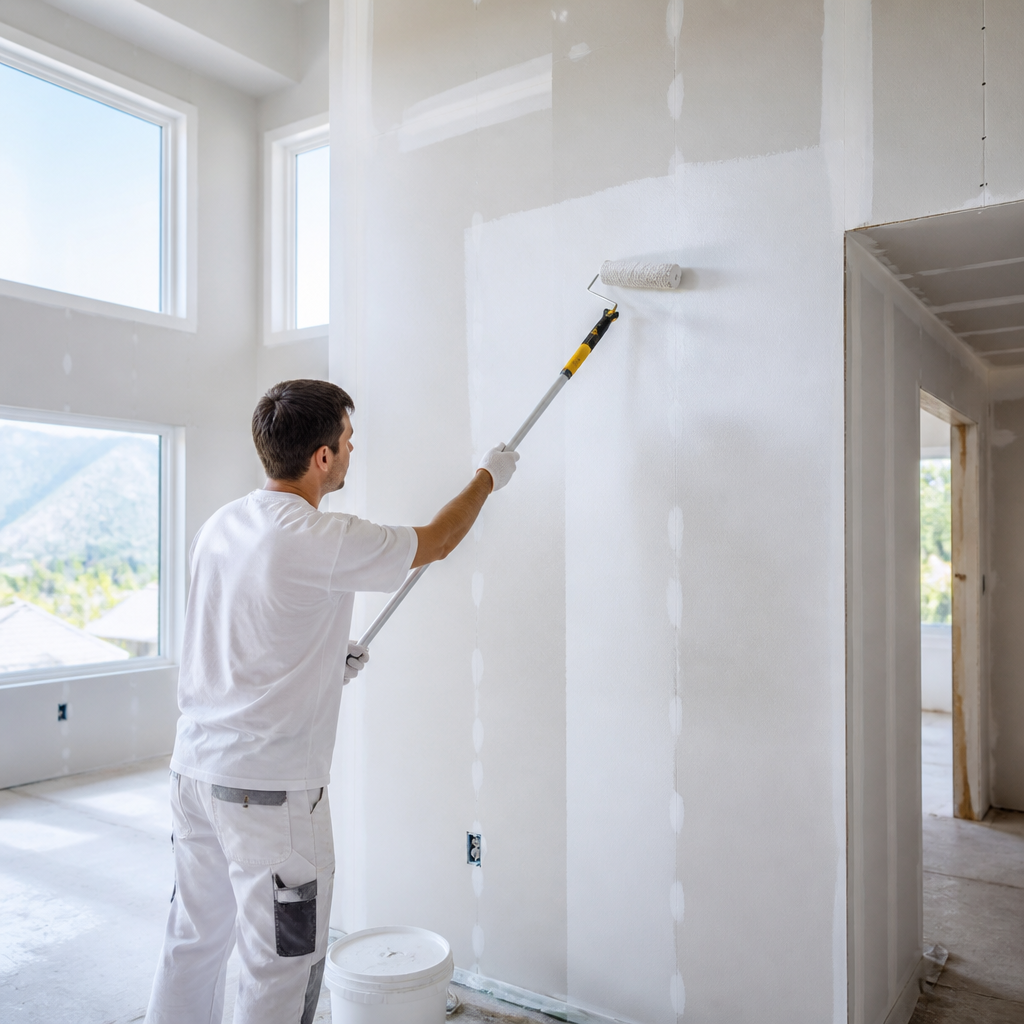
The first phase begins once all drywall is mudded, taped, and sanded to satisfaction. Before any finish coat goes on, a full prime coat is applied to every surface, including walls, ceilings, and any raw wood trim. PVA-based drywall primers are commonly used at this stage because they seal the porous drywall face and equalize suction across paper and mud surfaces. Skipping this step, or using a thin coat that doesn’t fully seal, is the leading cause of flashing in new construction.
During or after priming, painters also do a quality inspection. Holding a work light at a low angle to the wall surface reveals any skim coat imperfections, sanding marks, or blistered tape that didn’t show up before. These get addressed before the finish coat goes on, not after.
Phase Two: Ceiling and Wall Finish Coats
After the primer is cured, ceiling paint goes first, typically two coats of a flat ceiling white. Walls follow, usually in the specified colour with two finish coats. In new construction, spray application is the norm because surfaces are large, unobstructed, and benefit from the consistent, thin film that spraying produces. A back-roll technique (rolling over the sprayed surface while still wet) is used on walls to push paint into the drywall texture and avoid a stippled spray finish.
Phase Three: Trim, Doors, and Millwork
Trim painting happens either alongside or just after the wall finish coats, depending on whether the trim is pre-primed or raw wood. Baseboards, door casings, window sills, and stair components are typically brush-applied with a harder finish enamel. This is the most time-consuming phase because it requires precision cutting in at every transition, particularly where trim meets a coloured wall.
Pro tip: If you’re working with a contractor directly rather than through your builder, confirm at the outset whether the trim is pre-primed by the manufacturer or arriving raw. Raw MDF or finger-jointed pine trim requires additional primer and more preparation time than pre-primed stock, and it affects the scope of the job significantly.
What Builder-Grade Paint Actually Means
The term “builder-grade paint” describes the spec products used to finish new homes at a price point that builders can apply across an entire development. These are not low-quality products in the sense that they fail immediately, but they are optimized for coverage speed and cost, not durability or washability.
Builder-grade interior paints are typically flat or low-sheen. Flat finishes hide surface imperfections well, which is useful in new construction where walls aren’t perfectly smooth. But flat paint scuffs easily, doesn’t clean well, and shows wear quickly in high-traffic areas like hallways, stairwells, and around light switches.
Paint finish matters more than most homeowners realize. Moving into a new home and immediately washing a flat-painted wall is a quick way to discover its limits. The paint lifts, the surface dulls, and you’re left with a patch that doesn’t match. That’s not a defect in the paint. It’s the consequence of using a product in the wrong application.
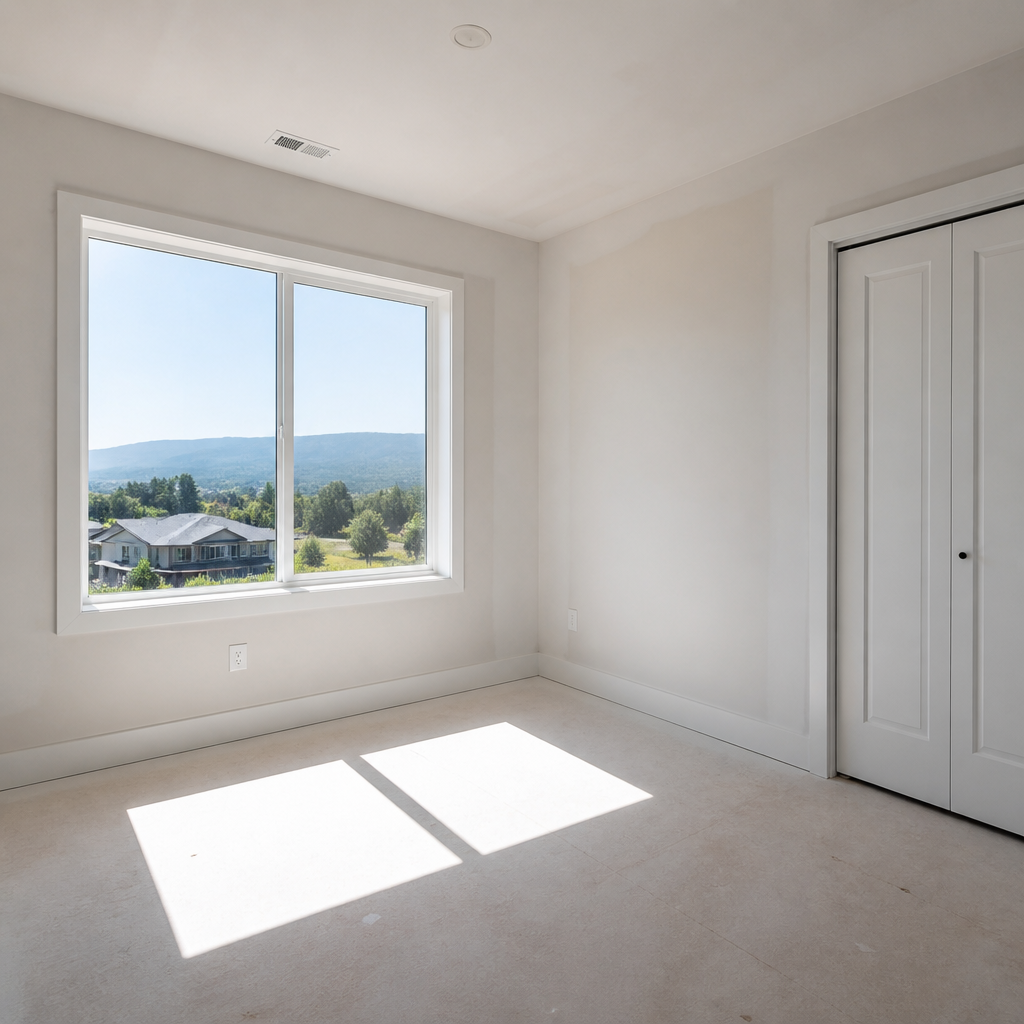
Many Fraser Valley homeowners choose to have a professional painting company apply a proper finish coat over the builder’s prime and paint before moving their furniture in. This is the right time to do it. Rooms are empty, access is easy, and the work can be completed efficiently. Waiting until after move-in means masking, more careful prep, and working around your belongings.
At Dreamscape Painting, we see this regularly with clients in Abbotsford, Langley, and Surrey who’ve just taken possession of a new townhome or single-family home. The builder’s coat is there, but it needs to be upgraded before the home is truly finished. Our interior painting services are built for exactly this kind of work.
Settling Cracks and the Touch-Up Visit
One thing that surprises new construction homeowners more than almost anything else is the appearance of hairline cracks in their walls and ceilings within the first year. These are common, expected, and not a sign that anything went wrong with the paint job or the drywall.
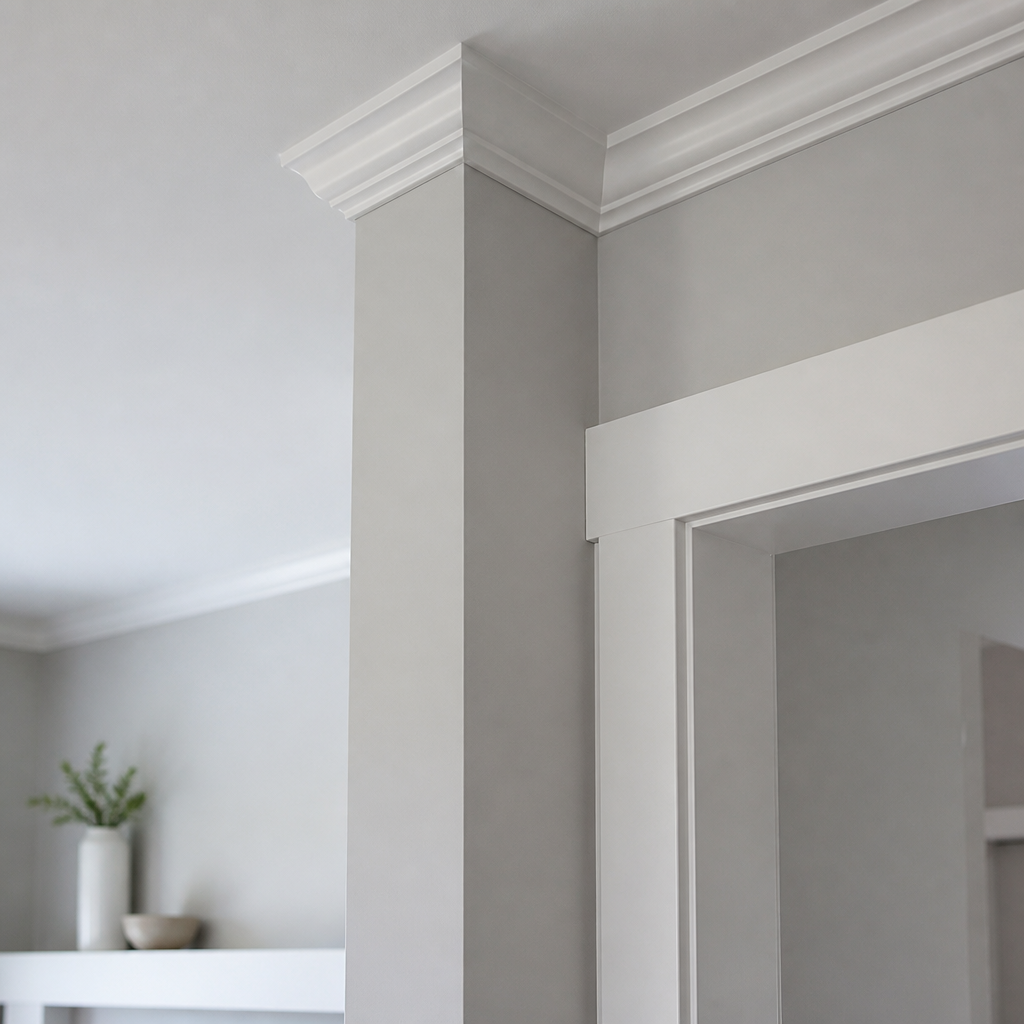
New homes dry out as the wood framing loses moisture through its first winter heating season. As framing members shrink slightly, drywall joints and corners experience minor movement. The cracks that result are almost always cosmetic, appearing at taped seams, corners, and above door and window openings where stress concentrates.
Why the Touch-Up Visit Matters
A professional new construction painter should include a touch-up visit at six to twelve months after the initial job is complete. This visit addresses settling cracks, nail pops, screw heads that have pushed forward slightly, and any areas that need colour-matching from minor repairs. It’s part of the warranty scope, not an extra charge for work that should have been done the first time.
When Dreamscape Painting completes a new construction project, we maintain paint records for every job, including the exact colour codes and sheen levels used in each room. That makes touch-up matching accurate rather than approximate. The difference between a precise colour match and a close-enough colour match becomes very obvious once it dries on the wall.
What You Should Not Try to Fix Yourself
Resist the urge to fill settling cracks yourself with caulk or spackle and then paint over them with leftover builder’s paint. The builder’s paint is almost certainly flat, and the patch will have a different sheen level and slight colour variation from the aged surrounding paint. What looks fine wet will look obviously wrong once dry. Call your contractor, let the touch-up be done properly, and the result will be invisible.
Pro tip: Before your touch-up visit, walk through every room with a bright work light held parallel to each wall surface. Mark any imperfections with a small piece of painter’s tape. This makes the touch-up visit faster and more thorough, because even an experienced painter can miss a hairline crack under regular overhead lighting.
Choosing Paint Finishes for New Construction
Finish selection for a new build follows a straightforward logic once you understand what each finish is designed to do. The mistake most homeowners make is applying the same finish everywhere for simplicity. In practice, different rooms and surfaces have different demands.
For ceilings, flat white is universally appropriate. Ceilings don’t get touched, they reflect light broadly, and flat hides any imperfection in the drywall texture. Using a sheen on ceilings makes every tape joint and screw dimple visible under directional lighting.
For walls in main living areas, an eggshell or low-lustre finish (roughly 15 to 25 sheen) gives a slight washability improvement over flat without introducing the reflective quality that shows every wall surface imperfection. In kitchens, bathrooms, and laundry rooms, a satin finish provides better moisture resistance and easier cleaning.
For all trim, doors, and cabinetry, a semi-gloss or satin hard enamel is the correct choice. These surfaces take contact and cleaning daily. They need a film that holds up. Cabinet refinishing in new builds often involves upgrading the builder’s thin finish coat with a proper two-stage application that lasts years rather than months.
Comparing Your Painting Options for New Builds
When it comes to how a Fraser Valley new construction home gets painted, homeowners typically encounter three scenarios. Understanding the trade-offs helps you decide where to invest your own money and attention.
| Approach | What You Get | What to Watch For |
|---|---|---|
| Builder’s standard paint package | Prime coat plus one or two coats of spec-grade flat paint on walls and ceilings. Basic trim coverage. Home is move-in ready at a base level. | Flat paint wears and scuffs quickly. Colour options are usually limited. No touch-up visit typically included after settling. Quality varies significantly depending on the sub-trade used by the builder. |
| Builder’s upgraded paint allowance | Some builders offer an upgrade tier with better paint product or more colour selection. May include an eggshell or satin finish on walls. | The allowance is still executed by the builder’s painting sub-trade. You may not have direct communication with the crew or control over prep quality. Verify what “upgraded” actually means in the spec before agreeing. |
| Independent professional painter hired by homeowner | Full control over product selection, colour, finish level, and prep quality. Direct relationship with the painting contractor. Warranty is held by the contractor you hire. | Requires coordination with the builder’s construction timeline. Must be scheduled at the right point in the build sequence. Costs more upfront but produces a superior result and a proper touch-up program. |
Working with a Painting Contractor on a New Build
Hiring an independent painting contractor for your new build, whether you’re owner-building or coordinating separately from your production builder, is a different conversation than hiring one for a repaint job. The scope is larger, the timing is more critical, and the documentation matters more.
When you contact a professional painting company for a new construction estimate, expect them to ask about the construction timeline, not just the square footage. A painting crew that shows up before drywall is finished wastes everyone’s time. One that shows up after flooring is installed creates unnecessary masking work and risk to finished surfaces.
Questions Worth Asking Any Contractor
Ask specifically what primer system they use on new drywall. A contractor who says “we skip primer on new drywall because the first topcoat acts as a primer” is telling you something important about their standards. Purpose-formulated drywall primer matters. It seals the paper face and the mud joints differently from a diluted topcoat, and the difference shows in the finished wall.
Ask whether a touch-up visit is included in the scope and what triggers it. Six months post-completion is the standard for settling, but the exact terms should be in writing before the project starts.
Ask who is actually doing the work. At Dreamscape Painting, we’ve been serving the Fraser Valley for over 35 years with our own experienced crews, not day-labour sub-trades. That consistency in skill level is what produces the kind of finish that still looks right five years after the painters leave.
What to Prepare Before the Estimate
If you’re at the planning stage, gather the floor plans and square footage of the home by room. Note which rooms have vaulted ceilings or complex architectural features, since these take more time and affect pricing. Bring any preliminary colour selections you’ve started, even rough ideas. A good estimator will walk through how your colour choices interact with your flooring and cabinet selections before the contract is signed, not after.
For homeowners in the Fraser Valley looking to understand what professional interior painting costs, the scope of a new construction home is typically priced per square foot of paintable surface rather than per room, because the surfaces are large, unobstructed, and suited to spray application. The total investment reflects quality product and proper preparation, not just labour.
Frequently Asked Questions
How soon after drywall is complete can painting begin on a new build?
Painting can begin as soon as drywall mudding is fully cured, sanded, and inspected to an acceptable surface. In practice this means the painters arrive after the drywall crew has finished and the dust has been cleaned. There is no minimum waiting period for priming and painting new drywall the way there is for, say, new plaster or concrete. The key requirement is that the drywall surface is clean, dry, and fully sanded before primer goes on.
Is builder-grade paint good enough, or should I upgrade?
Builder-grade paint is adequate as a temporary protective coat, but it is not a finished product in the durability sense. In areas like hallways, kitchens, children’s rooms, and anywhere walls get touched regularly, flat spec-grade paint will show wear and resist cleaning poorly. Upgrading to a quality eggshell or satin finish coat before you move in produces a surface that lasts and looks right for years. The cost of doing it at the empty-house stage is always lower than doing it after you’re moved in.
What causes those hairline cracks that appear in a new home’s walls within the first year?
These cracks come from wood framing settling and losing moisture during the first heating season. As framing members dry out, they shift slightly, and that movement transmits to the drywall joints and corners. The most common locations are above door and window openings, along horizontal ceiling-wall corners, and at vertical inside corners. These cracks are cosmetic, not structural. They are addressed during a standard touch-up visit at six to twelve months post-completion.
Do I need to be present for the new construction painting work?
Not necessarily for every day of the job, but you should be available at the start of the project to walk through expectations with the site foreman, and at the end to do a proper walkthrough inspection. For an owner-built project, communication with the painting contractor about the construction schedule is important throughout. If you’re working through a production builder, ask explicitly who your point of contact is for the painting sub-trade and how punch-list items are handled.
Can I choose my own paint colours even if the builder is handling the painting?
It depends on your builder’s contract. Most production builders in the Fraser Valley offer a colour selection appointment with a set palette of approved options. Custom or off-palette colours sometimes come with an upcharge or are simply not offered. If colour selection matters to you and the builder’s options feel limiting, hiring an independent contractor for all or part of the interior painting gives you full control over product and palette. Talk through this early in the process, not after possession.
How many coats of paint does a new construction home need?
At minimum, new drywall surfaces need one dedicated primer coat and two topcoats to achieve proper coverage, seal the substrate, and produce a consistent sheen. Trim, doors, and millwork also need at minimum one primer coat and two enamel topcoats. Some deeper colours or specialty finishes require additional coats for full saturation. Any contractor who quotes a new construction project with a single topcoat over primer is cutting a corner that will be visible within the first year.
Have you recently moved into a new construction home in the Fraser Valley? We’d love to hear what painting surprises you encountered and how your experience compared to what you expected.
References
- Complete guide to expert interior painting for new construction homes, including scheduling and sequencing advice
- Guidance on when to paint a new construction home and the risks of incorrect timing
- Overview of what professional new construction painting services cover, from drywall priming to trim
- How painting a new construction home or addition differs from repainting an existing room

