

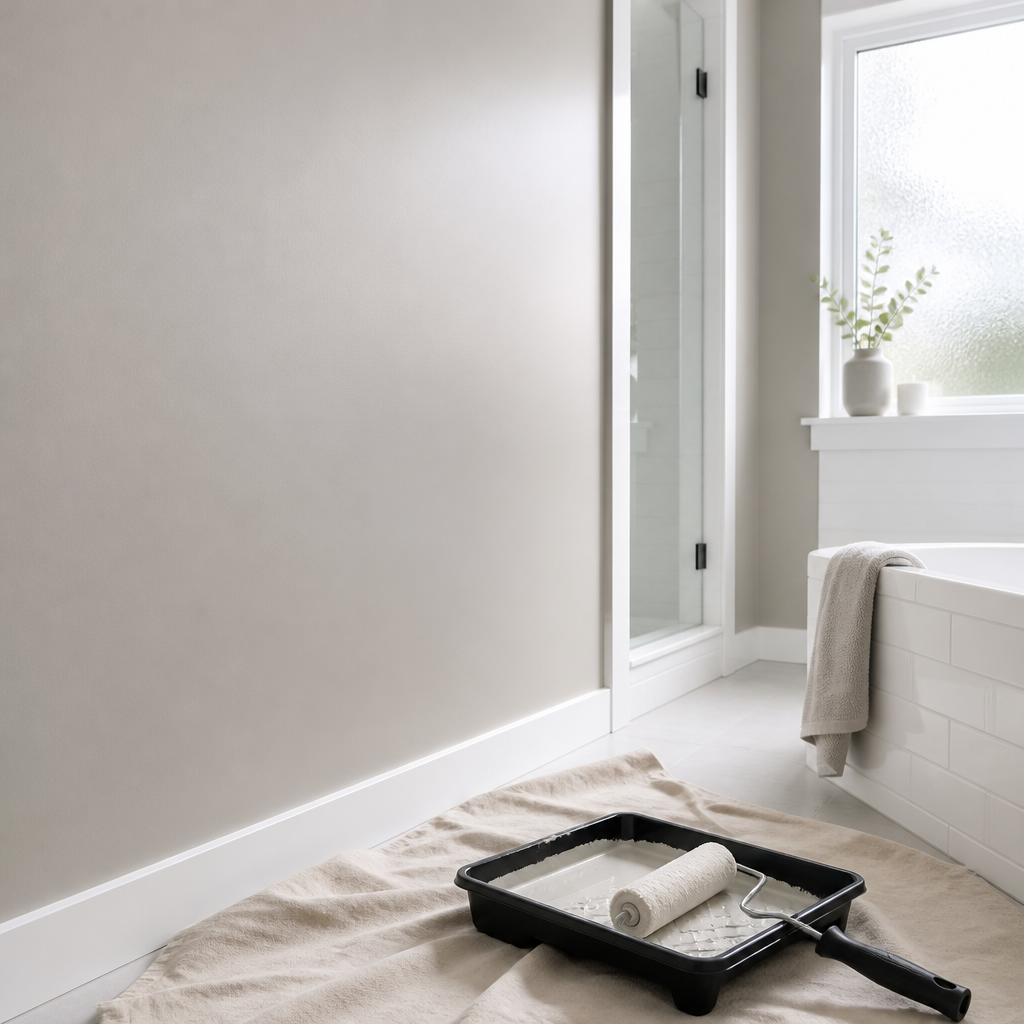
Bathroom painting in Surrey and Langley is rarely about colour alone. A bathroom takes a daily steam load, stays damp for hours after every shower, and then spends a long wet season doing it all again. Most of the peeling, bubbling and black spotting we are called to fix comes from the same few mistakes: the wrong sheen, a paint with no real mold resistance, and a ceiling that never got a proper prime. This guide explains how to choose a moisture-proof finish that lasts, based on what we see in homes across the Lower Mainland.
Table of Contents
- Quick Takeaways
- Why Bathrooms in Surrey and Langley Fail Early
- Choosing the Right Sheen for Wet Rooms
- Mildew-Resistant Formulas: What the Label Does and Doesn’t Tell You
- Ceilings, Ventilation, and Peeling
- Surface Prep and Priming in Damp Bathrooms
- Comparing Bathroom Paint Finishes Side by Side
- Vanities, Cabinets, and Trim in Wet Zones
- Cleaning, Maintenance, and Recoating
- Frequently Asked Questions
- References
Quick Takeaways
| Key Insight | Explanation |
|---|---|
| Default to semi-gloss or satin on bathroom walls | Smoother, less porous films shed steam and wipe clean. Flat paint soaks up moisture and stains within a season. |
| Paint the ceiling with the same care as the walls | Ceilings collect the most condensation. A builder-grade flat ceiling paint is the most common starting point for peeling. |
| Treat mold resistance as one feature, not a guarantee | Mildew-resistant additives help, but they only work when the film stays intact, clean and well ventilated. |
| Seal bare and patched drywall before the topcoat | Unsealed drywall and joint compound pull moisture from the room and cause uneven sheen and early lifting. |
| Fix the fan before you paint | A fan that only runs during the shower leaves the room damp for a long time afterward. Paint applied over a damp room fails sooner. |
| Give fresh paint time to harden | Paint keeps curing for days after it feels dry. Keep steam to a minimum and avoid scrubbing the new film during that window. |
Why Bathrooms in Surrey and Langley Fail Early
Bathrooms in the Lower Mainland face a double problem. Long, wet stretches of weather keep indoor humidity high for months, and the bathroom adds its own steam on top of that. A paint that performs well in a dry room may not hold up in a bathroom for more than a few seasons.
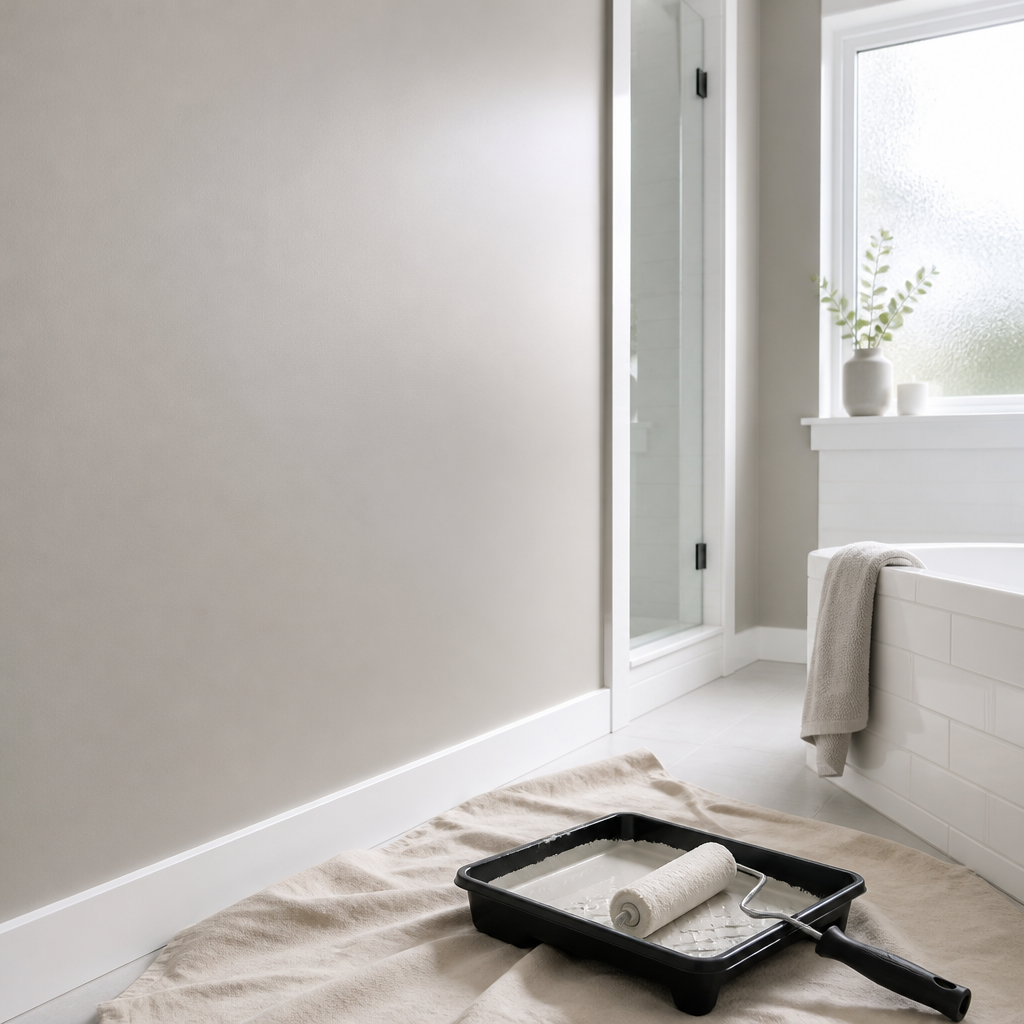
In practice, the first failure is usually not a dramatic leak. It is a soft, grey edge along the top of the door frame, a bubbled patch above the tub, or a faint halo of black spotting where the wall meets the ceiling. By the time homeowners call us, moisture has usually been working on the film for two or three winters.
The Shower Cycle and Steam Load
A typical shower puts a large volume of water vapour into a small enclosed room within minutes. If the fan is weak or switched off too early, that vapour settles on the cooler surfaces, which are usually the ceiling, the upper corners and any exterior wall. Each cycle leaves the paint film wetter than it should be.
The effect adds up. Paint that is repeatedly wetted and dried loses adhesion at the edges first, and those edges are where we see lifting. A bathroom used by a family of four every morning is under far more steam load than a guest powder room used once a week.
Cold Exterior Walls and Condensation
Older homes and some builder-grade additions often have exterior walls with thinner insulation or gaps that let cold air reach the drywall. When warm, humid bathroom air meets that cold surface, condensation forms behind and on the paint. Surface painting alone cannot fix that, so an honest assessment starts with the wall, not the colour chip.
If you notice mold that returns after cleaning, or paint that bubbles in the same spot every year, treat it as a building problem first. Repainting over it without addressing the source only buys you one more season before the same failure returns.
Choosing the Right Sheen for Wet Rooms
Sheen is the single biggest decision you make for a bathroom, and it matters more than the brand on the can. Gloss level controls how porous the dried film is and how easily it releases water and soap. Lower sheen hides surface flaws well, but it also traps moisture and stains.
For walls around a tub or shower, we recommend a semi-gloss finish as the default. A smoother film sheds water, resists soap film, and can be wiped down without dulling. The trade-off is that semi-gloss shows every roller mark and every bump in the drywall, so prep work matters more.
Why Semi-Gloss Works on Walls
Semi-gloss provides the most robust moisture barrier among the common sheens we use. Once it is fully cured on well-prepared drywall, a damp cloth removes most soap residue without lifting the paint. That cleanability is what keeps mold from taking hold in the splash zone around the shower and vanity, where hands and shampoo bottles touch the wall every day.
When Eggshell Is the Smarter Compromise
Some homeowners find semi-gloss too shiny for a bathroom that doubles as a den or a powder room with a traditional look. Eggshell is a reasonable compromise. Some paint retailers note that eggshell offers improved moisture resistance compared with flat while keeping a low sheen, which matches what we see on walls that are not directly beside the shower.
Our position is simple: use eggshell where the wall stays drier, and step up to semi-gloss in the wet zone around the tub and shower.
Why Flat Paint Fails in Showers
Flat and matte finishes have the most open surface texture, and that texture is exactly what moisture and soap grab onto. We see flat bathroom walls that look fine for one season, then show darkened patches after the first heavy winter. Cleaning them tends to spread the staining rather than remove it.
Pro tip: If you want a softer look, choose satin on the walls rather than flat. Ask for a tinted sample board and check it in the room’s actual light, since satin reads glossier under bright bulbs.
Mildew-Resistant Formulas: What the Label Does and Doesn’t Tell You
“Mildew resistant” is one of the most useful phrases on a paint label and one of the most misunderstood. It means the formula includes additives that slow the growth of mold and mildew on the dried film. It does not mean the paint is waterproof, and it does not mean mold will never appear.
Homemaking and homeowner communities often recommend a 100% acrylic semi-gloss for bathrooms with moisture issues, and that is consistent with what we use. Acrylic film is generally more flexible and easier to clean than many older oil-based products, which helps it survive repeated expansion and contraction in a damp room. Choose the base first, then confirm the mold-resistant additive.
Reading the Label Without Guessing
Look for the product’s stated mold or mildew resistance and the sheen it is sold in, then check the product data sheet for its recommended use, typically interior wet areas. Labels change between product lines, so do not assume the bathroom version of a paint matches the standard wall version. Ask for the exact product name and confirm it on the manufacturer’s site.
Where Premium Bathroom Lines Earn Their Price
Some manufacturers position bathroom-specific lines around durability, colour retention and mildew resistance. Benjamin Moore’s Aura Bath & Spa is one example that its own website describes for high-humidity bathrooms, citing exceptional durability, colour retention and mildew resistance. Premium lines cost more, and in our experience the extra money is best spent on the wet zone and the ceiling, not on every wall in a powder room.
What Mildew Resistance Cannot Do
Mold additives cannot compensate for a dirty surface, poor prep, or a room that never dries out. A fresh mold-resistant coat over a stained wall will hide the marks for a while, then the spots return through the film. Treat the additive as a margin of safety, not a substitute for the steps that come before it.
A mold-resistant additive buys time. Clean surfaces and steady airflow are what make the paint last.
Ceilings, Ventilation, and Peeling
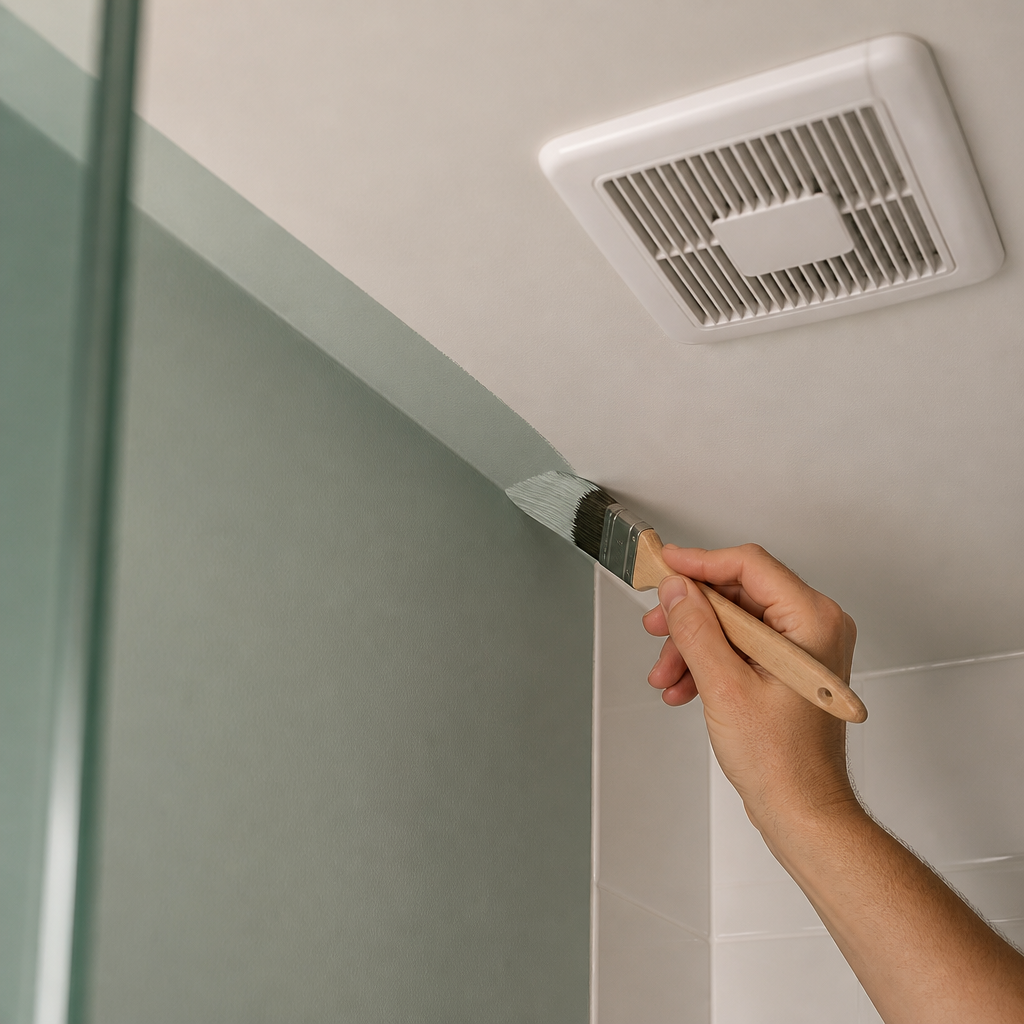
Ceilings fail first in most bathrooms we inspect. Warm moist air rises, meets the coolest surface in the room, and condenses there. Yet many ceilings are still painted with the cheapest flat product on the shelf, and the result is the classic bubble or peel above the shower.
Online homeowner discussions describe the same pattern: a small bathroom with little ventilation, a ceiling that peels badly within a few years, and a homeowner asking which paint could possibly hold. The honest answer is that paint is rarely the first thing to change. The fan and the air path usually need work first.
Why Ceilings Fail Before Walls
Ceilings get fewer cleaning passes than walls and more condensation exposure. Water sits there longer, dust and humidity combine, and the film is almost never wiped. Ceiling paint is usually flat because sheen shows every flaw, so choose a ceiling product labelled for bathrooms or high humidity, and accept that it will need more frequent gentle cleaning.
Fan Runtime and Humidity Control
A fan that runs only while the shower is on often leaves the room damp for a long time afterward. We recommend running the fan for a period after the shower ends, and confirming the duct vents outdoors rather than into the attic. A fan that does not clear the room is the most common reason a new paint job fails in a family bathroom.
Before you paint, check that the fan moves air, that the duct is connected and that the vent cover is clean. A simple fix at the fan can extend the life of the paint more than any product upgrade.
Pro tip: Sanding back a peeling ceiling to bare substrate without fixing the moisture source is wasted labour. Find out where the damp is coming from, then prep and repaint.
Surface Prep and Priming in Damp Bathrooms
Most premature paint failures trace back to prep, not product. A topcoat applied over soap film, grease or mold residue will not bond properly, and the failure may not show until the first steamy winter. Prep is slower than painting, but it is where the real durability comes from.
Start by washing every wall, ceiling and trim surface with a mild cleaner, then rinsing and drying thoroughly. Scrub visible mold with a solution made for that purpose, and let the surface dry completely before going further.
Cleaning Off Soap Scum and Mold
Soap scum and hair product create a film that paint does not grip. Use a degreasing cleaner around the tub and shower surround, then rinse with clean water so no residue remains. If mold has penetrated the drywall paper, that section usually needs to be cut out and replaced, not painted over.
Stain-Blocking Primer Before Topcoat
Use a stain-blocking primer on bare drywall, patched joint compound, and any area where an old stain bled through. Primer seals porous surfaces so the topcoat dries evenly and does not show flashing, the dull, patchy look that appears where the wall absorbed the paint. For areas that have had mold, choose a primer rated for mold and moisture, and let it cure fully before the finish goes on.
Caulking Gaps Around Tubs and Vanities
Water that sneaks behind the tub surround or around the vanity backsplash will defeat any paint. Re-caulk worn joints with a mold-resistant sealant before painting, and make sure the bead is continuous at every corner. Fresh paint over a failed seal will still fail, just from behind.
Comparing Bathroom Paint Finishes Side by Side
Choosing a finish is easier when you compare the options against the real demands of the room. The table below covers the three finishes we are asked about most often for bathroom walls and ceilings, with our practical view of how each performs in a Lower Mainland home.
| Finish | Moisture Performance | Best Placement |
|---|---|---|
| Semi-gloss | Strongest barrier and easiest to wipe clean, but shows surface flaws | Tub and shower surround, vanity splash zone, door and trim |
| Satin | Good moisture resistance and cleanability with a softer look | Main bathroom walls in a room used every day |
| Flat or matte | Weakest moisture resistance, absorbs soap and stains | Ceilings in well-ventilated bathrooms, or powder rooms with no shower |
Read the table as a ranking of risk rather than a shopping list. Semi-gloss is the safest choice for the wet zone. Satin is the practical choice for the rest of the room. Flat belongs only where the room stays dry and the ceiling is the only surface at stake.
Why Satin Often Wins on Main Walls
Satin strikes a balance that many of our clients appreciate. It gives enough cleanability for a family bathroom, does not look as glossy as semi-gloss over large wall areas, and forgives small surface imperfections. For a bathroom that is not a steam room, it is often the best return on the money.
Where Flat Still Makes Sense
Flat paint is not forbidden in every room, just in the wrong places. A guest powder room with a window, no shower and good fan use can take a flat ceiling paint without trouble. Once the room has a shower, a bath, or a history of mold, flat stops being a sensible choice for the walls.
Vanities, Cabinets, and Trim in Wet Zones
Vanities and trim take more abuse than most homeowners realize. Sink splashes, shower humidity and daily hand contact wear the finish faster than the wall. Cabinets and trim often need a more durable system than the wall paint, particularly where the surface meets water.
Cabinet Refinishing Versus Repainting
If the vanity is solid wood or good-quality veneer in sound condition, refinishing with a properly prepped, durable enamel system usually outlasts a simple repaint. Refinishing means removing the old finish, sanding to a clean surface, priming, and applying several thin coats. A rushed repaint of a glossy vanity often peels first at the edges where hands and water hit most.
Particleboard and laminate are harder to refinish well, and a repaint can look fine until the edges swell. In those cases, we talk through the realistic lifespan with the homeowner before quoting a finish.
Protecting Trim and Door Edges
Bathroom doors take steam at the top edges and splashes at the bottom. Apply semi-gloss to the door edges and bottom rail, and keep the coats thin enough to avoid drips. The bottom edge is often missed, and it absorbs water whenever the floor gets wet.
Cleaning, Maintenance, and Recoating
A well-chosen finish still needs a routine. The goal is to remove soap and mold before they bond with the film, not to scrub harder once they have. Most of the long-lasting bathrooms we revisit have a simple cleaning habit rather than an expensive product.
Run the fan, wipe the splash zone after showers when you can, and check the ceiling corners once a season. Small problems caught early are usually a quick fix.
Cleaning Without Stripping the Finish
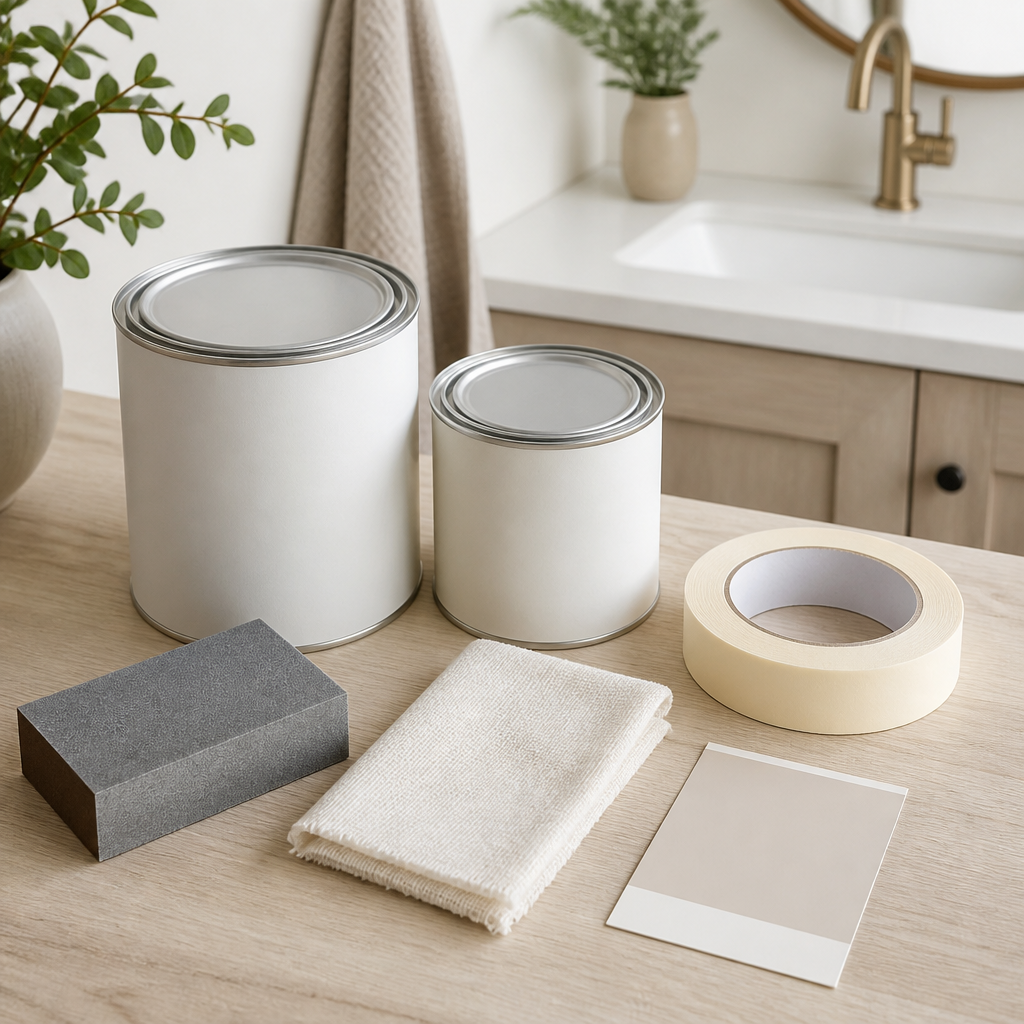
Use a mild, non-abrasive cleaner and a soft cloth. Avoid harsh scrubbing pads on semi-gloss, because they dull the sheen and leave micro-scratches where mold finds a foothold. Rinse and dry the surface, especially around the tub.
When to Touch Up Versus Repaint
Touch up isolated scuffs and small peeled spots as they appear, as long as the surface is sound and the cause is fixed. Repaint the full room when the film is failing across multiple walls, when mold keeps returning, or when cleaning has dulled the sheen. Patch repairs on a failing surface tend to show within one season.
Pro tip: Keep a labelled tin of the exact touch-up paint, including the sheen and batch number. Matching sheen is harder than matching colour, and a satin touch-up on a semi-gloss wall will look wrong right away.
Frequently Asked Questions
What is the best paint finish for a bathroom in Surrey?
For most bathrooms, semi-gloss is the best finish on walls in the wet zone around the tub and shower, and satin works well on the rest of the room. Ceilings need a ceiling-specific bathroom product, usually flat, applied only after the fan and ventilation are fixed.
Is mildew-resistant paint worth paying more for in Langley?
It can be, especially in homes with poor ventilation or a history of mold. The mold-resistant additive is one protective layer, and it works best alongside a clean surface, proper priming and a fan that clears humidity after showers.
Can I paint over mold in my bathroom?
Not safely or durably. Clean the mold off thoroughly, let the surface dry, and use a primer rated for mold and moisture. If the mold has penetrated the drywall, that section usually needs to be cut out and replaced before any paint goes on.
How long should fresh bathroom paint take to cure?
Paint can feel dry within hours but keeps hardening for days afterward. Keep the room ventilated, avoid heavy steam and do not scrub the new surface during that period, since a fresh film can mark or lift while it is still soft.
Why does my bathroom ceiling keep peeling after I repaint it?
The most common reason is moisture that never went away. If the fan is weak or the duct does not vent outdoors, condensation returns to the ceiling after every shower. Fix the airflow and the source of the damp first, then prep and repaint.
Should I hire a professional for bathroom painting in the Lower Mainland?
For a small powder room with a dry, sound surface, a careful homeowner can handle the job. For a full bathroom with a mold history, cabinets or ceiling failure, a professional crew can diagnose the moisture source and handle prep properly, which is where most of the durability comes from. For vanities, see cabinet refinishing in Surrey.
Tell us about your own bathroom painting experience in Surrey or Langley, especially which finish held up through the wet season and which one failed sooner than expected.
We would love your feedback and any insights you would share with others. What perspective would you add?
References
- Manufacturer ideas and product notes for high-humidity bathroom paint colors
- Guide comparing interior paint finishes for humid climates and moisture resistance
- Homemaking community discussion on mold and mildew-resistant bathroom paints
- Homeowner discussion on peeling ceilings in poorly ventilated bathrooms

