

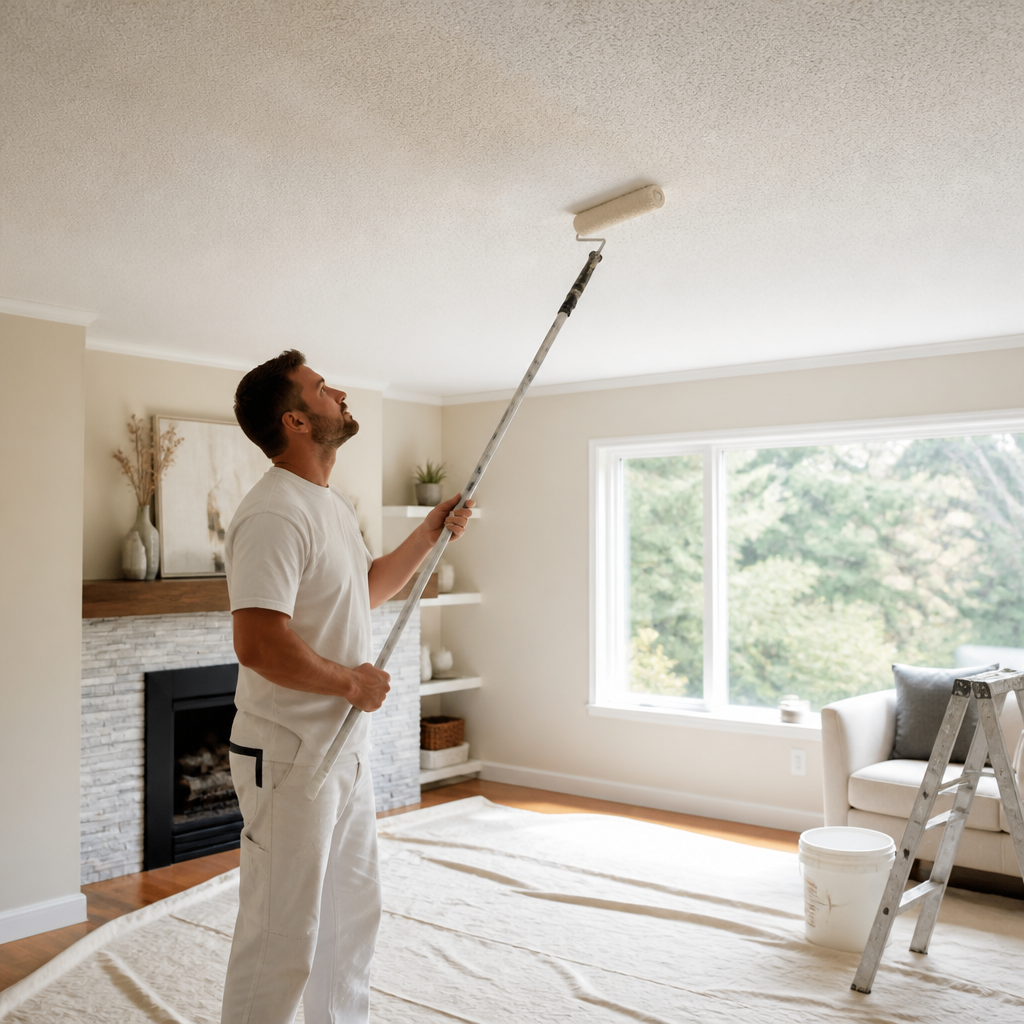
If you have a popcorn ceiling in a Fraser Valley home, you have probably thought about painting it at least once. Maybe the bumpy white texture looks dated next to freshly painted walls, or maybe a water stain has you wondering what is happening above the light fixture. Popcorn ceiling painting in the Fraser Valley is one of the most common questions we hear from homeowners, and it is also one of the easiest jobs to get wrong. The texture soaks up paint, sheds when it is disturbed, and can hide problems that only show up after the first coat dries. Here is what homeowners in Abbotsford, Langley, Surrey and across the Lower Mainland need to sort out before anyone picks up a roller. The same applies to our work as house painters in Pitt Meadows.
Table of Contents
- Quick Takeaways
- Is Your Popcorn Ceiling Worth Painting?
- Asbestos Testing Comes Before Anything Else
- Preparing the Surface Properly
- Choosing Paint That Works on Texture
- Spray or Roll: Application Methods Compared
- Cleanup and Drying Time on a Real Job
- Painting or Removing: Making the Final Call
- Hiring Painters for Popcorn Ceiling Work
- Frequently Asked Questions
- References
Quick Takeaways
| Key Insight | Explanation |
|---|---|
| Test before you disturb the texture | This Old House advises having ceilings installed before 1980 tested for asbestos before any scraping, sanding or breaking of the texture. |
| Seal water stains before the first topcoat | A stain-blocking primer keeps old water marks from bleeding through a fresh finish. Standard wall paint will not do this reliably. |
| Use heavy plastic, not thin drop cloths | Prep dust travels farther than most people expect. Clear plastic sheeting in the 2 to 4 mil range is harder to tear and easier to reuse. |
| Choose a flat ceiling paint | Ultra-flat ceiling formulations hide texture and cut down on drips. Glossier sheens show every roller pass and highlight the bumps. |
| Fix loose texture first | Peeling or crumbling popcorn has to be repaired before painting. Otherwise the loose pieces drop off and take the new paint with them. |
| Match the tool to the room | Airless sprayers are fast on large open ceilings. A roller with an extension pole is more controllable in small rooms, bathrooms and hallways. |
Is Your Popcorn Ceiling Worth Painting?
Before you buy a single can of paint, decide whether painting is the right move for this ceiling. In many older Fraser Valley homes, the texture is still sound and the only real complaint is the color or the look. Painting keeps the job contained, avoids a dusty scrape, and can be finished in a few days with proper preparation.
Removing the texture has real appeal. Smooth ceilings look brighter and more modern, and buyers often see removal as an upgrade. But scraping means containing a lot of material, dealing with dust through the whole house, and often skim coating the surface afterward. For most homeowners we work with, painting is the sensible option unless the ceiling is badly damaged or the buyer has asked for a smooth finish. Or leave it to our interior painting crew.
Signs the texture is in trouble
Look closely for sagging sections, brown rings, soft spots near bathrooms, and any area where the texture crumbles when you press it. A ceiling that is already falling apart cannot be saved by paint alone. Those sections need repair first, and a large failure can point to a roof or plumbing leak that needs its own fix.
When painting is the clear winner
If the texture is intact, the ceiling is flat, and the main goal is a cleaner, lighter room, painting is faster and cheaper than removal. It also keeps the ceiling looking consistent with the rest of the house without a long, messy project. A quick test is to rub a small spot with a damp cloth. If the texture stays put and the surface feels firm, you are a good candidate for painting.
Asbestos Testing Comes Before Anything Else
Asbestos is the first issue to settle, and it is the one homeowners most often skip. This Old House advises that ceilings installed before 1980 should be tested before work begins. Many older homes across the Lower Mainland fall into that window, so do not assume your ceiling is safe because it looks plain.
Testing is inexpensive compared with the cost of disturbing material you should not have disturbed. The key rule is simple: do not scrape, sand, or break the texture until you have results. Painting itself disturbs the surface less than scraping does, but you should still know what is there before you start.
Which ceilings need a test
Start with the age of the home. If the house was built or renovated in the period when textured ceilings were common, treat the texture as suspect until a lab says otherwise. A renovation history can matter too, since a later addition may have been finished with the same material.
How to collect and submit a sample
Use a qualified, accredited lab rather than a home test kit if you want a result you can rely on. Collect the sample carefully, wear appropriate protection, and keep the area damp so fibres do not spread. Ask the lab how they want the sample packaged and how long results take, because that timing can affect your painting schedule.
Preparing the Surface Properly
Good prep is where most popcorn ceiling jobs succeed or fail. The texture is porous and uneven, so anything you skip in preparation shows up later as a stain, a bald patch or a flaking line. Plan for the prep to take as long as the painting itself, and sometimes longer.
Start by covering the room thoroughly. Remove furniture where you can, cover what you cannot move, and seal light fixtures and fans. Plastic sheeting taped to the walls creates a barrier that is worth the time, because prep dust gets into corners you would never expect.
Repairing water stains and loose texture
Any water stain needs to be dried completely and treated with a stain-blocking primer before the topcoat goes on. If the stain keeps coming back, track down the source first, because paint will not fix a leak. Loose or crumbling texture should be removed or patched so the surface is firm before you paint.
Covering floors, walls and fixtures
Drop cloths should cover the floor, but the walls and fixtures need the most attention. Use painter’s tape to hold plastic to the walls, and cover smoke detectors and ceiling fans with plastic bags. Remove the bags only after the paint has dried, not before.
Pro tip: Use clear plastic sheeting in the 2 to 4 mil range rather than flimsy material. This Old House notes that heavier sheeting is reusable, easier to fold and unfold, and less likely to rip mid-job.
Choosing Paint That Works on Texture
The right paint decides whether a popcorn ceiling looks even or patchy. A flat or ultra-flat ceiling paint is the standard choice because it reflects less light and hides small surface variations. Glossier finishes do the opposite, highlighting every bump and roller mark you were hoping to hide.
The ceiling is the one surface in a room where every flaw is visible from the doorway. Choose the paint for hiding the texture, not for washability.
Benjamin Moore describes its ultra-flat waterborne ceiling paint as a way to get virtually flawless ceilings in any color, and it highlights hiding common imperfections. That same principle applies to any quality ceiling paint, so read the product sheet for hide, sheen and recoat times before you buy.
Why flat beats eggshell on texture
Eggshell and satin finishes can look attractive on walls, but on a popcorn ceiling they catch light in uneven ways. Flat paint absorbs light and tends to disguise the surface. The tradeoff is that flat finishes are harder to wipe clean, which is acceptable on a ceiling that rarely gets touched.
Primer for stains and fresh patches
Stains and new patches should be primed before the topcoat, usually with a stain-blocking product for water marks. Primer also evens out the difference between old texture and new repair compound. Skipping it often means two extra coats of topcoat and a ceiling that still looks blotchy.
Spray or Roll: Application Methods Compared
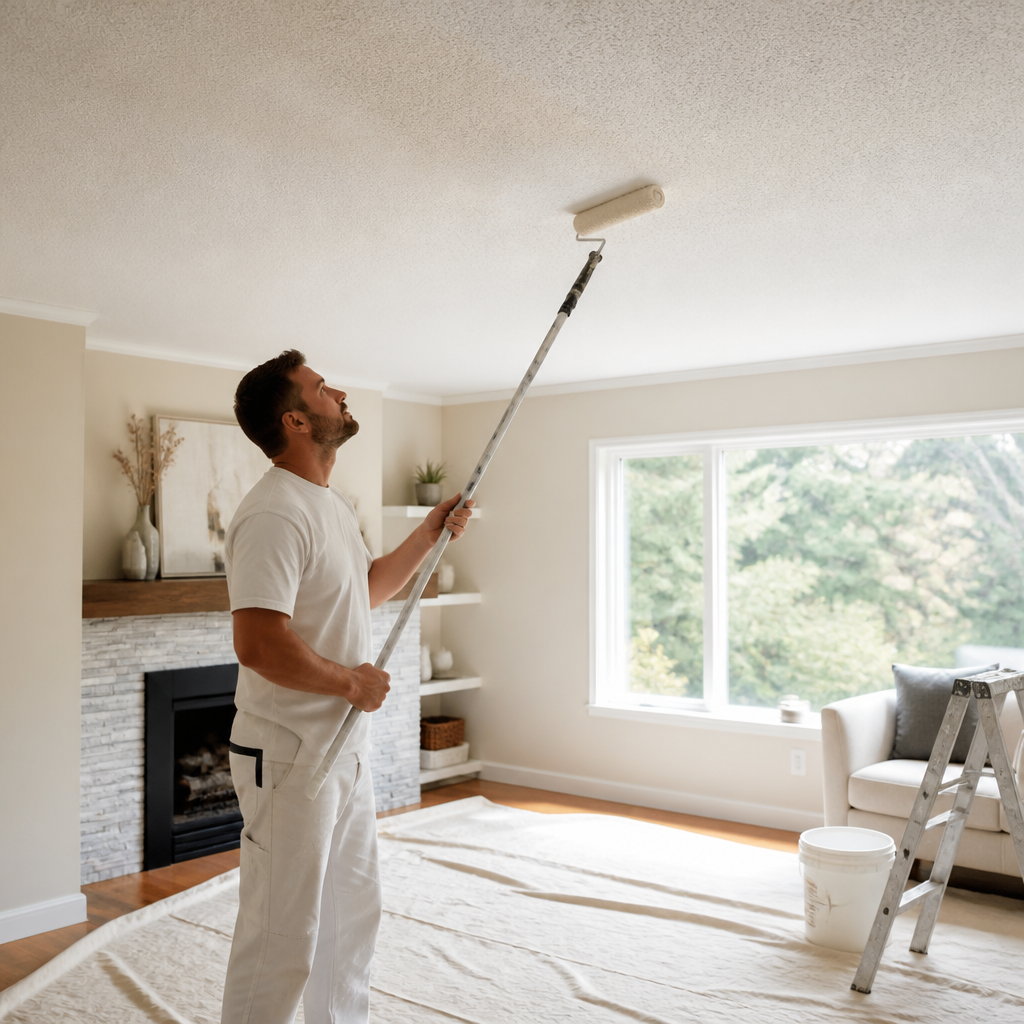
Once the prep and paint are sorted, the next decision is how to apply the coat. Spraying and rolling both work on popcorn ceilings, but they suit different rooms and different crews. Choosing the wrong method is one of the main reasons jobs run long or leave visible lap marks.
Spraying is fast and covers texture well when it is done correctly. Rolling gives more control in small spaces and around fixtures. Most experienced painters use a combination, spraying the large open areas and rolling the edges and corners by hand.
Airless spraying on large open rooms
An airless sprayer is one of the most efficient ways to coat a large ceiling. Graco’s homeowner guide to spraying popcorn ceilings describes it as one of the easiest ways to save time on this job. The catch is masking: overspray travels, so walls, floors and fixtures need to be covered more thoroughly than with a roller.
Rolling and cutting in by hand
A roller on a long pole is the most forgiving method for bathrooms, hallways and rooms with lots of obstacles. It is slower, and you need to keep a wet edge to avoid lap marks. Work in small sections, and load the roller evenly so the texture does not drag paint off in streaks.
| Application Method | Best For | Main Drawback |
|---|---|---|
| Airless sprayer | Large open rooms, vaulted sections and whole-house jobs | Heavy masking is needed, and overspray can reach areas you did not plan to cover |
| Roller on an extension pole | Small rooms, bathrooms and hallways with frequent obstacles | Slower, and the roller can leave lap marks if the edge dries before the next pass |
| Brush for edges with a roller for the field | Perimeters, corners and areas around light fixtures | Labour intensive, and brush strokes can show if they are not feathered out |
Cleanup and Drying Time on a Real Job
Painting a popcorn ceiling is only half the job. The cleanup, the drying schedule and the final inspection determine whether the room is ready to use on time. Homeowners often underestimate how long it takes for the ceiling to be safe to touch and for dust to settle.
Plan to leave the room closed while the paint cures, and keep the air moving. Open windows where the weather allows, but avoid strong drafts that can cause uneven drying. Check the product sheet for recoat times, since a second coat applied too early can lift or streak.
Removing plastic and cleaning up dust
Remove the plastic carefully once the paint is dry to the touch, and work from the room outward so the dust does not settle on fresh paint. Vacuum the floors with a hose attachment and wipe down the walls and fixtures. Dust that is left behind will show up in the first light that hits the ceiling.
Inspecting the finished ceiling
Check the ceiling with a light held at a low angle, which reveals missed spots and thin areas. Touch up patches with the same paint and sheen, and avoid painting over wet spots. A final walk-through the next morning, with natural light, catches the issues that were hidden under work lights.
Pro tip: Keep a small amount of the topcoat in a labelled container. Touch-ups years later are much easier when you match the exact batch.
Painting or Removing: Making the Final Call
By this point, you know whether the ceiling is safe to work on and whether the texture is sound. The final decision comes down to how you want the room to look and how much disruption you can accept. There is no single right answer, but there are clear cases where one option makes more sense.
Painting leaves the texture in place, which means less dust, fewer repairs and a faster finish. Removal gives you a smooth ceiling that many buyers prefer, but it is a larger job with more mess and more cost. Be honest about how long you plan to stay in the house, because a ceiling you will sell soon is a different decision from one you will live with for a decade.
Cost and disruption
Painting usually disrupts a household less than removal. Removal requires containing dust, often across the whole floor, and it can make it necessary to repaint the entire ceiling and possibly the walls. If the budget is tight and the texture is intact, painting is the smarter spend.
Resale value and buyer expectations
Some buyers see a popcorn ceiling as dated, while others do not notice it at all. Smooth ceilings have a clear appeal in staged or listing photos, but an even, well-painted textured ceiling is far better than a poorly done removal. If you are selling, ask a local agent how buyers in your neighbourhood react before you commit to either path.
Hiring Painters for Popcorn Ceiling Work
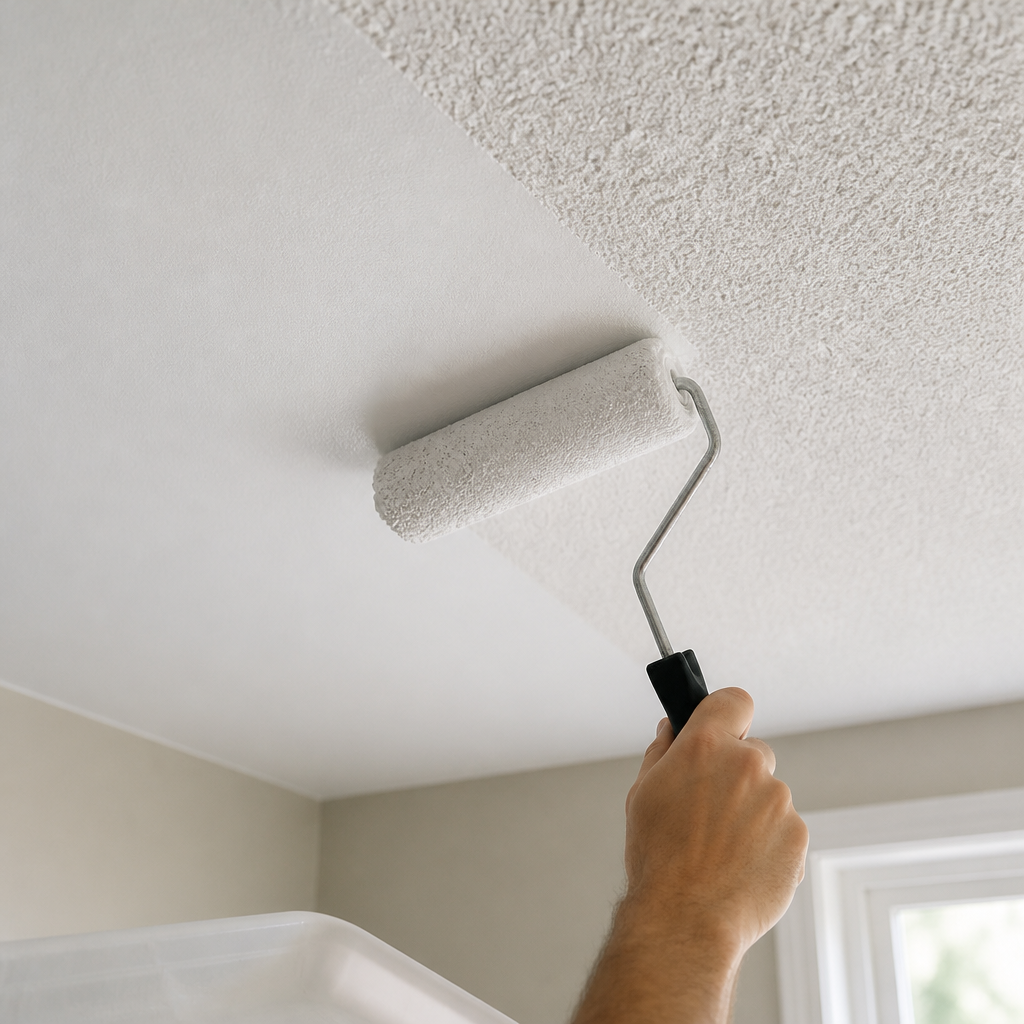
If you decide to hire out this work, the right painter will ask about the age of the home before quoting. They should talk about asbestos testing, sealing stains and the method they plan to use. A quote that skips those questions usually means the prep will be rushed.
At Dreamscape Painting, our estimators look at the ceiling in person before recommending a method, because the texture, the lighting and the room layout all change the plan. Our painters have been working in the Lower Mainland for over 35 years, so we have seen the full range of popcorn ceilings, from sound textures that only need a clean coat to ceilings that need repair before any paint goes on. You can learn more about our interior painting services at Dreamscape Painting.
Questions to ask before you sign
Ask who will do the prep, how the plastic and masking will be handled, and whether stain-blocking primer is included. Ask whether the crew uses spray or roll for the ceiling and why. Clear answers on those points tell you a lot about how the rest of the job will go.
What a clean job looks like
A well-run popcorn ceiling job leaves the floors protected, the fixtures uncovered and no visible dust in the room when the crew leaves. The ceiling should have even coverage with no lap marks when viewed from a low angle. Cleanliness and attention to detail are the difference between a project that looks finished and one that only looks painted.
Frequently Asked Questions
Can I paint a popcorn ceiling without removing the texture?
Yes, and for most homes it is the practical choice. The texture needs to be sound, free of loose sections, and tested for asbestos if the ceiling is old. With proper prep and flat ceiling paint, the texture can be painted without scraping.
Do I need primer before painting a popcorn ceiling?
Primer is strongly recommended, especially over water stains, new repair compound and areas where the old paint is uneven. A stain-blocking primer keeps old marks from bleeding through the topcoat. Skipping it often adds extra coats and a blotchy finish.
Is it safe to scrape a popcorn ceiling before testing it?
No. If the ceiling was installed before 1980, This Old House advises having it tested for asbestos before any work. Scraping or sanding can release fibres, so get the test result first.
What type of paint is best for a popcorn ceiling?
A flat or ultra-flat ceiling paint is the best option because it hides texture and reduces glare. Glossier sheens highlight the bumps and roller marks. Check the product sheet for hide, coverage and recoat times before you buy.
Should I spray or roll a popcorn ceiling?
Spraying is faster on large open rooms, but it needs thorough masking. Rolling is more controllable in small rooms, bathrooms and hallways. Many experienced painters use spray for the field and a roller or brush for the edges.
Have you painted over a popcorn ceiling in Abbotsford, Langley, Surrey or elsewhere in the Fraser Valley, and what surprised you most once the first coat was on?
References
- Step-by-step guide to preparing and painting a popcorn ceiling
- Homeowner guide to spraying popcorn ceilings with an airless sprayer
- Overview of waterborne ceiling paint and ceiling color ideas
- Pros and cons of removing popcorn ceilings for homeowners
- Advice on textured ceilings to read before scraping

