

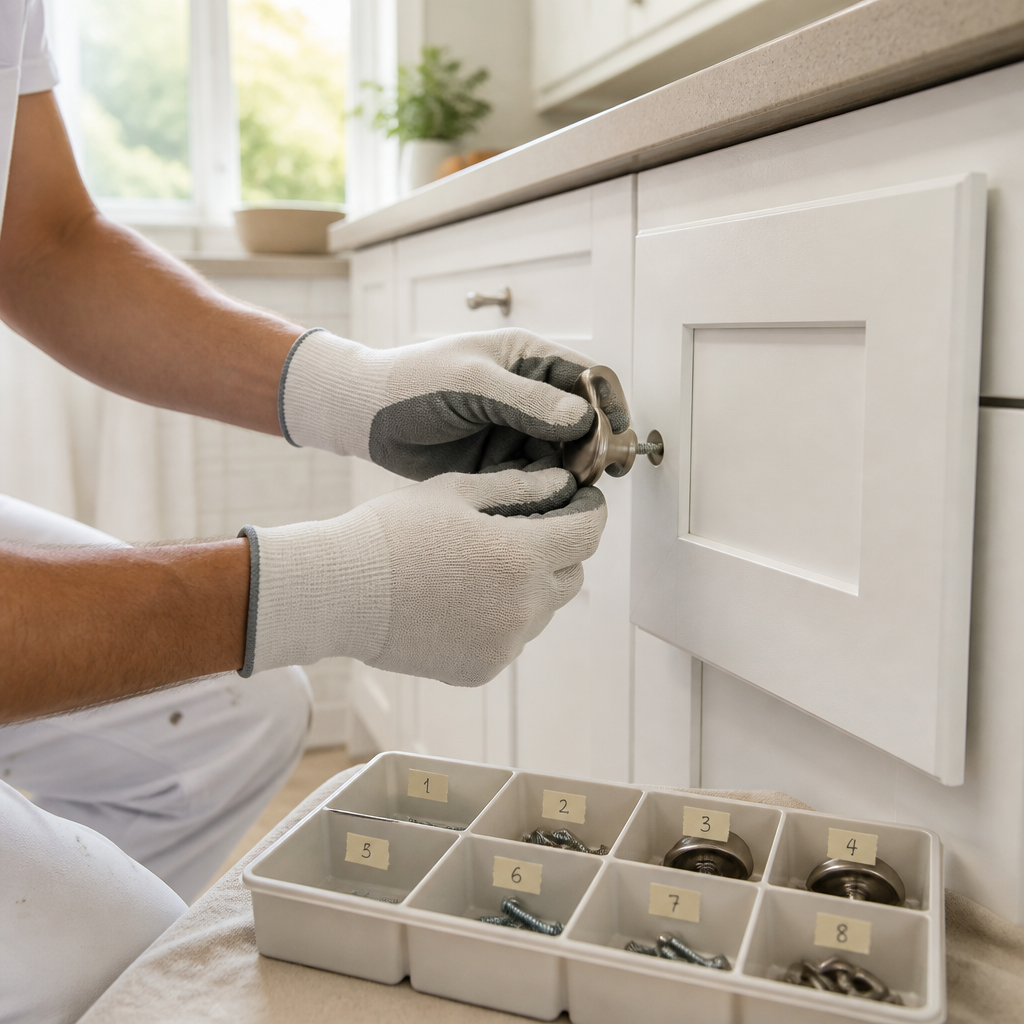
Cabinet refinishing appears simple from the outside, yet hardware handling is where many projects lose accuracy and time. A professional cabinet refinishing process in BC begins before any door leaves the kitchen, with every pull, knob, and hinge removed, recorded, and set aside. Across Abbotsford, Langley, Surrey, and the wider Fraser Valley, kitchens differ in door count, hole spacing, and finish history, so the removal stage shapes the final result. This article explains what happens to hardware during a professional refinishing job, why each step matters, and what homeowners can expect when the cabinets are returned. See our cabinet painters in Abbotsford and Surrey cabinet refinishing.
Table of Contents
- Quick Takeaways
- What Hardware Removal Involves
- Labeling and Documenting Every Piece
- Surface Preparation Around Hardware Holes
- Spray Application and Curing
- Hardware Painting Options
- Reinstallation and Alignment
- Final Walkthrough and Handover
- Frequently Asked Questions
- References
Quick Takeaways
| Key Insight | Explanation |
|---|---|
| Remove all hardware before sanding begins | Painting around pulls and hinges in place leaves visible lines, paint in screw threads, and uneven edges. |
| Bag and label hardware by door | Each door should have its own parts bag and a location code that matches the cabinet run. |
| Measure pull spacing before filling holes | Once old screw holes are filled, incorrect spacing is difficult to correct without additional filler and drilling. |
| Record hinge position and reveal | Recorded positions allow doors to be rehung exactly as they were, which keeps gaps even across the kitchen. |
| Finish hardware off-site when durability matters | Off-site repainting protects screw threads and avoids chipping where fingers grip the pulls. |
| Allow doors to cure before reinstallation | Reinstalling doors too early can mark the finish at hinge edges, so cure time is built into the schedule. |
| Use a template for reinstallation | Positioning pulls from a template and a level produces consistent alignment across every door and drawer. |
What Hardware Removal Involves
Hardware removal is the first physical stage of a professional refinishing job, and it determines how evenly the finish can be applied. Every door, drawer front, and hinge is detached so the coating reaches all edges and rear faces. Painting around pulls and knobs in place is possible, but it usually leaves visible lines, paint in the screw threads, and uneven edges near the hardware.
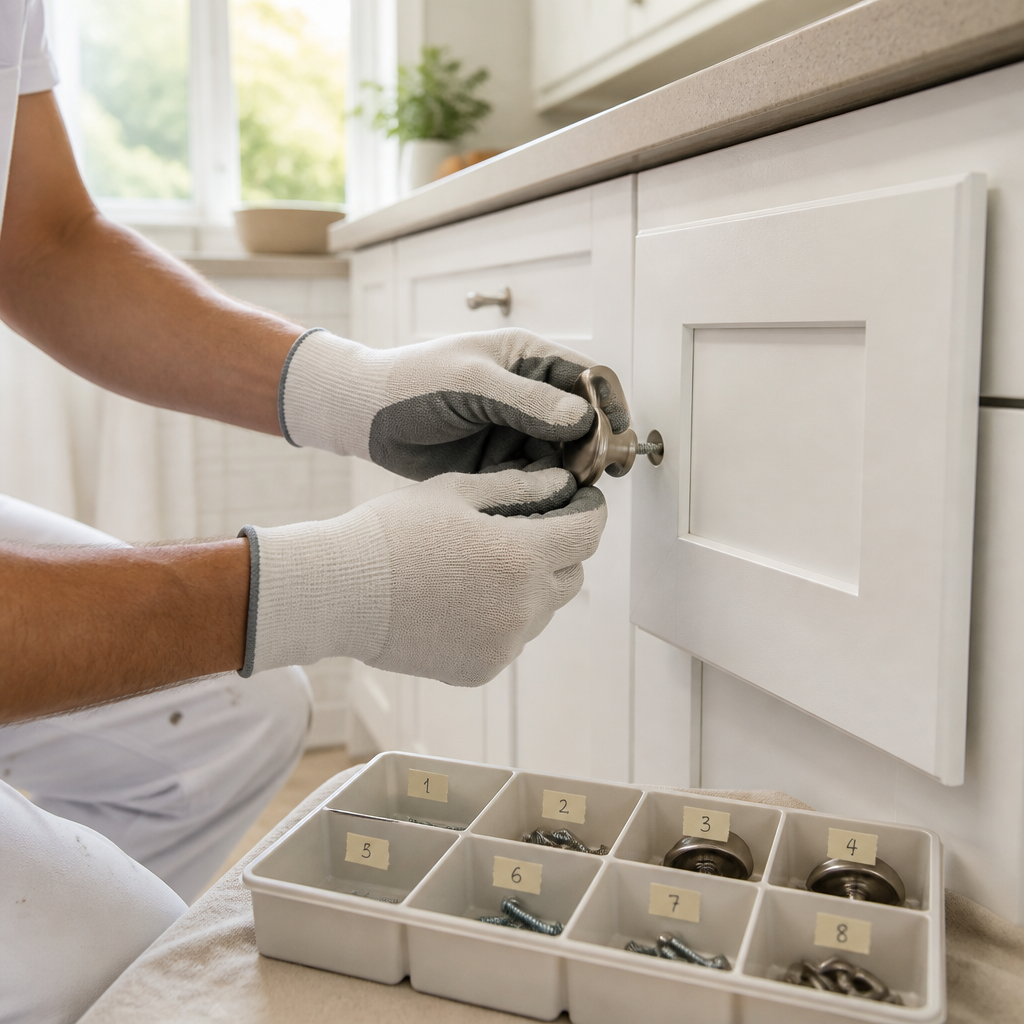
The removal sequence is set by the finishing team rather than by the homeowner. Doors and drawer fronts go to a controlled finishing area, while drawer boxes generally remain in the cabinet frame unless they are damaged. Hinges usually come off with the doors, and their mounting position is recorded before any screw is loosened.
Tools and Removal Sequence
Professional teams work with fitted screwdriver bits, a magnetic tray, and sealable bags sized for each door. Screws are removed in a fixed order, starting with pulls and knobs, followed by hinges and any drawer slides that must be detached. A separate parts bag for each door prevents fasteners from mixing between locations.
The most reliable method is to remove one door at a time and label its bag before moving to the next. A common reason cabinets fail to close flush after reinstallation is that screws from several doors were combined during removal. Single-door bagging prevents that problem and reduces the time spent matching fasteners later.
Identifying Hardware That Needs Replacement
Removal also reveals the condition of the hardware itself. Pulls with stripped threads, loose hinge cups, or cracked mounting plates are easier to address before the finish is applied. Homeowners who plan to replace hardware should decide during the estimate, because a new style with different hole spacing adds filling and drilling work to the prep schedule.
Labeling and Documenting Every Piece
Labeling is the step that separates a clean reinstallation from a day of trial fitting. Each door and drawer front receives a code that identifies its location, such as the wall, the cabinet run, and the position within that run. The code is written on the back face and on the matching parts bag, and it is kept consistent across the job file.
Mapping Hole Centers for Pulls and Knobs
Before any pull is removed, the center-to-center spacing of its screw holes is measured and recorded. Measurements are taken on both the door and the drawer face, since the same cabinet line can use different spacing on different components. A paper template or a simple card with the spacing marked is the most practical record for later use.
Spacing errors are difficult to correct once the old holes are filled. For that reason, the measurement is verified before filling begins, not after the topcoat is applied.
Pro tip: Photograph each door’s hardware layout with the door code visible before removal. A photo is a useful reference if a template is lost or if the homeowner later asks where a pull was originally placed.
Recording Hinge Position and Door Fit
Hinge orientation and reveal, the gap between the door and the frame, are recorded with the same care. Reveal is often uneven in older kitchens, and noting the original position prevents doors from being rehung differently than before. This matters most in Lower Mainland homes built in different decades, where cabinet construction and hinge types vary.
Documentation also protects the homeowner. If a door has a pre-existing warp, a broken hinge, or a loose frame, the condition is recorded at intake so it is not attributed to the refinishing work.
Surface Preparation Around Hardware Holes
Preparation begins with cleaning, and paint manufacturers treat it as the foundation of the job. Benjamin Moore guidance on cabinet painting states that cabinets and doors should be clean and dry, cleaned with a gentle grease remover and a damp sponge. Kitchen cabinets near cooking areas carry a film of cooking oil that can prevent primer from bonding, so degreasing is performed before any sanding.
Scuff sanding follows once the surface is dry. The goal is to dull the existing finish so the primer can grip it, not to remove the finish entirely. The dust is then cleared with a tack cloth or a lightly damp wipe, and the surface is checked for missed areas around hardware holes.
Filling and Sanding Old Screw Holes
Old pull and hinge holes are filled with a filler suited to the substrate. The filler is applied slightly proud of the surface, allowed to cure fully, and sanded flush. Filler applied too early can shrink or crack, and the defect becomes visible through the topcoat.
The filling step is also where the choice of new hardware matters. Filling a hole to conceal it differs from filling a hole to prepare for a new pull at a different spacing, and each case requires a different sanding pattern to keep the surface even.
Bond Primer and Sealing Repaired Areas
Bond primer is applied after filling and sanding so that repaired areas are sealed and absorb the topcoat at the same rate as the rest of the door. Spot priming only the filled area leaves a visible sheen difference, which is why the full face is primed. Published guidance from primer manufacturers follows the same order: preparation, degreasing, scuff sanding, wiping down, and then priming.
Spray Application and Curing
Spray application is the stage where consistent film thickness matters most. Doors are sprayed on racks in a dust-controlled area, which allows both faces and all edges to be coated in controlled passes. Brushing and rolling can work on flat panels, but they tend to leave brush marks on raised profiles and routed edges.
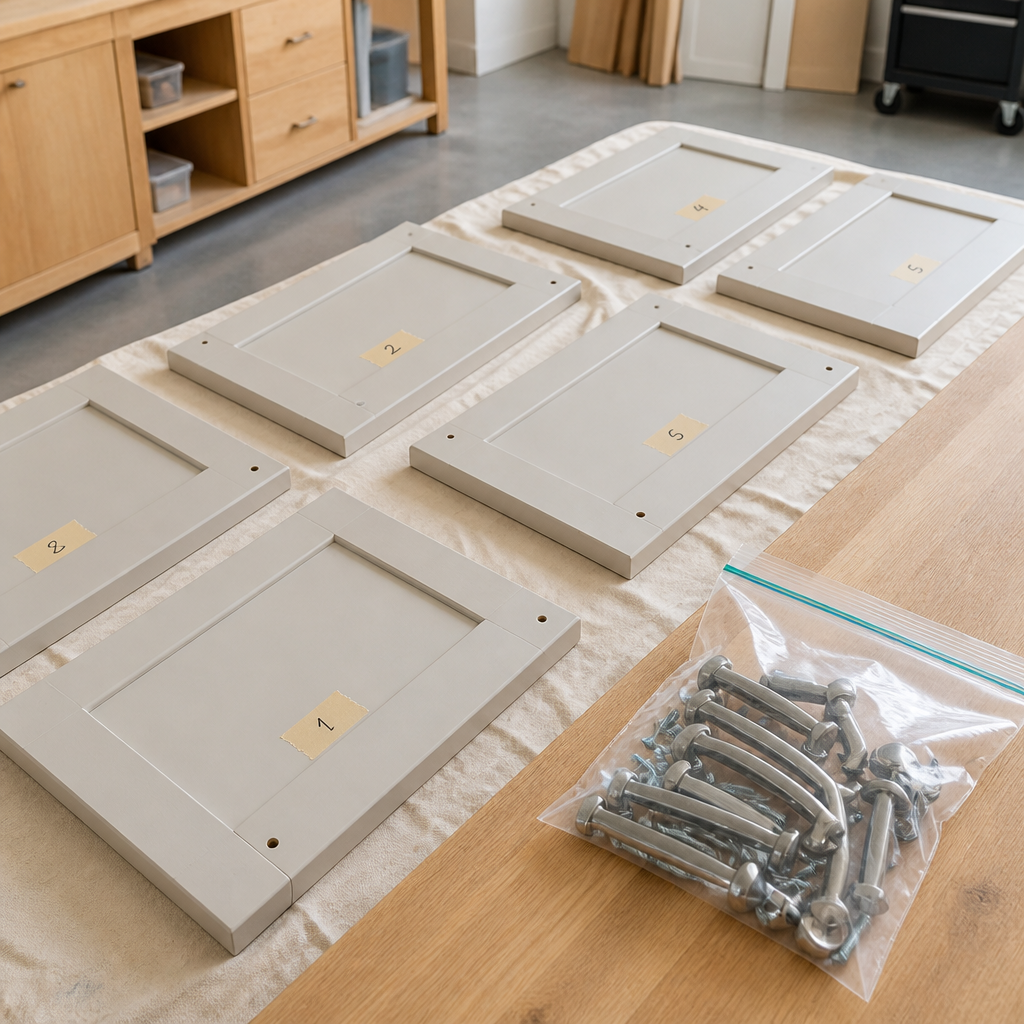
Drying and curing are separate stages. A coating can be dry to the touch within hours yet remain soft enough to mark under a fingernail or hinge pressure. Full cure takes considerably longer, and it is the main reason a professional job is scheduled over several days.
Why Doors Cure Before Reinstallation
Doors return to the cabinet frame only after they have cured enough to resist hinge pressure and routine handling. Reinstalling early can pull the coating at the hinge edges and leave marks on the fresh finish. A refinishing schedule that appears longer than a standard painting job is often the result of this cure window.
Temperature and Humidity on the Job Site
Coatings perform best within the temperature and humidity ranges listed on the product technical data sheet. Those limits should be checked against actual conditions in the kitchen, since a closed room with running appliances can hold more moisture than the homeowner expects. Autumn conditions in the Fraser Valley, with cooler temperatures and higher humidity, extend drying windows, so the schedule is adjusted to the forecast and to the conditions inside the home.
Hardware Painting Options
Hardware is finished separately from the cabinetry, and homeowners usually choose between three paths: refinishing the existing pulls, replacing them with new hardware, or leaving the original metal unpainted. Each path changes the time, the labor, and the final appearance of the kitchen.
Painting Existing Hardware Off-Site
Painting hardware away from the kitchen produces the most durable result. Pulls are cleaned, degreased, lightly scuffed, and primed with a primer suited to metal. They are then finished with an enamel topcoat, and the threads are protected so that paint does not block the screws during reinstallation.
Hardware painted in place tends to chip where fingers grip the pull and where the coating meets the screw head. The off-site method takes more handling, but it extends the life of the finish.
Replacing Hardware With New Pulls
New hardware is often selected when a color change calls for a different finish, such as matte black or brushed nickel. Replacement requires the spacing check described earlier. Where the new spacing differs from the original, the team fills the old holes and drills new ones, which adds prep time and a second sanding pass.
Comparing Hardware Approaches
The table below summarizes how the three common approaches compare on the job.
| Approach | Typical Outcome | Best Fit |
|---|---|---|
| Off-site repainting of existing pulls | Smooth, durable finish with clean screw threads. Requires full removal of every piece. | Solid, well-fitted hardware that the homeowner intends to keep |
| Masking hardware in place | Faster on the day, but paint lines and buildup in threads are common. | Short-term projects where the hardware will not be replaced |
| Replacing with new pulls | Full style update. Filling and drilling are required when hole spacing changes. | Color or style changes that are planned as part of the refinish |
Pro tip: Confirm hardware quantities and finishes at the estimate stage. Ordering replacement pulls after doors are stripped can delay the reinstallation date and leave the cabinets without handles for several days.
Reinstallation and Alignment
Reinstallation is where the earlier documentation becomes useful. Doors are hung using the recorded hinge positions, and reveal gaps are checked against the original measurements. A door hung without this check can sit slightly higher or lower than its neighbors, which is visible even in a well-finished kitchen.
Consistent hardware placement is one of the most visible signs of a careful refinishing job, and it is one of the least noticed steps during the work.
Hinge Adjustment and Soft-Close Checks
Hinges are adjusted after the doors are hung. Most modern hinges allow horizontal, vertical, and depth movement, and each door is tested for an even gap and full closure. Soft-close mechanisms are tested for travel, since misalignment can cause the damper to wear early.
Positioning Pulls With a Template
Pulls are positioned with the paper template or a spacing jig, and a level is used before the screws are fully tightened. Screws are tightened in steps to avoid cracking the fresh finish around each hole. Drawer fronts are then checked for reveal at the top and bottom, and each drawer is tested through full extension.
Final Walkthrough and Handover
The final walkthrough confirms that every door and drawer has been returned to its recorded location and that the finish meets the agreed standard. The inspection is carried out in daylight with the lights on, from the viewing distance a homeowner would use during normal use of the kitchen.
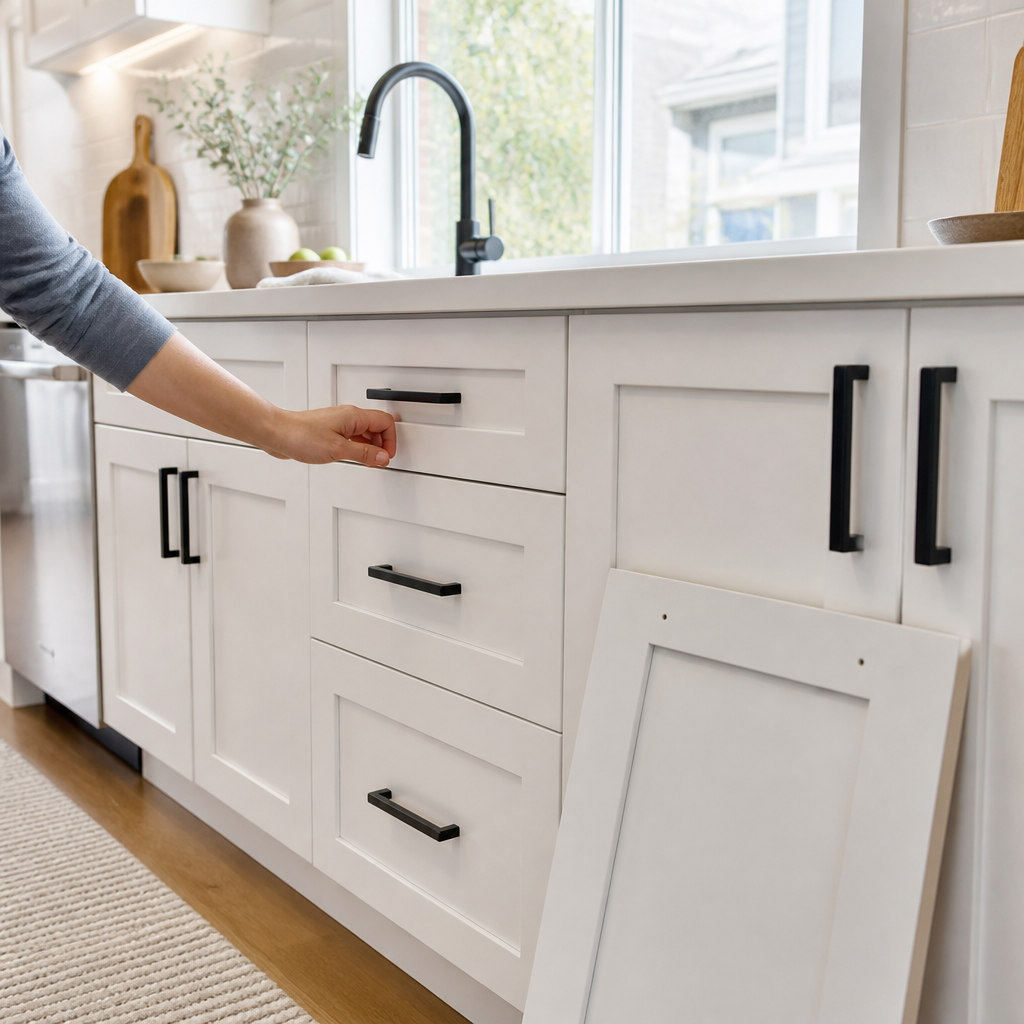
Cleaning is part of the handover. Dust on frames, protective film on hardware, and debris inside drawers are removed before the kitchen is returned. The homeowner receives a written account of the work, including any filled holes, hinge adjustments, or repairs made during the job.
Checking Finish Quality Before Handover
The finish inspection looks for runs, uneven texture, missed edges, and dust nibs. Corrections are made before the kitchen is returned to regular use, since doors are the simplest components to address at this stage. Hardware is also tested for secure fit, because a loose pull is easier to correct now than after the first week of use.
Care Guidance for the First Month
The first month after a refinish is a period of continued curing. Homeowners are advised to clean with a soft cloth and a mild cleaner rather than an abrasive product, to open cabinets by the pull rather than by the door edge, and to avoid stacking heavy items against the doors. Specific guidance depends on the product used, and the installer’s written instructions take precedence.
Frequently Asked Questions
How long does hardware removal take during a cabinet refinishing job?
Removal and labeling usually take place early in the first working day. The exact time depends on the number of doors and drawers, the type of hinges, and how easily the screws release from older hardware.
Should a homeowner remove the cabinet hardware before the crew arrives?
Homeowners can clear counters, drawers, and wall items to help the team start on time. Removing doors or hinges without a labeling system often causes mismatches, so hardware removal is best left to the refinishing team.
Can cabinet hardware be painted to match a new color?
Yes. Hardware can be cleaned, primed with a primer suited to metal, and finished with an enamel topcoat. Painting off-site produces the most durable result, while painting in place is possible but usually leaves visible lines.
Will the old screw holes show after cabinet refinishing?
Properly filled, sanded, and primed holes are generally not visible under the topcoat. The result depends on the filler selected and on allowing it to cure fully before sanding. Holes that are filled too early can show as changes in sheen or texture.
Why does a refinishing job take several days instead of one?
Cure time is the main factor. Doors must reach enough hardness to withstand hinge pressure before reinstallation, and the schedule includes drying time for each coat. Cooler and more humid conditions in the Fraser Valley during autumn can extend those windows.
We would welcome your feedback: have you compared hardware options during a cabinet refinishing project, and which part of the removal and reinstallation process did you find most useful to understand?

