


Older homes across the Lower Mainland often carry oil-based finishes on trim, doors, and cabinetry. For homeowners considering painting over oil-based paint BC properties, the central question is rarely whether a new coat can be applied. The real question is whether the new film will bond to the old one for years. Skipping identification, bonding primer, or surface preparation commonly leads to peeling trim within a few seasons, which is costly to correct.
Table of Contents
- Quick Takeaways
- How to Identify Oil-Based Paint
- Why Oil and Latex Do Not Bond the Same Way
- Preparing Trim and Walls Before Repainting
- Lead and Dust Precautions for Pre-1980 Homes
- Choosing Between Sanding, Priming, and Stripping
- Primer Selection and Application Sequence
- Interior Protection and Working Conditions in the Lower Mainland
- When to Hire a Professional Painter
- Frequently Asked Questions
- References
Quick Takeaways
| Key Insight | Explanation |
|---|---|
| Identify the existing finish first | Test a clean, dry area with rubbing alcohol before selecting a primer or topcoat. Test at least two locations, since a single house may have been painted at different times. |
| Latex over oil is not automatic | Adhesion depends on the condition of the old film and on the primer used, not on the topcoat alone. |
| Failure appears in stages | Latex that does not bond usually lifts in some areas first and others later. Scraping and recoating rarely solves the problem. |
| Scuff glossy surfaces | Light sanding with fine abrasive, such as 220-grit, creates tooth for the primer on glossy oil finishes. |
| Treat pre-1980 coatings as possible lead | Dry sanding and open scraping release dust. Containment and a respirator are necessary before disturbing these layers. |
| Use a bonding primer over oil | A water-based bonding primer applied to a sound oil film forms the foundation of a durable latex system. |
| Plan around autumn and winter humidity | Cool, damp conditions extend drying times and can affect film formation, so sequence and ventilation must be planned. |
How to Identify Oil-Based Paint
Identification is the first decision in any repainting project because it determines whether a standard latex system can bond or whether additional preparation is required. Many homeowners in Surrey and Langley assume their trim is latex, particularly when the house was repainted in recent decades. A previous owner or contractor may have used an oil-based product without any record of it, so a field test removes most of the uncertainty before materials are purchased.

Performing the Alcohol Test
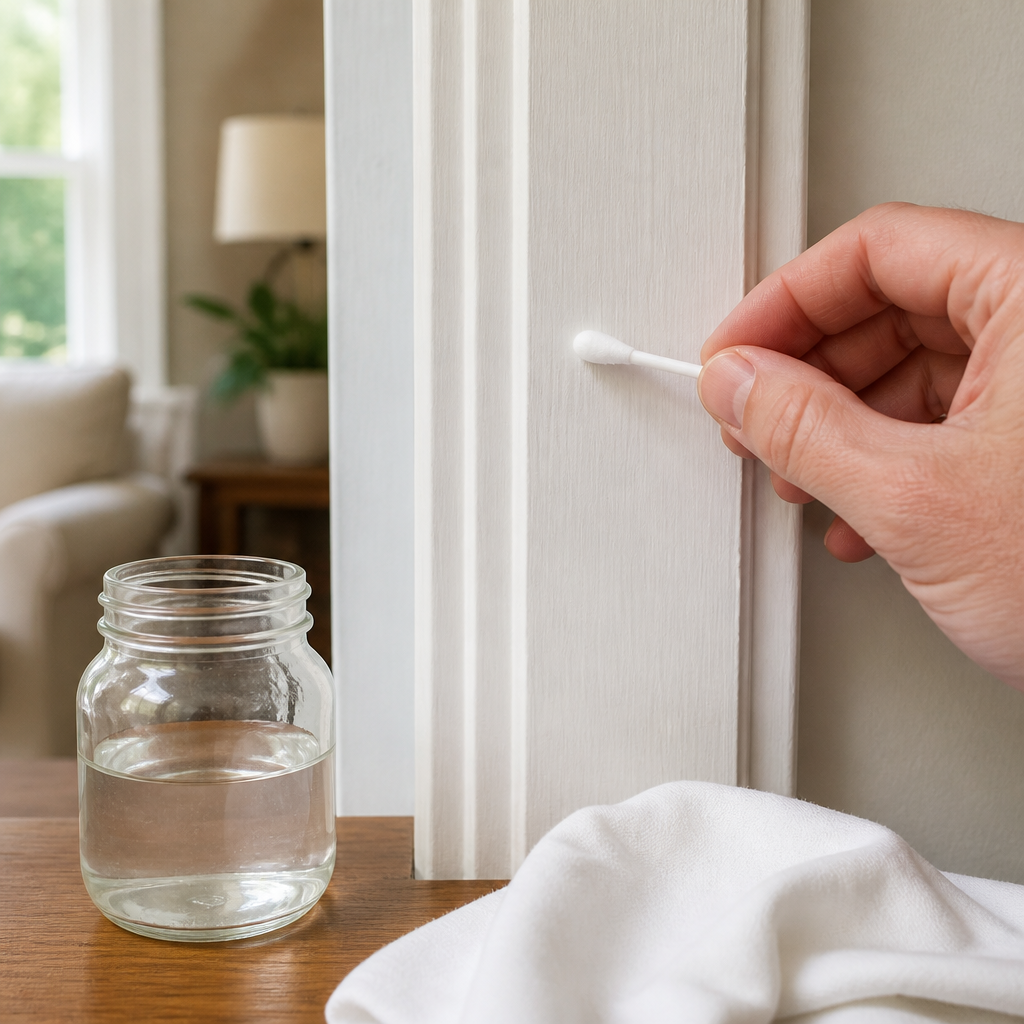
The alcohol test requires a clean, dry section of wall or trim and a cotton ball or square saturated with rubbing alcohol. Wipe a small area for several seconds and observe whether paint lifts onto the cotton. A homeowner account of a failed trim project describes this result as an indicator of latex, while a finish that resists the alcohol is more likely to be oil-based. Because the test is simple, it should be repeated in more than one room, especially where finishes may have been applied at different times.
Pro tip: Test a hidden location, such as the back edge of a door casing or the underside of a baseboard, so that any residue from the test does not show on a visible surface.
Reading Older Finishes Visually
Visual clues support the alcohol test but do not replace it. Oil-based enamels generally cure to a harder film and often retain higher gloss, and they may show slight yellowing over time. These traits vary by product and age, so a finish that looks like oil may still be latex, and a finish that looks modern may still be oil. Cabinetry, doors, and built-in trim in older homes are more likely to carry oil finishes than wall surfaces, which is a useful starting point for planning.
Where the property has had several owners, the paint history may be unclear. In these cases, the field test should be treated as the authoritative result, and the project scope should assume that oil-based layers are present until a test proves otherwise. This approach avoids the most common error in trim work, which is selecting materials before the existing finish has been confirmed.
Why Oil and Latex Do Not Bond the Same Way
Adhesion between paint layers depends on how well the new film wets, penetrates, and mechanically grips the existing finish. Oil-based coatings generally bond well to most surfaces, which is why they were traditionally used on trim. Latex films form differently, and on a glossy oil substrate they can adhere poorly unless the surface has been prepared and primed correctly.
The long-standing rule that oil can be applied over latex but latex cannot be applied over oil is an incomplete guide. A practitioner discussion on this topic notes that when a surface is properly primed, the adhesion difference between the two systems is small in most cases. The practical question is therefore whether the latex is bonding to the oil beneath it, which shifts the decision from a general rule to a test of the existing coating.
The question is not whether latex can be applied over oil, but whether the new film is bonding to the old one. A coating that cannot bond will fail, regardless of its product category.
The Peeling Pattern to Watch For
Failure rarely appears on the day of painting. Latex that does not bond typically lifts in some areas first and in others later, which is why a spot repair often leads to repeated failure. A common mistake is to scrape loose areas, fill them, and recoat, leaving poorly bonded film in place beneath new paint. The new layer then lifts with the old one.
Trim near entry doors and in rooms with high moisture, such as bathrooms and laundry rooms, may show failure earlier because of greater exposure to humidity and temperature changes. When these areas show peeling, the entire affected section should be reassessed rather than patched in isolation.
Testing Adhesion Before Committing
A simple adhesion check can be performed before any full-scale work begins. Make a cross-hatch pattern in a small area of the existing topcoat with a sharp blade, apply a strip of strong tape firmly over the pattern, and pull it away quickly. If the coating lifts with the tape, the bond between layers is inadequate, and a stripping or sanding approach is required. If the coating remains intact, a scuff-sand and bonding primer system is generally appropriate.
Preparing Trim and Walls Before Repainting
Preparation accounts for most of the difference between a durable repaint and a failed one. The surface must be clean, dull enough to accept a primer, and free of loose material. Each step should be completed in sequence, because a clean surface that has not been scuffed still lacks the tooth that a bonding primer needs.
Preparation also protects the appearance of the finished work. Residue, dust, and loose flakes left on the surface often appear as bumps or texture under a gloss topcoat. A methodical approach at this stage reduces callbacks and rework, particularly on high-visibility trim.
Cleaning and Degreasing Oily Residue
Trim in kitchens, hallways, and entries often collects a film of cooking oil, hand oils, and dust. This residue prevents primers and topcoats from bonding, and it can be the cause of failure even when the underlying oil coat is sound. Wash surfaces with an appropriate degreaser, rinse with clean water, and allow them to dry completely before sanding or priming.
Satin and flat latex surfaces need the same attention. A practitioner discussion on repainting latex over oil notes that surfaces should be clean, especially free of oily residue, before any new coat is applied. Skipping this step is one of the most frequent causes of unexplained peeling in otherwise well-executed work.
Scuffing and Sanding Glossy Finishes
Glossy finishes require a mechanical key before a bonding primer can perform. A light sanding with 220-grit abrasive is a common starting point for glossy latex and oil surfaces. The goal is to dull the surface evenly, not to remove the coating, so sanding should be light and consistent across each profile of the moulding.
Sanding should be followed by thorough dust removal. A vacuum with a brush attachment and a tack cloth remove the fine residue that otherwise interferes with adhesion. Bare wood exposed by sanding or repairs should be spot primed promptly, because raw wood can absorb moisture and discolour the topcoat.
Pro tip: Sand in the direction of the grain on trim and inspect the surface under raking light. Any remaining shine indicates areas that need additional scuffing before priming.
Lead and Dust Precautions for Pre-1980 Homes
Older paint films present a health risk that is independent of the adhesion question. A practitioner discussion on repainting older trim advises that any paint applied before 1980 should be assumed to contain lead and possibly asbestos. Sanding or scraping these layers without controls can release fine particles that are hazardous to occupants, children, and the work crew.
Assessing Whether Lead Testing Is Needed
For homes built before 1980, a lead assessment should be completed before disturbing the paint. Testing may be carried out with laboratory analysis or with lead test kits, and the results should inform the choice of method. Where testing is not possible, the property should be managed as though lead is present, and the surface preparation plan should reflect that assumption.
Lead considerations affect cabinetry and window trim as well as walls. Demolition, sanding, and stripping of older components should be scheduled with the same care, and any debris must be handled and disposed of according to local requirements.
Containment and Respirator Practice
Containment begins with closing off the work area, covering floors and fixed fittings with heavy plastic, and keeping occupants and pets out of the zone. Wet methods reduce airborne dust, so surfaces should be dampened where the coating allows. A respirator rated for the hazard must be worn throughout sanding and scraping, and it should be fitted correctly before work begins.
Cleanup should be performed with a HEPA-filtered vacuum rather than a standard household unit, and dust should never be swept dry. Clothing worn during the work should be laundered separately from household laundry. These practices protect the household as much as the painter.
Choosing Between Sanding, Priming, and Stripping
Once the existing finish has been identified and tested, the surface treatment must match its condition. A sound oil film that passes adhesion testing rarely needs complete removal. A failing or heavily built-up coating usually does, because a new system cannot compensate for a weak foundation. The table below summarises the three main approaches and their limitations.
| Approach | Best Suited For | Main Limitation |
|---|---|---|
| Scuff sanding with a bonding primer | Sound, well-adhered oil film in good condition that passes an adhesion test | Does not correct failing film, so the test must be completed first |
| Full sanding to bare substrate | Peeling, chalky, or heavily cracked oil film where the bond is compromised | Labour intensive and produces dust that requires containment |
| Chemical stripping or heat gun removal | Thick build-up or intricate mouldings with several layers of old finish | Heat can scorch wood, chemicals require careful handling and disposal, and pre-1980 coatings require lead precautions |
Selecting the wrong approach is costly in both directions. Stripping a sound film adds labour and dust without improving the result, while scuff sanding a failing film leaves the defect in place. The adhesion test and the lead assessment together determine which approach is appropriate for each surface.
Matching the Method to Mouldings and Panels
Flat panels and simple casings can often be scuffed and primed efficiently. Ornate mouldings, raised panels, and cabinet doors with profile detail collect more old paint in recesses, and these areas may hold the greatest risk of failure. In these cases, a partial strip followed by scuffing may be more reliable than sanding alone.
Kitchen cabinets require particular attention because they experience heat, moisture, and frequent cleaning. Doors and drawer fronts should be assessed separately from frames, since the bond can differ between components that have been handled differently over the years.
Primer Selection and Application Sequence
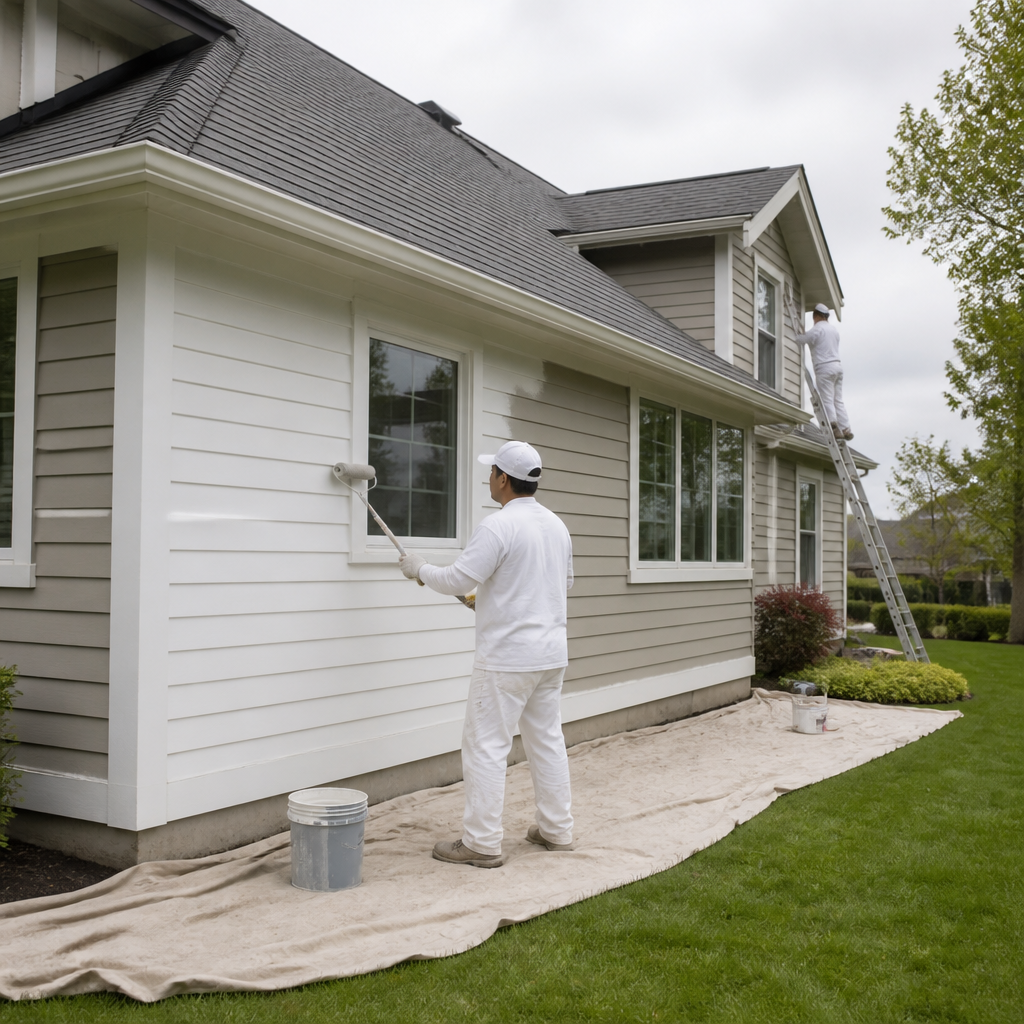
The primer is the critical link between the existing oil film and the latex topcoat. A standard latex primer applied directly to glossy oil may not hold, whereas a bonding primer formulated for difficult substrates is designed to anchor to the surface and accept the topcoat. The practitioner view that water-based primer can be applied over oil, so long as the surface is prepared and primed before the topcoat, reflects this principle.
Selecting a Bonding Primer for Oil Substrates
Primer selection should be based on the substrate condition and the manufacturer’s stated compatibility with oil-based finishes. The label should identify the surfaces it is designed to bond to, and it should be applied according to the recommended film thickness and drying time. Substituting a general-purpose primer to save cost frequently results in adhesion failure that is expensive to repair.
Primer coverage should be checked carefully on edges, corners, and profiles where the film is thinnest. Missed areas often become the first points of failure after the topcoat is applied.
Sequencing Coats and Cure Times
The recommended sequence is a clean, scuffed surface, followed by the bonding primer, followed by the latex topcoat applied in at least two coats. Recoat windows and cure times vary by product, and the manufacturer’s directions should govern each stage. Rushing the sequence, particularly in damp conditions, traps moisture and can lead to blistering or poor adhesion.
Trim work should be scheduled so that each coat has sufficient time to dry before the next is applied. Where possible, the finish coat on trim should be applied after wall painting is complete, so that roller spatter and drips do not compromise the trim surface.
Interior Protection and Working Conditions in the Lower Mainland
Working conditions in the Lower Mainland have a direct effect on how oil-to-latex systems perform. Late autumn and winter bring cooler temperatures, higher humidity, and longer drying times, all of which influence how primers and topcoats set. Interior work should be planned with these conditions in mind, rather than assuming that a product label’s drying time applies without adjustment.
Occupied homes add further constraints. Doors, windows, and heating systems all affect air movement and moisture, and each must be managed during the project.
Humidity, Temperature, and Drying Time in Autumn
Humidity slows the evaporation of water from water-based primers and topcoats, which can extend recoat intervals and prolong the period during which the film remains vulnerable to marking. Temperatures below the manufacturer’s minimum application range can also prevent proper film formation. Room conditions should be checked before each coat, and the schedule should allow additional time when conditions are cool or damp.
Ventilation should be balanced against comfort and the risk of drafts that carry dust. Gentle, consistent airflow supports drying without disturbing wet surfaces. Heating should be maintained at a steady level, since rapid temperature swings can affect how the finish cures.
Protecting Flooring and Finished Surfaces
Sequencing is the most effective protection for flooring. Trim painting should be completed before new carpet or hard flooring is installed, because installers who work around wet or freshly painted trim can cause damage that is difficult to correct. Where flooring must be installed first, the surfaces should be covered and the work sequenced so that trim is not disturbed during installation.
Protection should extend to fixtures, hardware, and adjacent finishes. Painter’s tape should be removed at the correct time, typically once the paint has set but before it has fully cured, to avoid lifting fresh film. Drop cloths should be secured so that they do not shift onto wet surfaces.
When to Hire a Professional Painter
Some oil-to-latex projects are suitable for capable homeowners, particularly single rooms with sound finishes and minimal profile detail. Others involve multiple storeys, extensive trim, pre-1980 coatings, or cabinetry that is central to the home. In these cases, the costs of error include rework, property damage, and exposure to lead dust, which often exceed the cost of skilled labour.
Dreamscape Painting Ltd. has served homeowners and property owners across the Lower Mainland since 1990. Its estimators assess the existing finish before work begins, and its painters apply the preparation sequence described above on interior and exterior trim, cabinet refinishing, and commercial projects. Clients in Abbotsford, Langley, Surrey, and the wider Fraser Valley can request a site assessment to confirm the approach for their property. Oil-painted kitchen cabinets? See cabinet refinishing in Langley.
Assessing Scope and Risk
A reliable estimate begins with the finish test, the age of the building, and the number of surfaces that require preparation. Trim that is peeling, cabinetry with heavy build-up, and older paint layers each increase the scope of work. Scope should be defined before a quote is accepted, so that the preparation method and the cost are clearly understood.
Commercial properties require additional planning for occupancy, scheduling, and cleanliness standards. The same principles of testing and preparation apply, but the logistics of working around business operations must be built into the project plan.
Questions to Ask an Estimator
Homeowners should ask how the existing finish will be identified, which primer will be used on oil surfaces, and how lead and dust will be controlled in older homes. A clear answer to each question indicates that the estimator is working from the surface condition rather than a standard template. Requests for a written description of the preparation sequence also help ensure that the work will be completed as quoted.
Frequently Asked Questions
Can latex paint be applied directly over oil-based paint?
Latex paint should not be applied directly over oil-based paint without preparation. A properly prepared surface, scuffed and primed with a bonding primer, can accept a latex topcoat, but the bond must be confirmed with an adhesion test before the full project proceeds.
How can I tell whether my trim is oil-based?
Wipe a small, clean, dry area with a cotton ball or square saturated with rubbing alcohol. Paint that lifts onto the cotton indicates latex, while paint that resists is more likely to be oil-based. Repeat the test in more than one location, and use visual clues such as gloss and hardness as supporting evidence.
Do I need to remove all of the old oil-based paint before repainting?
Complete removal is not always necessary. A sound oil film that passes an adhesion test can usually be scuff-sanded and primed with a bonding primer. Failing, peeling, or heavily built-up coatings should be removed to a stable surface before a new system is applied.
Is lead testing required for homes built before 1980?
Paint applied before 1980 should be treated as possibly containing lead. Testing before sanding, scraping, or stripping allows the preparation method and the containment measures to be matched to the actual hazard. Where testing is not carried out, the work should follow precautions for lead-containing paint.
How long should I wait between the bonding primer and the topcoat?
The wait depends on the product and on conditions in the room. Manufacturer recoat times should be followed, and additional time should be allowed in autumn and winter when humidity is high and temperatures are low. Rushing the sequence can trap moisture and reduce adhesion.
Can kitchen cabinets with an oil finish be repainted with latex?
Kitchen cabinets can be refinished with latex when the existing finish is cleaned, scuff-sanded, and primed with a bonding primer. Doors and frames should be assessed separately, and the result depends on the condition of the finish and the quality of preparation. Cabinetry is a task that benefits from professional assessment because of its exposure to heat, moisture, and frequent cleaning.
We welcome feedback from homeowners and property managers who have repainted oil-based trim in the Fraser Valley, and we would value hearing which preparation step proved most important in your own project.
We would love your feedback and any insights you would share with others. What perspective would you add?

