

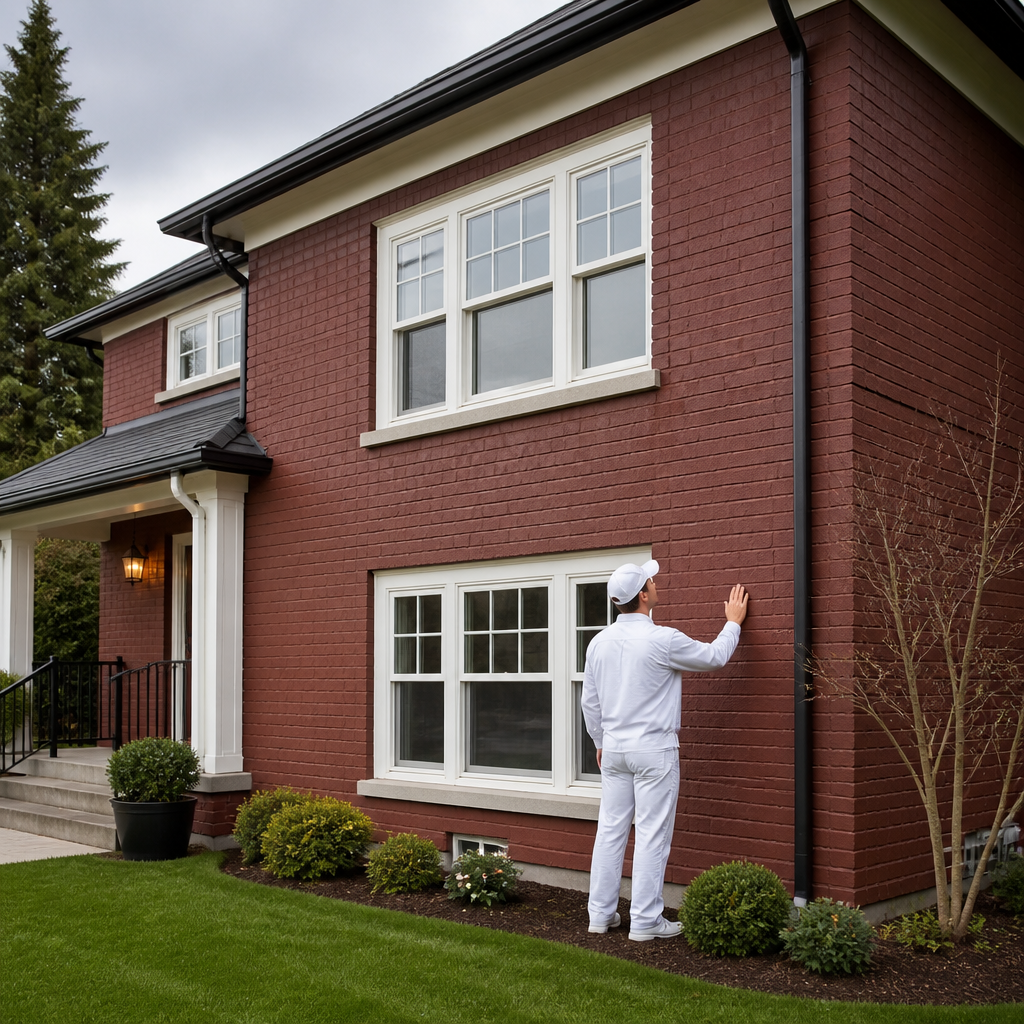
Brick exteriors are durable and require little maintenance in their natural state, which is why many homeowners in Abbotsford, Langley, and Surrey hesitate before painting them. Once paint is applied, the decision is difficult to reverse, and an unsuitable coating or incomplete preparation can trap moisture within the wall. Painting brick exterior BC properties requires a different approach from painting wood siding, because masonry absorbs water, expands and contracts with temperature changes, and is exposed to extended periods of rain. This article reviews the advantages and drawbacks of painting brick, explains how to select masonry paint, and outlines the preparation and timing practices that determine whether a finish performs as intended.
Table of Contents
- Quick Takeaways
- Advantages of Painting Brick Exteriors
- Drawbacks and Risks of Painting Brick
- Selecting Masonry Paint for Brick
- Surface Preparation for Brick Walls
- Timing a Brick Painting Project in the Lower Mainland
- Application Practices That Improve Results
- Cost Factors and Long-Term Maintenance
- Frequently Asked Questions
- References
Quick Takeaways
| Key Insight | Explanation |
|---|---|
| Select breathable masonry paint | Standard exterior acrylic paints with low vapour permeability can trap moisture in brick and mortar, which may lead to blistering and peeling during wet Lower Mainland winters. |
| Treat the first coat as permanent | Paint penetrates porous brick. Removing it later is slow, costly, and can damage the face of the masonry, so colour and product decisions should be finalized before application. |
| Repair before coating | Remove mildew, loose mortar, and efflorescence, and repoint deteriorated joints before any primer or topcoat is applied. |
| Allow new masonry to cure | Manufacturer guidance for a specialty masonry, stucco, and brick paint calls for new masonry to cure for 30 days before painting. |
| Schedule for dry, mild weather | Confirm the minimum application temperature on the product data sheet and avoid scheduling coats ahead of periods of rain or high humidity. |
| Plan for recoating based on condition | Exposure, coating type, and workmanship determine recoating intervals. Inspect the wall each year and recoat when condition warrants it rather than on a fixed calendar. |
Advantages of Painting Brick Exteriors
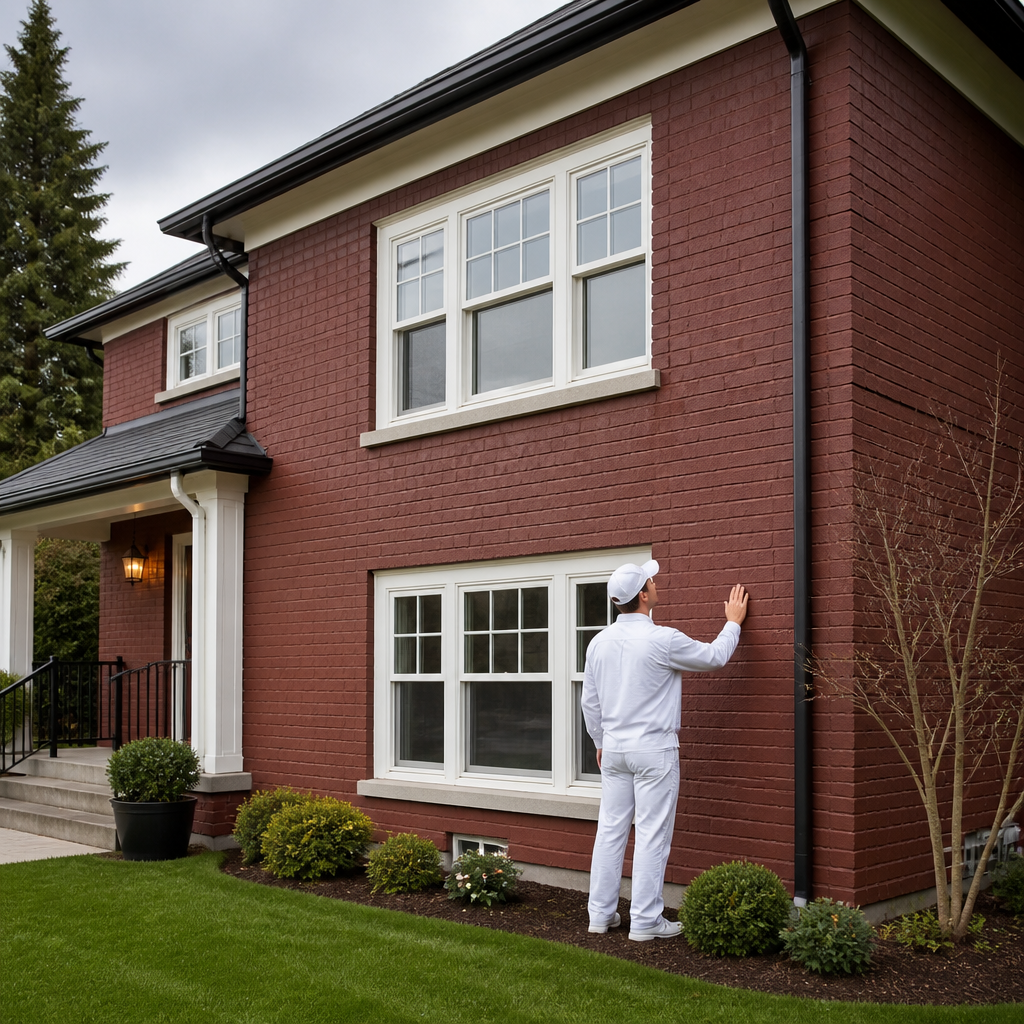
Painting a brick exterior changes the appearance of a home more substantially than most other exterior updates. Homeowners in older neighbourhoods often choose paint to replace dated red or orange brick with a neutral or contemporary palette. In many cases, the decision also reflects the visual impact of earlier repairs, since replacement bricks and newer mortar seldom match the original material in colour or texture.
Paint also produces a uniform finish across an entire facade. Where colour variation is pronounced, a single correctly applied coating can create a consistent appearance that cleaning or staining alone cannot achieve. The result is most successful when the surface has been properly prepared, because paint emphasizes the quality of the underlying work rather than concealing it.
Visual Consistency and Repair Concealment
Paint can reduce the contrast between original brick and later patches, which is useful on homes where replacement units were installed over several decades. The effect depends on the coating’s opacity and the number of coats applied. Thin or translucent products may show the underlying variation, so the selected product should be specified for full hide on masonry.
Colour selection also affects how the finished wall weathers. Lighter colours reflect more solar heat and tend to show fewer dark stains from dust and organic growth, while darker colours can highlight efflorescence and hairline cracks. Samples should be reviewed on the actual wall under both overcast and sunny conditions.
Protection and Maintenance Benefits
Masonry coatings are formulated to resist liquid water while allowing water vapour to pass outward through the wall. This balance is the basis for the protective benefit of a well-chosen coating. The protection is real but limited, and it depends entirely on product selection and surface condition.
A uniform coating also simplifies routine inspection. Efflorescence, hairline cracking, and early peeling appear more clearly against a consistent background, which allows repairs to be scheduled before damage spreads.
Drawbacks and Risks of Painting Brick
Paint on brick is effectively permanent. Brick is porous, and the coating bonds with the surface and partly penetrates it. Removing paint later usually requires chemical stripping or abrasive methods, and both can damage the face of the brick and the mortar joints. Homeowners who are unsure about a colour change should consider this before approving the project.
On masonry, the decision to paint is usually a one-way decision, so the product selection and preparation deserve as much attention as the colour.
Moisture Entrapment and Blistering
Brick walls move moisture in both directions. Water can enter from rain and from the ground, and vapour moves outward from the interior of the building. When a coating with low vapour permeability forms a continuous film, moisture can accumulate behind it. The film may then blister, peel, or lift, particularly on walls that receive little direct sun and dry slowly.
This risk is more pronounced in the Lower Mainland, where autumn and winter rainfall can keep masonry wet for extended periods. A coating that performs well on a dry, sunny facade in another region may not perform equally well on a shaded wall in a wet season.
Cost and Recoating Frequency
Painting brick typically requires more labour than painting siding of comparable area. Preparation takes time, the joints require careful cutting in, and masonry coatings are often applied in multiple coats. Material costs for specialized masonry products also tend to exceed those of general exterior paint.
Recoating intervals depend on exposure, coating type, and the quality of the original application. A wall that faces prevailing weather will generally require attention sooner than a sheltered wall. Homeowners should expect to review the condition of the coating periodically and budget for future work accordingly.
Pro tip: Ask for the product data sheet before approving a coating, and confirm that it is designed for masonry rather than general exterior wood or siding paint. The data sheet identifies the application temperature range, the coat count, and the surface conditions the product requires.
Selecting Masonry Paint for Brick
Masonry paint is a product category rather than a single formulation, and the options differ in film thickness, vapour permeability, and flexibility. Paint manufacturers publish homeowner ranges of exterior masonry and concrete coatings, and these product lines should be compared on their technical data rather than on marketing descriptions alone. For brick, the central question is whether the coating allows the wall to dry outward without trapping moisture.
Product choice should begin with an assessment of the wall. A sound, previously unpainted brick wall with tight mortar joints has different requirements from a wall with fine cracks, previous chalking paint, or a history of moisture problems. Each condition points toward a different category of coating.
Breathable Acrylic Masonry Paints
Breathable acrylic masonry paints are commonly selected for brick because they are designed to balance water resistance with vapour permeability. They are usually applied in two coats over a properly prepared surface. Their main limitation is that they do not bridge wide cracks, so structural or movement-related cracking must be repaired before coating.
Elastomeric Masonry Coatings
Elastomeric coatings form a thicker, more flexible film that can bridge fine hairline cracks. Behr markets an elastomeric masonry, stucco, and brick paint, and this category is often considered for walls with minor surface movement. The thicker film is less vapour permeable than a breathable acrylic masonry paint, so it requires a dry substrate and careful review before use on brick that absorbs moisture.
The table below compares three approaches commonly considered for brick exteriors.
| Approach | Strengths | Limitations |
|---|---|---|
| Breathable acrylic masonry paint | Balances water resistance with vapour permeability, provides full colour coverage, and suits most sound brick walls | Does not bridge wide cracks, and requires thorough surface preparation and proper coat count |
| Elastomeric masonry coating | Bridges fine hairline cracks and forms a thick, flexible film with strong visual coverage | Lower vapour permeability can trap moisture, and the film is harder to remove or recoat without preparation |
| Clear penetrating sealer | Retains the natural look of the brick and does not change colour | Offers limited protection against existing paint or staining, and requires periodic reapplication |
In practice, the selection process should begin with the wall’s moisture history and surface condition, and the choice should be confirmed against the data sheet for each product under consideration. A coating that suits a dry, well-repaired wall may be inappropriate for a wall that remains damp for much of the year.
Surface Preparation for Brick Walls
Preparation accounts for a large share of the performance of any brick coating. Paint applied over contaminated or unsound masonry will fail, regardless of the product quality. Our crews typically treat preparation as the stage that requires the most verification before primer or topcoat is applied.
Cleaning, Mildew, and Efflorescence
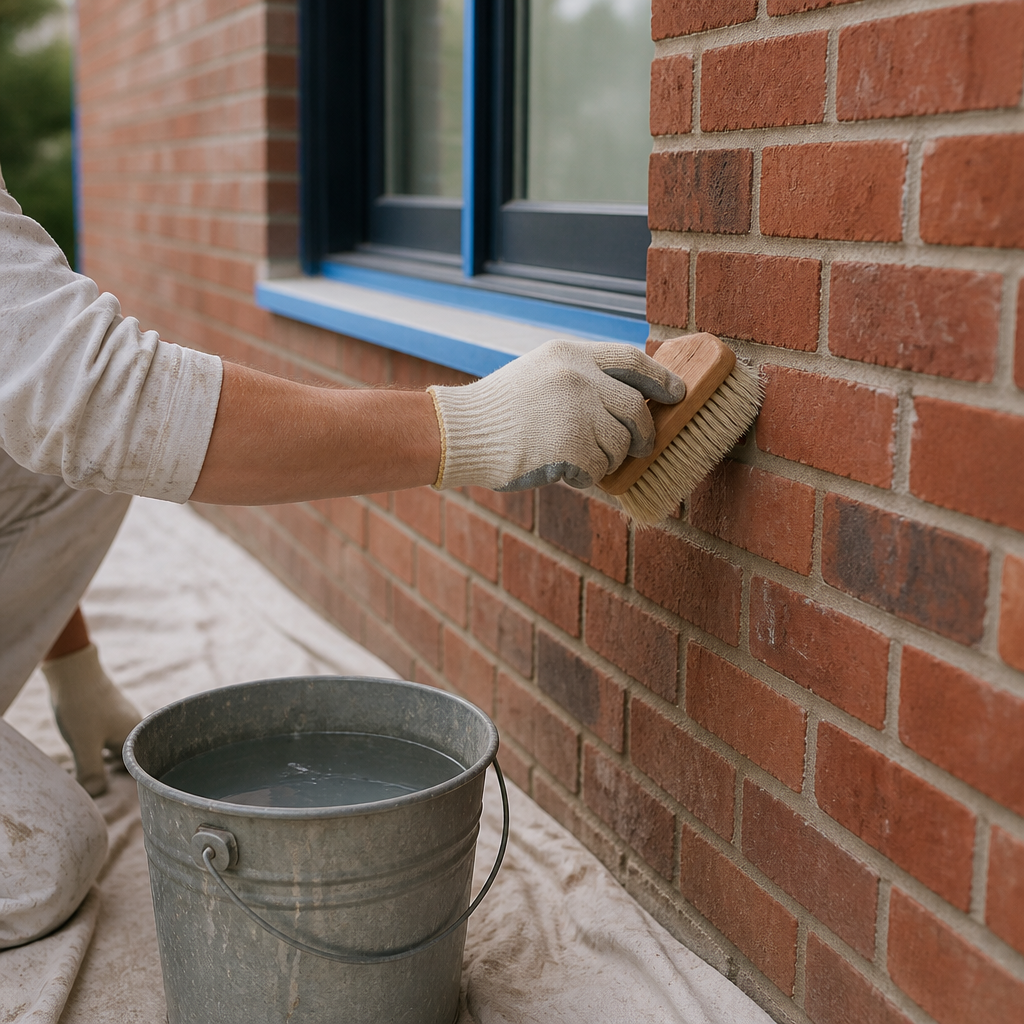
Mildew and algae must be removed before coating, because paint applied over growth will not bond consistently and the growth may continue beneath the film. Efflorescence is a white, powdery deposit of salts that migrates to the surface as water evaporates. It should be brushed off once the wall is dry, and the source of the moisture should be identified before any coating is applied.
Cleaning products should be selected for masonry and rinsed thoroughly. Residual cleaning agents can interfere with adhesion, so the wall should be allowed to dry fully before inspection. Where mildew stains persist, a product specifically formulated for mildew removal should be used according to the manufacturer’s directions.
Repointing and Crack Repair
Deteriorated mortar joints should be repointed before painting. Mortar that is crumbling, hollow, or recessed will continue to admit water, and coating over it does not address the underlying problem. Repointing also restores a sound substrate for the coating to bond to, and it reduces the risk of visible patches showing through the finished paint.
Cracks in brick or mortar should be evaluated before selecting a product. Hairline surface cracks can often be addressed with a compatible filler or an elastomeric coating. Wider or structural cracks indicate movement or foundation concerns, and paint is not a remedy for those conditions.
Curing Time for New Masonry
New masonry and stucco require a curing period before coating. Behr’s guidance for its elastomeric masonry, stucco, and brick paint calls for new stucco and masonry to cure for 30 days before painting. The same product guidance advises removing all loose and peeling paint and treating mildew stains with a suitable product before application.
Coating new masonry too early can trap residual moisture and alkalinity within the wall, which may lead to adhesion failure. A project that begins before the curing period is complete should be rescheduled rather than accelerated.
Pro tip: Apply a test patch in an inconspicuous location and allow it to dry through a full week of normal weather before approving the colour and coat count for the entire facade.
Timing a Brick Painting Project in the Lower Mainland
Timing determines whether a masonry coating cures properly. In the Lower Mainland, the most reliable window for exterior painting generally falls between late spring and early autumn, when temperatures are moderate and rainfall is less frequent. As of late October, most projects that were not finished during the warmer months are postponed until spring, because cold, wet conditions extend drying times and increase the likelihood of poor adhesion.
Homeowners in Abbotsford, Langley, and Surrey should be aware that microclimates differ across the region. Walls that are sheltered from wind or receive limited sun may remain damp for longer, even when the forecast appears favourable. Scheduling should account for the specific wall rather than only the regional forecast.
Late Spring and Early Autumn Windows
Late spring and early autumn offer the most consistent combination of mild temperatures and manageable humidity. These periods allow coatings to flash off and cure without rapid temperature swings. Early autumn projects should be scheduled with enough margin to complete the final coat before the first sustained rain period.
Midsummer heat can present a different problem. Paint applied in direct, intense sun can dry too quickly at the surface, which may affect film formation and coverage. Work on heavily sun-exposed walls is best scheduled for early morning or late afternoon.
Reading the Forecast for Drying Time
The product data sheet specifies a minimum application temperature, and this figure should guide scheduling. Crews should also confirm that the forecast does not include rain during the drying window and that humidity is not expected to remain high for an extended period. A short dry spell may be insufficient if the wall is still saturated from previous rain.
Timing decisions should be documented. A project schedule that records forecast conditions, surface readings, and the drying period provides a reference if questions arise about the quality of the finish later.
Application Practices That Improve Results
Application practices determine how evenly a coating covers and how well it bonds to the substrate. Masonry surfaces are textured and absorbent, so techniques that work on smooth siding may leave gaps, lap marks, or thin areas on brick. Crews should apply the product consistently across the entire wall before moving to a new section.
Priming and Coat Count
Primer should be used only where the product data sheet or the condition of the wall requires it. Some masonry coatings are designed to be applied directly over sound, previously unpainted brick, while others require a masonry primer for adhesion or stain blocking. Two coats are commonly specified for full coverage, and the second coat should be applied only after the first has dried according to the manufacturer’s timing.
Skipping a coat to reduce cost is a common mistake. A single thin coat may appear acceptable at first, but it often shows uneven sheen, incomplete hide, and early wear in high-traffic areas such as the lower courses near entrances.
Tools and Technique
Rollers with an appropriate nap length allow the coating to reach the texture of the brick without excessive spatter. Spray application can speed the work on large facades, but sprayed coatings should be back-rolled to work the material into the surface and to achieve even coverage. Brush work is typically reserved for mortar joints and trim.
Maintaining a consistent wet edge is essential on masonry. Stopping and restarting mid-wall can leave visible lap marks, especially with darker colours. Crews should plan their work so that each section can be completed in one continuous pass.
Masking and Site Protection
Windows, doors, light fixtures, and landscaping should be masked or protected before coating begins. Overspray can settle on glass, vehicles, and plants, and removing it after the paint has cured is considerably more difficult. Drop cloths should be positioned to catch drips from soffits and gutters as well.
Site cleanliness is part of the finished result. Paint containers, rags, and masking materials should be removed each day, and the work area should be left in the same condition it was found. Clean sites reduce the risk of damage to adjacent surfaces and reflect the standard expected on residential properties.
Pro tip: Confirm the coat count and the recoat interval on the data sheet before the project begins, and record the batch number of the product used. This information simplifies future touch-ups and ensures that matching material is available when repairs are required.
Cost Factors and Long-Term Maintenance
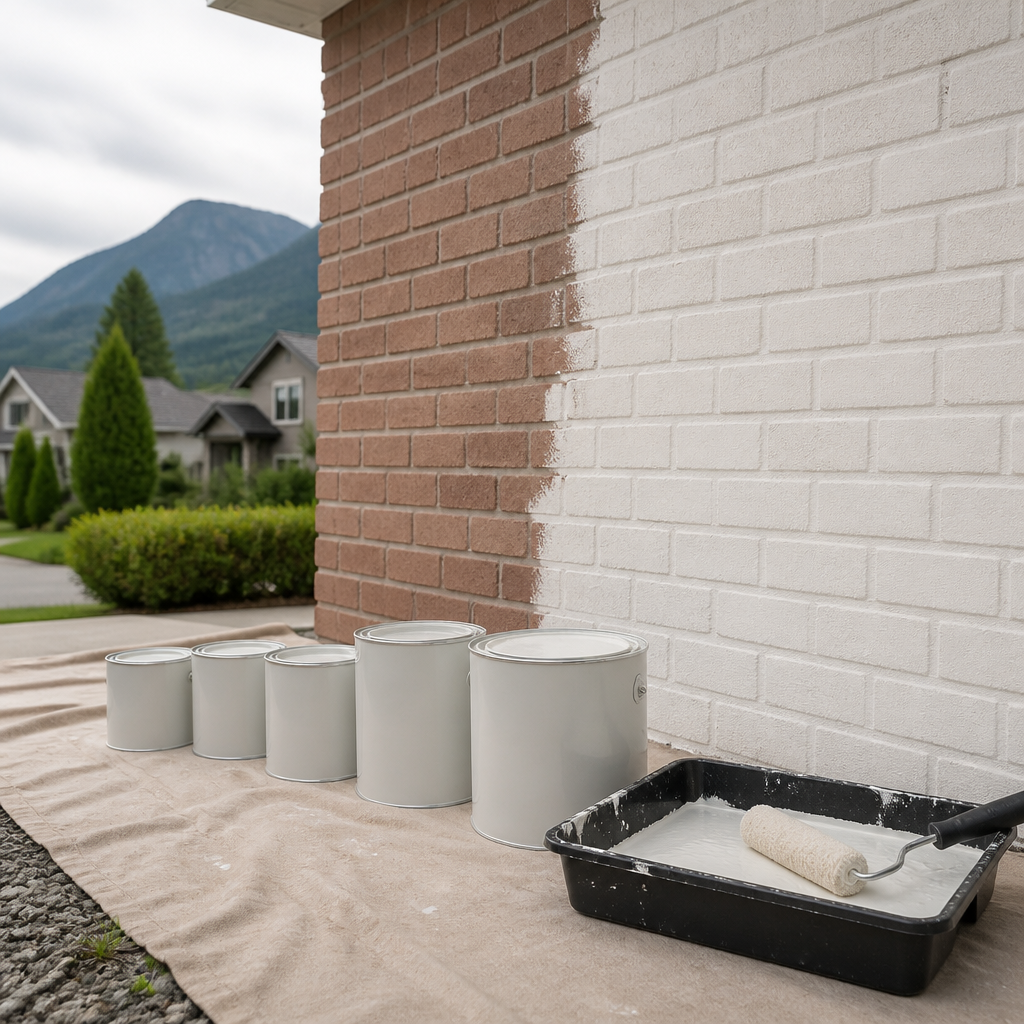
The cost of painting a brick exterior depends on several measurable factors. The surface area and height of the building determine access requirements and labour time. The amount of repair work needed, the number of coats, the selected product, and any change in colour also affect the final quote. Walls with extensive mortar repair or mildew remediation require more preparation than a sound wall, and the estimate should reflect that difference clearly.
A written estimate should separate preparation, repair, and coating costs. This format allows homeowners to understand where the budget is allocated and to compare proposals on a consistent basis. Estimates that omit preparation scope often produce disputes during the project.
Factors That Influence the Quote
Access is often underestimated. Multi-storey walls, steep grades, and limited clearance around the building require scaffolding, lifts, or additional safety measures. These conditions increase labour time and equipment costs, and they should be identified during the site assessment.
Product selection also affects cost. Specialized masonry coatings typically cost more than general exterior paints, but the difference should be weighed against expected service life and the cost of future preparation if a less suitable product fails early.
Inspection Schedule After Painting
A brick coating should be inspected at least once each year, preferably in spring after the wet season. Inspection should look for peeling or blistering, new efflorescence, hairline or widening cracks, and areas where the finish has thinned. Early detection allows minor repairs to be completed before the damage extends to the substrate.
Maintenance decisions should rest on condition rather than a fixed calendar. A wall in good condition may require only cleaning and spot repair for several years, while a wall with ongoing moisture issues may need attention sooner. The inspection record provides the basis for these decisions.
Frequently Asked Questions
Can unpainted brick be painted without damaging the masonry?
Yes, unpainted brick can be painted when the wall is sound, the mortar is in good condition, and the product is specified for masonry. The main risk is the permanence of the decision, since removing paint later can damage the brick face. Preparation and product selection should be completed before the first coat is applied.
How long does a masonry paint finish on brick typically last?
Service life depends on the product, the quality of preparation, the coat count, the exposure of the wall, and the level of maintenance. Walls with good drainage, sound mortar, and regular inspection generally perform better than walls exposed to persistent moisture. Condition-based inspection is a more reliable guide than a fixed time estimate.
Is elastomeric paint suitable for all brick walls?
Elastomeric coatings are not automatically suitable for brick. Their thicker, less vapour-permeable film can trap moisture in walls that absorb water or remain damp. They are more often considered for walls with fine surface cracks and a dry substrate, and the data sheet should be reviewed before selection.
When is the best time to paint brick in Abbotsford, Langley, or Surrey?
The most reliable period is generally late spring through early autumn, when temperatures are moderate and rainfall is lower. Projects that cannot be completed before the wet season are usually scheduled for the following spring. Microclimates on individual properties can shift these windows, so scheduling should account for wall orientation and shade.
Do I need to clean brick before applying masonry paint?
Yes, cleaning is necessary to remove mildew, dirt, loose material, and efflorescence. The surface should be allowed to dry fully after cleaning, and any cleaning agent should be rinsed completely. Paint applied over contamination is likely to fail early, even when the product is well suited to the wall.
We welcome feedback from homeowners and property managers who have painted brick exteriors in the Lower Mainland, particularly about the coatings, preparation steps, and timing decisions that performed well under local conditions.

