

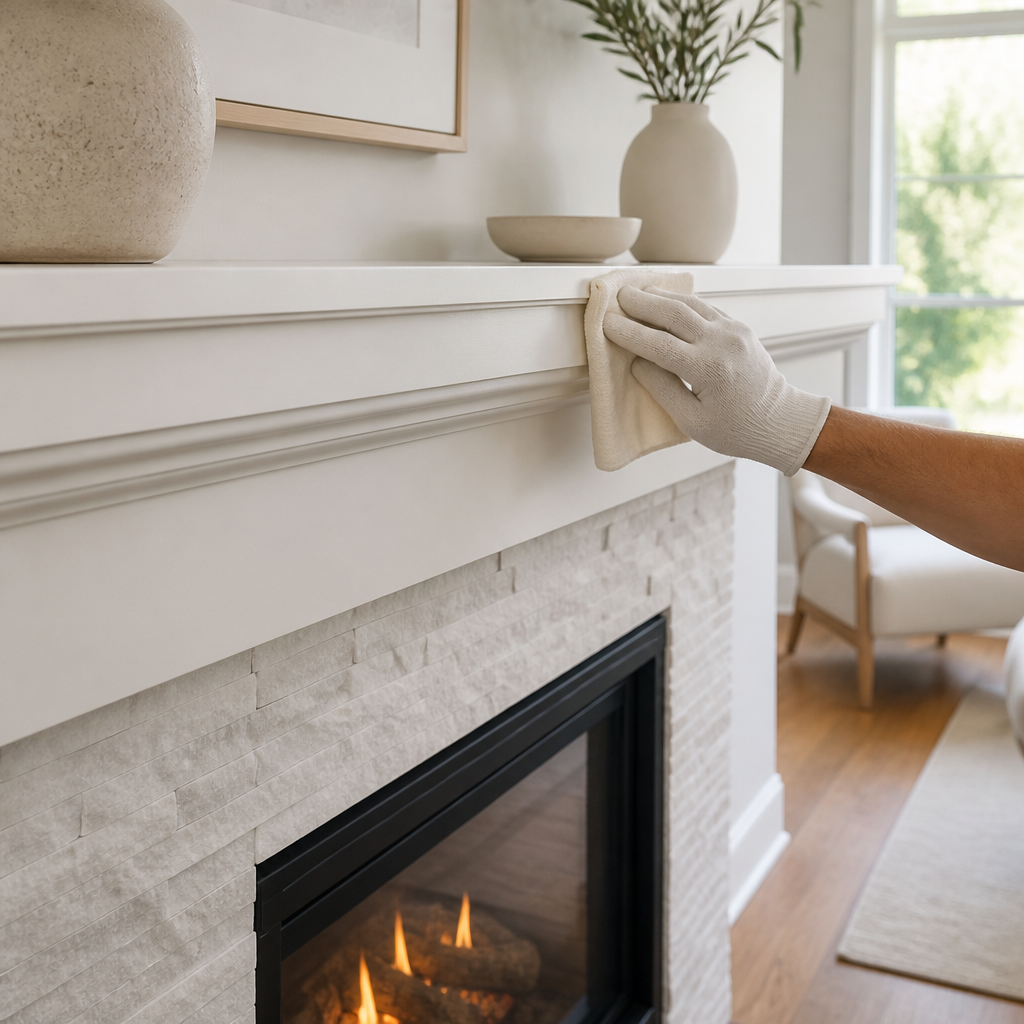
Good fireplace painting BC homeowners can count on starts with a clear plan, because a surround that looked perfect in October can yellow, bubble or flake by February. Once the fire runs most evenings in a Langley or Surrey living room, the surround and mantel sit in a harder environment than the rest of the room. Radiant heat, soot and smoke work on the finish every time the fire is lit. The job means choosing a heat-rated product, preparing the surface properly, and knowing which parts of the fireplace should never be painted at all.
Table of Contents
- Quick Takeaways
- Why Heat Changes Your Paint Choice
- Surround Versus Firebox: Know What You Are Painting
- Choosing a Heat-Safe Paint for Surrounds and Mantels
- Preparing Mantels and Surrounds Properly
- Comparing Heat-Safe Finish Options
- Common Mistakes That Cause Paint to Fail
- Mantel Colour, Sheen and Cleaning
- Frequently Asked Questions
- References
Quick Takeaways
| Key Insight | Explanation |
|---|---|
| Use a heat-rated product for the surround and mantel | Standard wall paint softens, yellows and peels near the firebox. Look for an indoor latex that the manufacturer rates for high heat, such as one rated around 250°C (480°F). |
| Treat the firebox interior as a separate job | Stove paints are made for metal stove bodies, and ordinary wall paint should never go inside the firebox. Use only the coating the appliance or masonry manufacturer approves. |
| Read the technical data sheet before you buy | The front of the can rarely lists the application surface temperature range or the substrates the product is approved for. The data sheet does. |
| Choose satin or eggshell near the firebox | Soot and smoke residue wipe off far more easily from a sheen with some light reflection. Flat finishes trap residue in their texture. |
| Match silicate paint to mineral surfaces only | Brick and stone suit silicate paints. Drywall and painted wood do not, so a test patch on compatible surfaces is essential before you commit. |
| Test on a hidden patch and run the fire | A full evening of heat will show discolouration or softness that the drying time on the can never predicts. |
| Confirm clearances before changing the mantel | Painting does not change a fireplace’s clearance requirements from combustible materials. Confirm them with your installer or local building authority. |
Why Heat Changes Your Paint Choice
Paint fails under heat in predictable ways. The binder softens, the colour drifts toward yellow or tan, and the film either cracks from expansion or lets go of the surface underneath. Near a firebox, these failures show up first, and they often appear within the first heating season rather than years later.
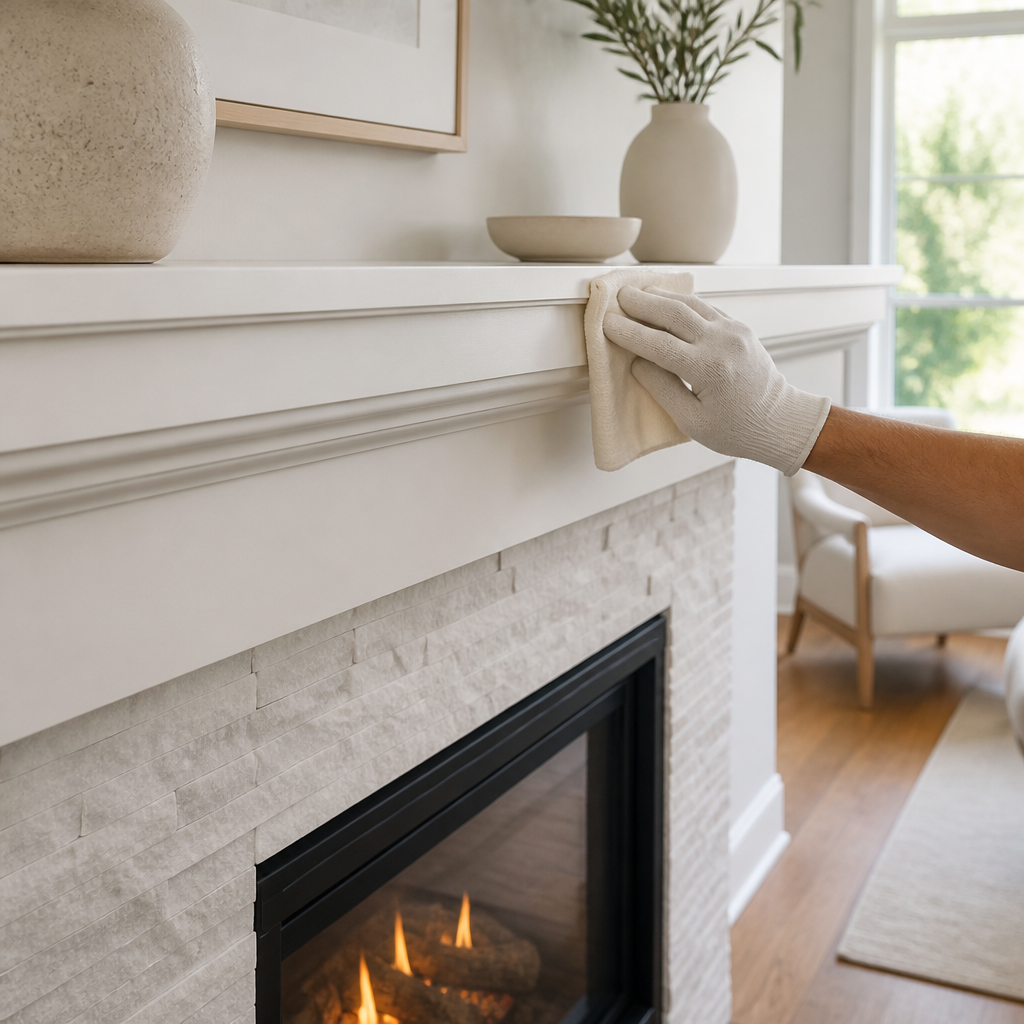
Most fireplaces in Fraser Valley homes fall into a few types: a gas insert, a wood-burning masonry fireplace, or a freestanding stove set into a hearth. Each one throws heat differently, so a finish that suits one setup can fail on another. Before you open a can, work out where the heat actually goes in your room.
What Happens to Standard Wall Paint Near a Firebox
In practice, the most common failure is a band of discolouration about a hand’s width above the firebox opening, where a bright white wall turns cream and the sheen goes patchy. Standard wall paint is formulated for ordinary room temperatures, so it has no margin for the surface of a mantel above a working fire. The film softens long before most homeowners notice a problem.
Dark colours fail differently. They can look fine for a season, then reveal scorch marks, chalky spots or a glossy halo where the paint has baked onto the wall.
Radiant Heat Versus Room Temperature
Room temperature is the wrong number to plan around. The surface of a mantel can run far hotter than the air in the room, especially directly above the opening where heat rises and collects. Treat the mantel as the hot zone and the surround as the transition zone, then choose the product for the hottest point, not the average.
Heat rarely destroys a paint job on its own. It exposes every shortcut in preparation, primer and product choice.
Pro tip: Before you choose a product, run the fireplace for an hour and check the surface with an infrared thermometer. Readings near the firebox opening tell you which zone you are painting, and they help you match the product to that zone.
Surround Versus Firebox: Know What You Are Painting
A fireplace project usually involves two separate surfaces, and each one needs its own product. The surround and mantel are the visible, decorative parts, usually drywall, painted wood, stone or brick. The firebox is the hot interior, and it belongs to a different category of coating altogether.
Painting the Surround and Mantel
For the outside of the fireplace, the goal is a finish that holds colour, resists cracking and cleans easily. A heat-rated interior latex suits drywall and most painted wood, provided the product’s published temperature rating covers a working fireplace. That number belongs on the label you check before buying, not in the sales pitch.
Surround finishes also have to handle the soot that drifts out during lighting. A smooth film that lets a damp cloth pass without leaving a smear will save you touch-ups and early repainting.
Why the Firebox Interior Needs a Different Answer
The inside of a firebox is hotter, rougher and more chemically demanding than any wall. Stove paints are formulated for metal stove bodies, and they are not a general substitute for masonry or refractory surfaces inside a firebox. Ordinary wall paint should never go inside the firebox, even if it is labelled heat resistant for living spaces.
If your firebox needs refreshing, ask an installer or qualified fireplace technician which coating the manufacturer approves. Gas inserts and factory-built units often include specific guidance on what may touch the firebox, and following it protects both the finish and the appliance.
Choosing a Heat-Safe Paint for Surrounds and Mantels
The right product is the one whose data sheet matches your surface and your heat. The label on the front of the can is marketing, and the technical data sheet holds the details that decide whether the paint lasts. Read it before you go to the store, and bring the exact product name to your supplier.
Reading the Technical Data Sheet
Look for three things: the maximum temperature the film can tolerate, the surface temperature range for application, and the substrates the product is approved for. Benjamin Moore’s FR-110 fire retardant flat finish, for example, lists application between 50°F (10°C) and 95°F (35°C) surface temperature, and it carries a 10 minute burn class A rating.
A fire retardant rating describes how a coating behaves in a burn test. It does not automatically mean the paint is rated for the sustained heat of a working fireplace, so read both kinds of figure carefully.
Pro tip: Check the recoat and cure times on the data sheet, not just the dry-to-touch time on the can. A painted surface can feel dry while it is still soft, and the first fire can mark it.
Heat-Rated Latex for Wood and Drywall
For most surrounds in painted drywall or wood, an indoor latex rated for high heat is the practical choice. Napoleon’s guidance for fireplace surrounds points to an indoor latex rated around 250°C (480°F), which it says helps durability and prevents cracking or peeling. Treat that as a starting point, then confirm the exact figure on the product you buy.
Satin is usually the best sheen for this job. It stands up to wiping, reflects less light than gloss, and hides minor surface flaws better than a high gloss would.
Silicate Paints for Mineral Surfaces
Brick, stone and other mineral surfaces call for a different approach. Rawlins describes Tikkurila Muuri as a heat-resistant, full-matt silicate paint for compatible interior mineral surfaces around fireplaces and wood burners. Silicate paints are designed for mineral substrates, which makes them a poor fit for drywall or painted wood.
Preparing Mantels and Surrounds Properly
Preparation decides more of the outcome than the product does. A heat-rated paint applied over soot, grease or loose old paint will fail at the weakest layer underneath, and that layer is usually the one you cannot see. Plan the prep as the bulk of the job, not an afterthought.
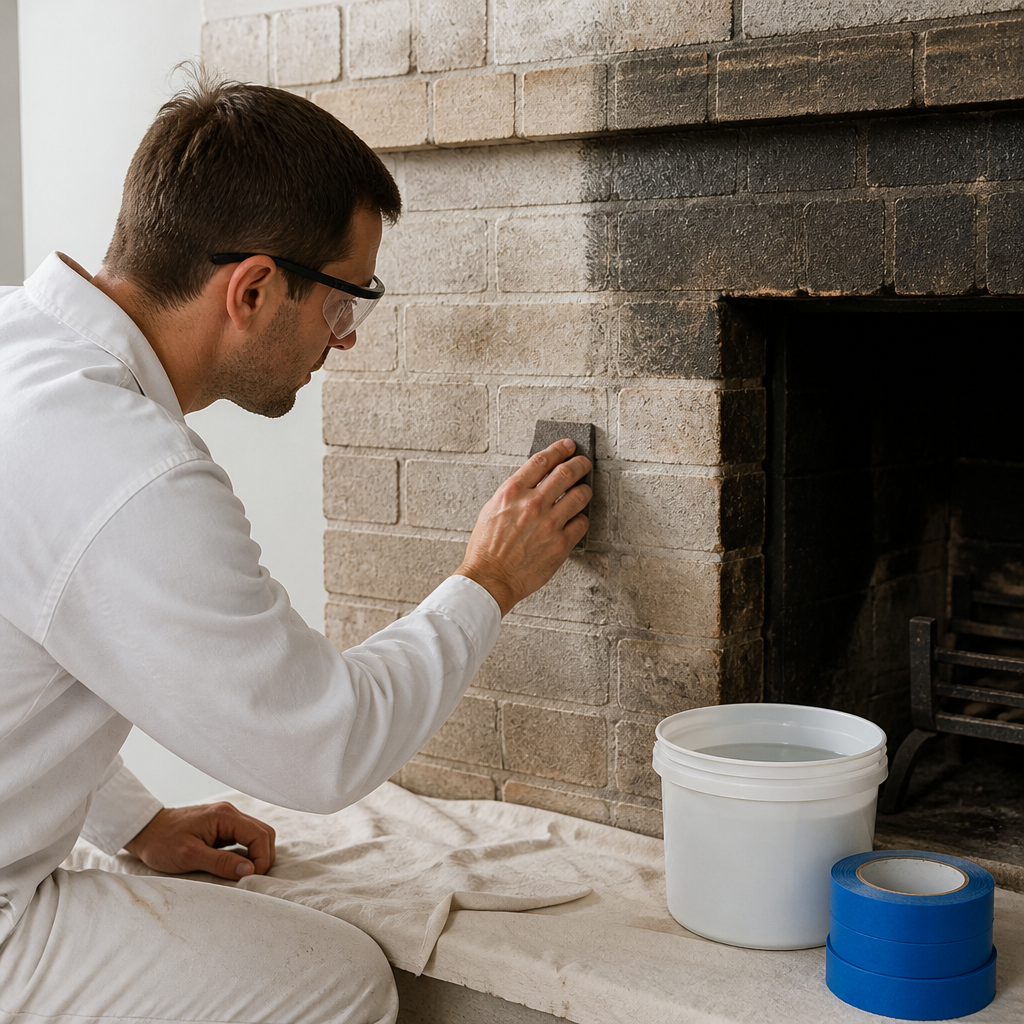
Cleaning Soot and Residue
Wood-burning fireplaces leave a film that looks like dust but acts like a barrier. Wash the surround and mantel with a degreasing cleaner suited to the surface, rinse thoroughly, and let it dry fully before you sand or prime. Skip abrasive scrubbing on painted drywall, which can roughen the paper face and leave a visible patch under the new paint.
Sanding Mantels and Removing Drips
Sanding a mantel smooths out rough spots like old paint drips, which otherwise show through a satin topcoat. Use a fine grit on existing paint and feather the edges so the new coat does not ridge. On a wood mantel, check for loose or lifting old paint and remove it before it becomes the first thing to fail.
Priming Bare Masonry and Smoke-Stained Areas
Smoke stains bleed through ordinary topcoats, so spot-prime them with a stain-blocking primer before the finish coat. Bare brick and stone need a primer or sealer that suits masonry, and a test patch will show whether the topcoat grips and dries even. Allow each coat to cure to the time on its data sheet, because rushing this step is where many patchy finishes begin.
Comparing Heat-Safe Finish Options
Three product categories cover most fireplace projects in the Lower Mainland. Each one solves a different problem, and none of them is the right answer for every surface. The table below sets out where each one fits and where it falls short.
| Finish Option | Best Use | Main Limitation |
|---|---|---|
| Heat-rated indoor latex | Painted drywall and wood surrounds, and mantels away from direct firebox contact | The rating covers the film, not the surface prep. The substrate still has to be clean, sound and primed. |
| Silicate mineral paint | Brick, stone and other compatible mineral surfaces | Not suited to drywall or wood. Compatibility must be confirmed before you commit. |
| Fire retardant flat coating | Projects that need a documented burn rating | A flat sheen shows soot and wipes poorly. Check the application surface temperature range before you start. |
For a typical Fraser Valley surround in painted drywall, heat-rated latex in satin is our starting recommendation. Move to silicate paint only for compatible masonry, and use a fire retardant flat coating when the project specification calls for a documented burn rating. A flat sheen is a poor choice for any surround that sees daily soot.
Whichever product you choose, test it on a hidden area first. A test shows how the paint handles your heat, your substrate and your cleaning routine, which no label can predict.
Common Mistakes That Cause Paint to Fail
Most failed fireplace paint jobs trace back to a short list of errors. Each one is avoidable with a little planning. Here are the mistakes that come up most often, and what to do instead.
Painting Over Glossy Old Paint Without Scuffing
Glossy old paint gives the new coat nothing to grip. Scuff the surface with a fine abrasive, clean away the dust, and prime if the existing paint is glossy or heavily stained. Skipping this step is the fastest route to peeling along the top edge of the mantel, where the heat rises.
Using Interior Paint Inside the Firebox
Ordinary interior paint inside the firebox softens, smokes and can flake onto the fire bed. This is the one place where a room-rated label means nothing. Use only the coating the appliance or masonry manufacturer approves, and keep the firebox free of any finish not designed for it.
Skipping the Test Patch
A test patch is cheap insurance. Paint a small area near the firebox, run the fire for a full evening, then check for discolouration, softness or a change in sheen. If the patch survives, you can paint the whole surround with confidence.
Pro tip: Mark the test patch with painter’s tape on the first day, then look at it at the same time each day for a week. Changes in colour or sheen are easier to spot when you compare the same spot over time.
Mantel Colour, Sheen and Cleaning
Colour and sheen affect both how a fireplace looks and how it ages. A light mantel shows soot quickly but cleans well when the finish is right. A dark mantel hides soot, but it shows scorch and fade more clearly over a season.
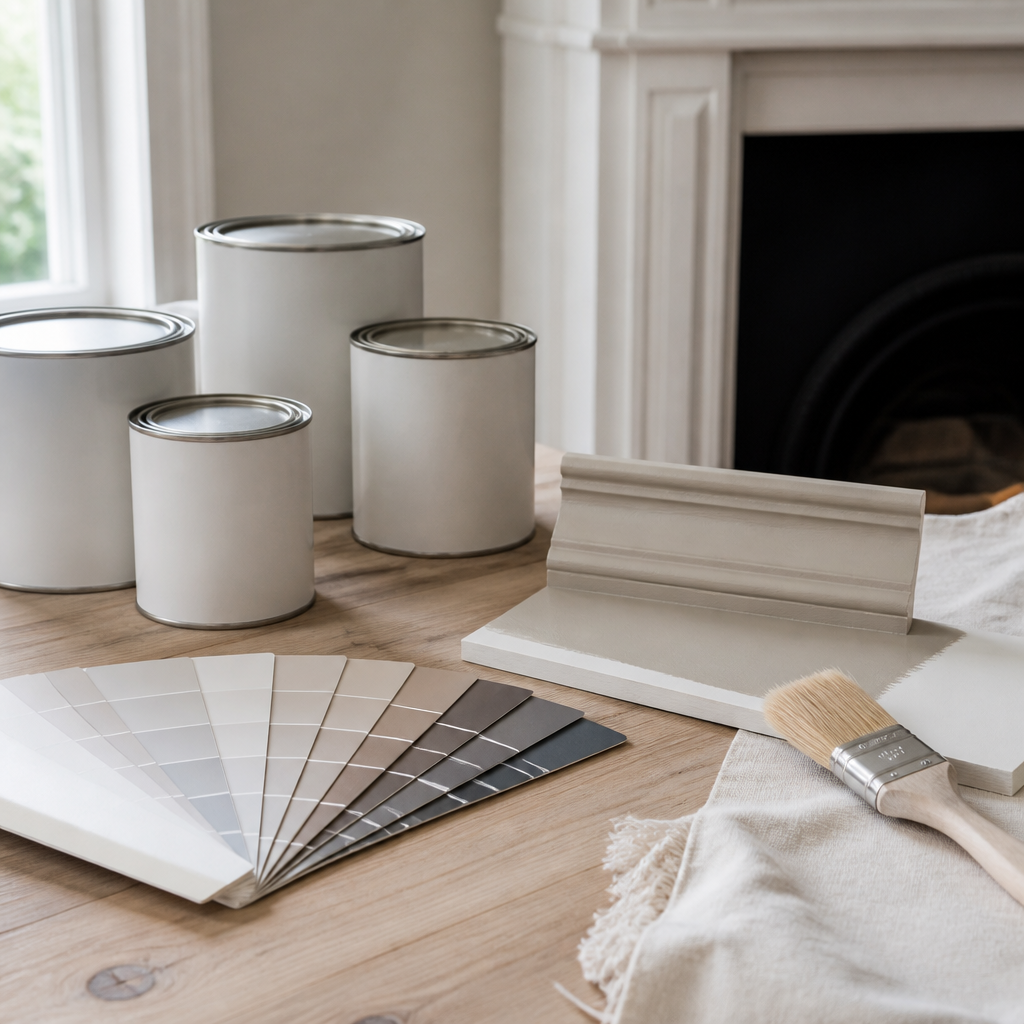
Colour Choices Near Heat
Warm whites and soft greys are the most forgiving choices for a surround in a home with a daily fire. They read as clean, hide slight yellowing better than a stark white, and suit the natural light common in many Lower Mainland living rooms. Deep black and navy look sharp at first, then show every smudge.
Choosing Sheen for Easy Soot Cleanup
A satin or eggshell sheen gives you a surface you can wipe without leaving marks. Flat finishes trap soot in their texture and show halos when cleaned, while high gloss exaggerates every brush mark and dip in the surface. Pick one sheen for the whole surround so the transition between mantel and wall stays even.
Routine Care Between Painting Jobs
Dust the mantel weekly during the heating season with a soft cloth, and wipe with a barely damp cloth once the fireplace is cold. Avoid scouring pads, strong solvent cleaners and abrasive powders, which dull or remove the finish. A gentle routine pushes back the date of your next repaint.
Frequently Asked Questions
Can I paint a fireplace surround with regular interior paint?
You can use an interior latex, but only if the product is rated for high heat and the surface near the firebox is prepared correctly. Standard wall paint is not made for the temperatures above a working fire, and it often yellows or peels within the first heating season. Read the data sheet before you buy.
What is the best paint for a mantel in a BC home?
For a wood or painted drywall mantel, a heat-rated indoor latex in satin is the most practical choice. Use silicate paint only on compatible mineral surfaces, and reserve fire retardant coatings for projects that need a documented burn rating.
Should I paint the inside of my firebox?
Only with a coating the appliance or masonry manufacturer approves. Ordinary wall paint should never go inside the firebox, and stove paints are designed for metal stove bodies rather than masonry interiors. Ask an installer or qualified technician if you are unsure.
How long should fireplace paint cure before the first fire?
Follow the cure and recoat times on the product’s technical data sheet, not the dry-to-touch time on the can. A surface that feels dry can still be soft enough to mark under the first fire, so allow the full time the manufacturer lists.
Does painting a mantel change fireplace clearance requirements?
No. Paint does not change the clearances a fireplace or stove needs from combustible materials. Confirm those clearances with your installer or local building authority before changing the surround or mantel, especially if you are altering the mantel depth or adding shelving.
Can I paint brick around a gas fireplace?
Yes, if the brick is a compatible mineral surface and you use a product designed for it, such as a silicate paint. Run a test patch first, because a product that works on one brick may not suit another, and previously painted brick needs a different preparation approach.
Tell us about your fireplace painting experience, and which finish held up best in your home through its first heating season.
We would love your feedback and any insights you would share with others. What perspective would you add?
References
- Napoleon guidance on choosing indoor latex rated for high heat around a fireplace surround
- Benjamin Moore technical data sheet for a fire retardant flat finish, covering application temperature and burn class
- Rawlins overview of which paint suits walls around a fireplace or multi-fuel stove
- Architectural Digest account of painting a fireplace surround and preparing the mantel

