

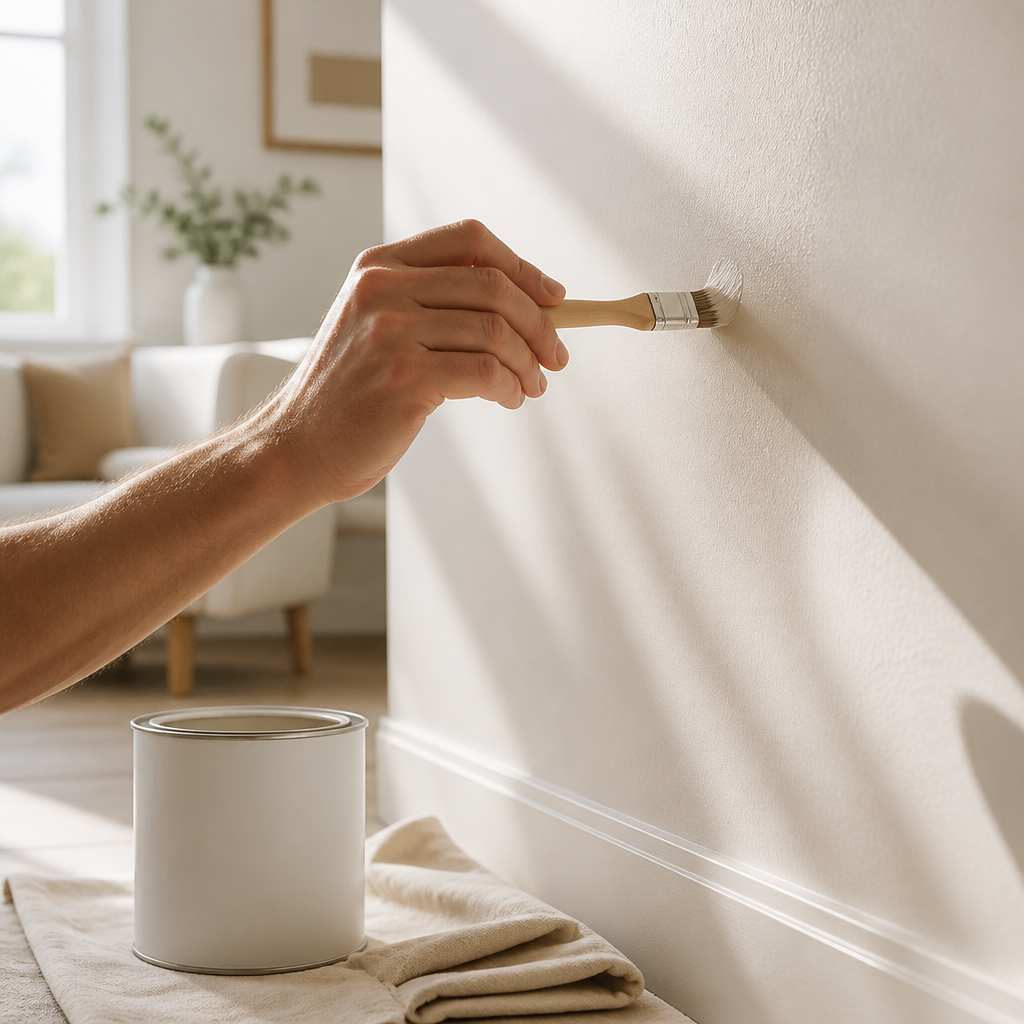
Most attempts to touch up interior paint fail for one reason: the new paint looks fine in the can and terrible on the wall. A bright patch shows up on a dining room wall in Langley, or a hallway in Surrey shows a shiny ring where a scuff was scrubbed, and the homeowner stares at it every evening. A successful touch-up treats the repair as a finish problem, not just a colour problem. The steps are predictable once you understand what the eye picks up, and most of them cost nothing but patience.
Table of Contents
- Quick Takeaways
- Why Touch-Ups Show Up Under Fraser Valley Light
- Checking Sheen and Finding Your Paint Records
- Preparing the Spot Without Making It Worse
- Choosing Brushes, Rollers and Technique
- Blending the Patch Into the Surrounding Wall
- Matching Colour When the Original Can Is Gone
- When a Spot Repair Will Not Hide the Repair
- Frequently Asked Questions
- References
Quick Takeaways
| Key Insight | Explanation |
|---|---|
| Match the sheen before the colour | Flat, eggshell, satin and semi-gloss reflect light differently. A perfect colour match with the wrong sheen still shows as a patch. |
| Clean kitchen and entry walls first | Cooking oil and hand grime on walls near doors stop paint from bonding evenly. Wash, rinse and dry the area before you open a can. |
| Prime bare spots | Bare joint compound and filler absorb paint and dry darker. A stain-blocking primer on the repair keeps the new coat from sinking in. |
| Brush the spot, then feather with a dry roller | A light dry roller pass over wet paint softens the edge and flattens brush marks that catch side light. |
| Plan for two thin coats | A single coat can look even when wet and then reveal thin or shiny areas once dry, especially over a colour change. |
| Repaint the wall when the damage is large | If the paint has faded from sun exposure, or the repair covers a big area, repaint the full wall from corner to corner instead of patching. |
Why Touch-Ups Show Up Under Fraser Valley Light
A touch-up rarely looks wrong on a paint chip or under a store’s fluorescent lights. It looks wrong when the room is lit by a window in the afternoon, or by a ceiling fixture that throws light across the wall at a low angle. Paint that matches on a flat card can still look different once it sits next to a wall that has been dusted, wiped and exposed to daylight for years.
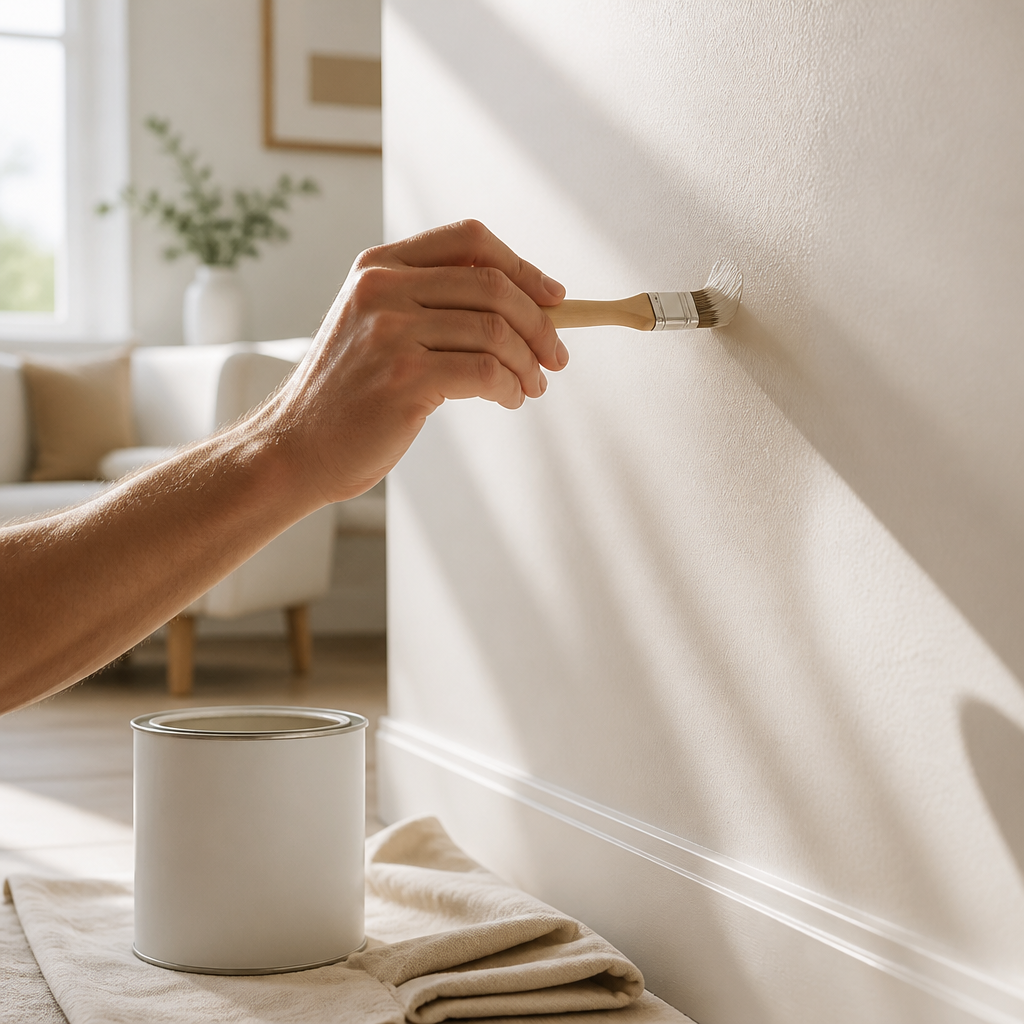
Four things cause most visible patches. Paint shifts in tone over time from sunlight, humidity and regular cleaning. Sheen differences reflect light differently, so a satin repair next to eggshell will stand out. Application texture matters too, because a roller and a brush leave different marks that show at an angle. Finally, dirt, dings and residue make new paint soak in unevenly, which leaves flat or shiny spots.
Fraser Valley homes add a seasonal problem. From late autumn through spring the air is damp, and most houses are heated and closed up. Latex paint cures differently in cool, humid conditions, so a repair done in mid-October on a cold wall can dry with a duller finish than the same work done in a warm, dry week in July. I schedule interior touch-ups for a day when the room is comfortably heated and has gentle airflow, without a draft blowing across wet paint.
A touch-up is judged by the light it is viewed in, not the light it was mixed in. Test the sheen and the colour where the wall is actually lit.
The practical takeaway is that a touch-up has to survive your home’s real lighting. Check the repair under the lamp you use at night and under the window you use in the morning. If it passes both, it will usually pass a guest’s glance.
Checking Sheen and Finding Your Paint Records
Testing Sheen With a Flashlight
Before you buy anything, shine a flashlight across the wall at a shallow angle and look from the far side of the room. Sheen differences that are invisible under a bright overhead bulb often jump out at a low angle. If the wall reflects light in patches, or the spot you want to fix looks shinier than the rest, you have a sheen problem before you have a colour problem.
Flat and matte finishes are the most forgiving to touch up because they diffuse light and hide small differences. Satin and semi-gloss are much less forgiving. Sherwin-Williams’ touch-up guidance makes the same point, noting that flat and matte paints are easier to touch up than satin. If your wall is satin, expect to work harder on the blend.
Finding Your Original Paint Record
Start with the can. Many painters write the colour name, sheen and date on the lid or inside the rim, and many homeowners keep those cans in a laundry room cupboard. If the can is gone, check your painter’s invoice, or a builder’s finish schedule if you were given one when you bought the house. Records are not always complete, so do not assume the paint is documented.
If you have nothing, take a small scrape from an inconspicuous spot, such as the inside of a closet, behind a door or under a cabinet lip, where light has not faded the paint. Bring it to a paint counter and ask for a colour match. A sample from a hidden area is more accurate than a chip from the middle of a sunlit wall.
Pro tip: Write the sheen, colour name and purchase date on the lid of every can you open, and store it upright in a dry cupboard. Paint that has frozen in a garage or been left in a hot shed can separate and change in sheen, which makes a future touch-up harder.
Preparing the Spot Without Making It Worse
Cleaning Greasy Walls Before You Paint
Kitchens, hallways near entry doors and walls behind bathroom doors collect a film of oil and dust that you cannot see. Paint laid over that film does not bond evenly, and the spot can flash or peel weeks later. Wash the area with a mild detergent solution, rinse with clean water and let it dry fully. Avoid soaking the drywall, because a wet patch can swell the paper face and leave an uneven surface.
Sanding Edges and Filling Dings
A chip or nail hole will show through the paint if its edge is raised. Sand the edge lightly until it feathers into the surrounding wall, then wipe away the dust with a barely damp cloth. Fill deeper dents with spackle, let it cure, and sand it flush. Then spot-prime the repair with a stain-blocking primer. Bare joint compound drinks paint and dries darker, which is one of the most common reasons a touch-up looks like a bright ghost.
Go gently on glossy trim. On semi-gloss doors and baseboards, a light scuff with fine sandpaper or a scuff pad is enough. Sanding too hard scratches the surface, drops the sheen and leaves a dull halo around the repair.
Most touch-up failures happen before the paint is opened. The surface decides how the new coat will look, so preparation is where most of the real work happens.
Give the prepared spot time to dry before you paint. A patch that feels dry to the touch can still hold moisture underneath, and paint trapped over it can bubble or dull. In cool autumn weather, that extra time matters more than most people expect.
Choosing Brushes, Rollers and Technique
Matching the Tool to the Original Texture
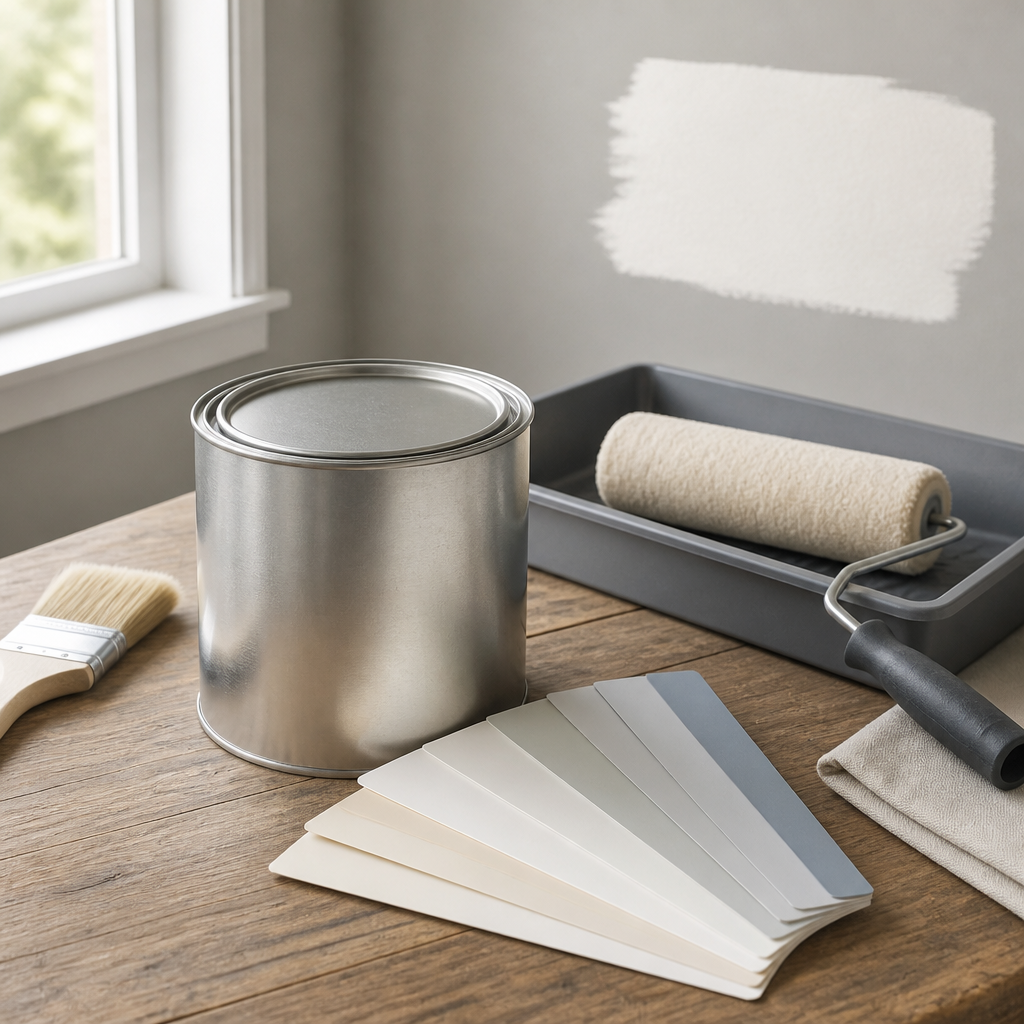
Your tool has to match the texture of the original wall. A smooth, freshly rolled wall is best covered with a fine-nap roller, while textured surfaces need a different approach. Use a small, good-quality brush for corners, edges and anything smaller than a postcard. A cheap brush sheds bristles and leaves stroke marks that stand out under the same side light that exposes sheen differences.
Meadlumber’s pro painting tips make a similar point, noting that well-made brushes and rollers are less likely to shed bristles or leave splatters and that they help minimize brush strokes and roller marks. For a repair that covers only a few square inches, the quality of the brush matters more than the size of the roller.
Keeping the Brush Wet and the Coat Even
Do not let the brush run dry, even briefly. Paint that dries on the bristles stiffens them and changes how the brush lays paint down, which can produce streaks you would not otherwise get. Load the brush lightly, dab the paint into the spot rather than brushing a heavy stripe, and keep your strokes moving in one direction.
Why One Coat Rarely Covers a Repair
A single coat can look fine when wet and then show thin or spotty areas once it dries. This is especially true over a different colour or over a porous patch. Plan for two thin coats, let the first dry completely, and check the can for the recoat window. Two thin coats level out better than one heavy coat and reduce the chance of a raised edge.
Pro tip: If you are coming back to a latex brush within a day, wrap the brush head in a plastic bag and keep it somewhere cool. It stays workable without a full clean-up, and you avoid the stiff bristles that come from paint drying on the brush.
Blending the Patch Into the Surrounding Wall
Feathering the Edge With a Dry Roller
Once the spot is covered, the edge is where the patch becomes visible. Brush the paint into the repair, then pass a dry roller lightly over the wet paint, moving out from the centre and a few inches past the edge. The dry roller softens the transition and flattens brush marks. Keep the pressure light, because a heavy roller pass will push out too much paint and create a shiny ridge.
Working From a Natural Break Outward
Start at a natural break such as a corner, a door casing or the line where the wall meets the ceiling. Do not paint into the middle of an open wall and stop abruptly. Sherwin-Williams advises light, overlapping strokes to merge new paint into old, and that advice holds up in practice. Carry your strokes a few inches past the repair so the surrounding paint hides the seam.
Comparing Blending Methods
The right method depends on how large the damage is and how much of the wall is in view. The table below compares the three approaches I see most often in Lower Mainland homes.
| Approach | Best For | Main Risk |
|---|---|---|
| Spot dab with a small brush | Nail holes and pinhead chips on flat or matte walls | Shows as a ring on satin or semi-gloss, and can look shiny |
| Brush spot plus dry roller feathering | Chips, scuffs and dings up to a few inches across on eggshell or satin | Needs careful technique, and edges can lap if you overwork the paint |
| Full-wall or corner-to-corner repaint | Faded walls, large repairs, strong sun exposure or a sheen that no longer matches | Takes more time and paint, and requires moving furniture and protecting floors |
My rule is simple. If the repair is smaller than your hand and the wall is flat or matte, a spot dab works. If the repair is larger or the wall has a sheen, feather it. If the whole wall has changed, repaint it.
Matching Colour When the Original Can Is Gone
Reading a Paint Chip Under Your Own Lights
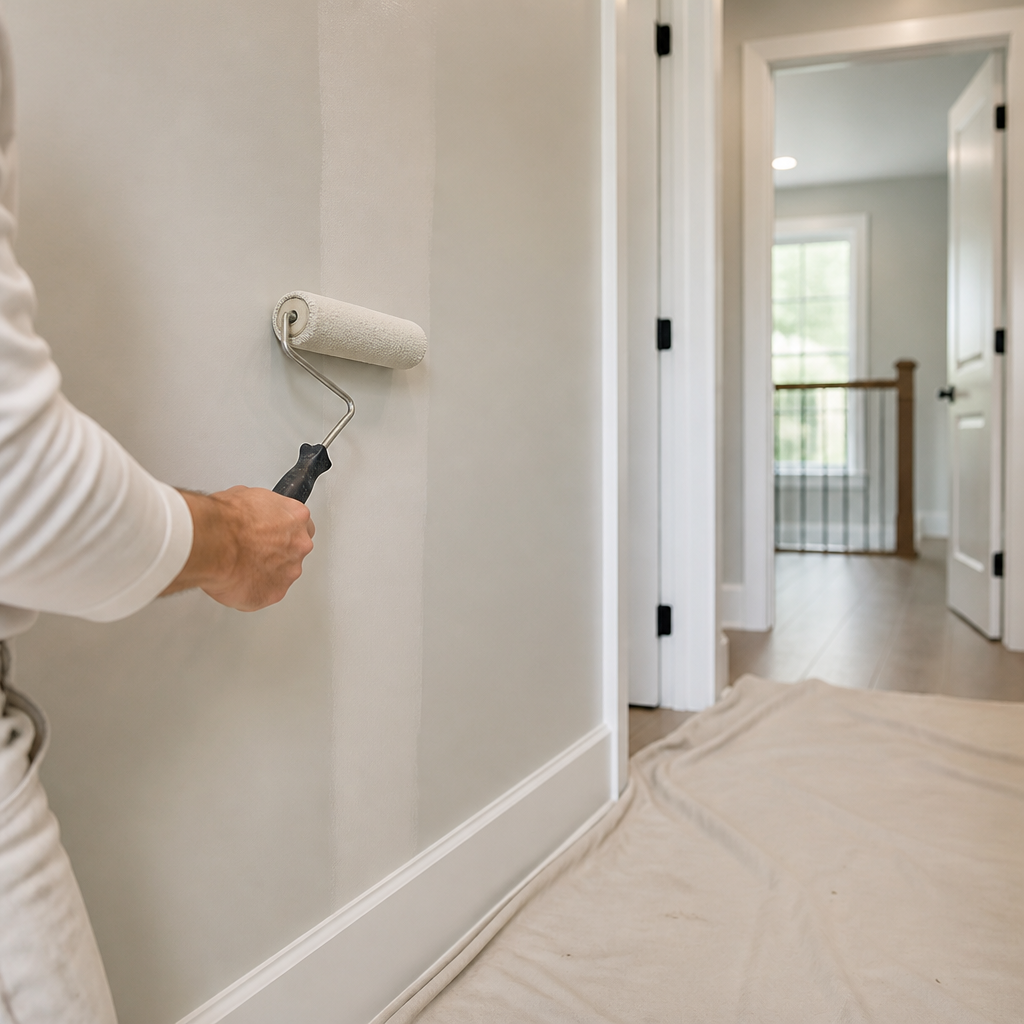
Take the chip or sample home and hold it against the wall in the room where it will be used. Look at it in the morning, in the late afternoon and under the lamp you use at night. A colour that looks right at the paint counter can look cooler or warmer once it is next to your existing trim and flooring.
Ask the paint counter to make a larger batch than you think you need. A small test pot is useful for checking the match, but the touch-up itself needs enough paint to finish the repair and keep a spare. A second batch mixed later can look slightly different, and you do not want to find that out in the middle of a wall.
Asking for a Match From a Sample
When you bring in a scrape, ask for the match to be checked against the wall in natural light, not just on the counter. Many paint retailers can scan a sample and mix a close match, but the result is only as good as the sample. A scrape from a sunlit area that has faded will produce a colour that is too bright or too dark for the wall it has to blend with.
Benjamin Moore’s touch-up guidance covers matching paint colours, and the core idea is the same as what counter staff will tell you. Test the match on the actual wall, and be ready to adjust. A small test area on a hidden part of the wall is the cheapest insurance you can buy.
When a Spot Repair Will Not Hide the Repair
Ceiling Lines, Corners and Natural Breaks
Some walls simply cannot hide a spot repair. A patch that sits on a long, open wall with no corner, door or ceiling line to break up the surface will almost always show. In that case, repainting the full wall from one corner to the other gives you a clean, continuous finish that a spot repair cannot match. Plan for the wall, not just the damage.
The same logic applies to large rooms where the paint has been in direct sun. Living rooms and kitchens with big windows often fade on the sunny side while the shadowed side stays original. A spot repair on that wall will show the difference immediately, so repaint the whole wall or the full room. For a full room, see our professional interior painting.
Signs a Full Repaint Is the Better Call
Repaint when the paint has yellowed, chalked or lost its gloss across the wall, not just in one spot. Repaint if your repair covers more than a few square feet, or if you have already tried a spot fix that did not hold. Repaint if the sheen on the wall no longer matches the paint you can buy today, because mixing a new sheen to match an old one is often impossible.
Pro tip: Before you commit to a full repaint, test a small section of the wall with a fresh coat in an inconspicuous corner and check it after it has fully dried. If the new paint is clearly different from the rest, the whole room will need the same treatment to look uniform.
Frequently Asked Questions
Can I touch up interior paint without repainting the whole wall?
Yes, for small chips, nail holes and scuffs on a flat or eggshell wall. Clean and prime the spot, apply two thin coats, and feather the edges with a dry roller. If the wall is large, faded or satin or semi-gloss, a full wall repaint usually gives a cleaner result.
Why does my touch-up look shiny even though the colour matches?
The most likely cause is a sheen mismatch or a surface that absorbed the paint unevenly. Satin and semi-gloss show small differences much more than flat paint does. Sand the edge lightly, prime bare spots, and feather the paint out so the sheen blends into the surrounding wall.
How long should I wait between coats of touch-up paint?
Wait until the first coat is fully dry before applying the second, and follow the recoat window printed on the can. Humid autumn and winter conditions in the Fraser Valley can slow drying, so check the surface by touch and by appearance rather than relying on the clock alone.
Do I need primer for a small touch-up?
You need primer if the spot is bare drywall, bare joint compound, a stain or an area you have sanded through to the substrate. A stain-blocking primer keeps the topcoat from sinking in and drying darker. For a small repair on sound paint, a good-quality topcoat applied in two thin coats is usually enough.
What is the best tool for a small interior touch-up?
A small, good-quality brush is the best tool for most spots, because it lets you control how much paint you apply. Use a dry roller only to feather the edge after the paint is on the wall. Avoid a large roller on a small repair, since it spreads paint too far and leaves a visible ring.
Should I hire a painter for a touch-up or do it myself?
Do it yourself for small, flat-wall repairs where a few minutes of work will do the job. Call a professional when the wall is satin or semi-gloss, when the repair is large, or when you need a colour that has changed over time. A professional estimator can usually tell within minutes whether a spot fix will hold or whether the wall needs repainting.
Tell us in the comments which touch-up step has worked best for your walls, or where your last repair still showed through.
We would love your feedback and any insights you would share with others. What perspective would you add?

