

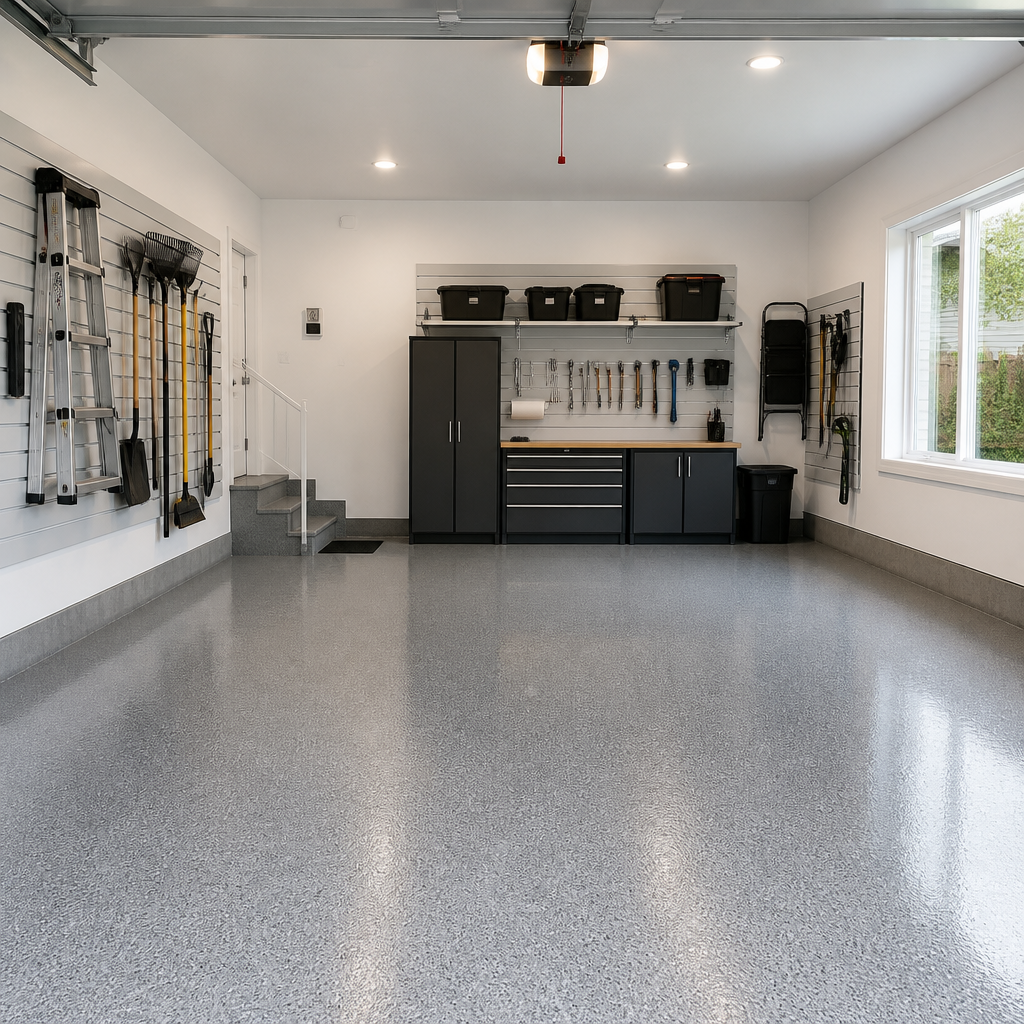
Most garages in Abbotsford and Langley get painted once, usually when the house is built, and then left alone until the walls are scuffed, the floor is flaking near the door and a bike rack has left a permanent mark. A garage works harder than almost any other room in the house. It takes tire grime, oil drips, cold concrete, damp air and a constant flow of tools and boxes. Done properly, garage painting makes the space easier to clean, brighter to work in and far more durable. Done carelessly, the coating lifts within a season. This guide explains how we approach garage painting across the Fraser Valley, from preparation and floor coatings to the timing that suits our wet autumns and winters.
Table of Contents
- Quick Takeaways
- Why Garage Interior Painting Deserves Its Own Plan
- Surface Preparation That Decides How Long the Paint Lasts
- Choosing a Garage Floor Coating
- Wall Colour, Sheen and Lighting in Garages
- Painting Garage Walls in Fraser Valley Conditions
- Working With a Painter on Your Garage
- Frequently Asked Questions
- References
Quick Takeaways
| Key Insight | Explanation |
|---|---|
| Degrease the floor before any primer or coating | Oil and brake fluid residue blocks adhesion. Use a dedicated degreaser, rinse well and let the slab dry fully. |
| Test the slab for moisture first | Tape clear plastic to the concrete on all four edges for 24 hours. Condensation underneath means moisture is coming through the slab. |
| Match the floor product to how the garage is used | One-part acrylic epoxy suits light use. Two-part epoxy handles heavy vehicles, tools and frequent fluid spills better. |
| Choose satin or semi-gloss for walls that take abuse | Flat finishes show every bumper mark and are hard to wipe clean. Satin is a practical default for most garage walls. |
| Identify the wall material before buying primer | Bare drywall needs a sealing primer. Concrete block needs a block filler. Using the wrong one wastes paint and gives a patchy result. |
| Paint in a dry window that stays above the label minimum | Damp autumn air and cold slabs slow the cure, trap moisture and leave tacky or dusty finishes. |
| Ask for a quote that lists prep steps, not just paint | Cleaning, patching, priming and floor preparation decide how long the job lasts, so they should appear as separate line items. |
Why Garage Interior Painting Deserves Its Own Plan
A garage is not a living room with a car parked in it. The walls are often bare drywall, unsealed concrete block or plywood, and the floor is a slab that sits directly on the ground. Those differences change how paint behaves, so the plan has to change too.
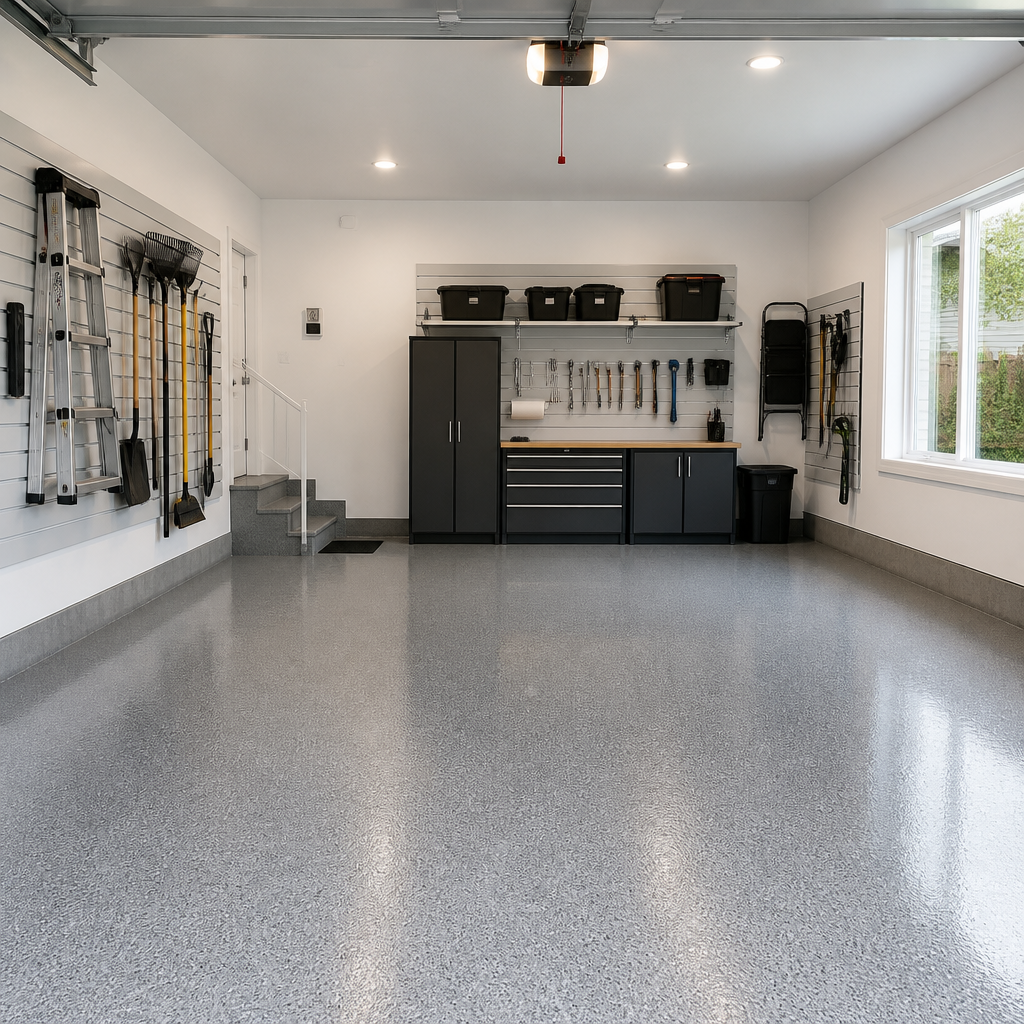
In practice, the most common garage paint failure has little to do with the paint itself. It is a coating applied over a surface nobody prepared. Dust, grease and a thin film of cement residue stop paint from bonding, and the failure shows up months later as peeling near the entry door or bubbling along the floor line.
How Attached and Detached Garages Differ
Attached garages share a wall with the house and often have framing and drywall finished to a different standard than the living space. Many also carry fire-separation requirements between the garage and the home, so paint is never a substitute for wall assemblies that were installed to code. Detached garages face more exposure to weather and damp soil. Both need a plan, and your local building department can confirm what applies to your property before you change anything structural.
What Garage Walls Are Really Made Of
Older garages in Abbotsford and Langley often have taped and textured drywall that was never primed, or exposed concrete block with a rough, open surface. Drywall needs a sealing primer so the topcoat does not flash, which is the term for dull patches where the paper absorbed more paint than the surrounding wall. Block is porous and needs a block filler or a high-build primer before the topcoat goes on.
The lesson is simple: identify the wall before you buy the paint. Scraping a small area and checking for chalky, grainy or powdery residue will tell you a lot. Block and drywall need different primers, and mixing them up is one of the quickest ways to waste a weekend.
Surface Preparation That Decides How Long the Paint Lasts
Preparation is the part of garage painting that nobody photographs, and it is the part that decides whether the paint survives its first winter. We treat it as the main job, with the painting as the final step. A clean, sound, dry surface is the only thing that lets any coating perform the way the label promises.
Degreasing and Oil Removal
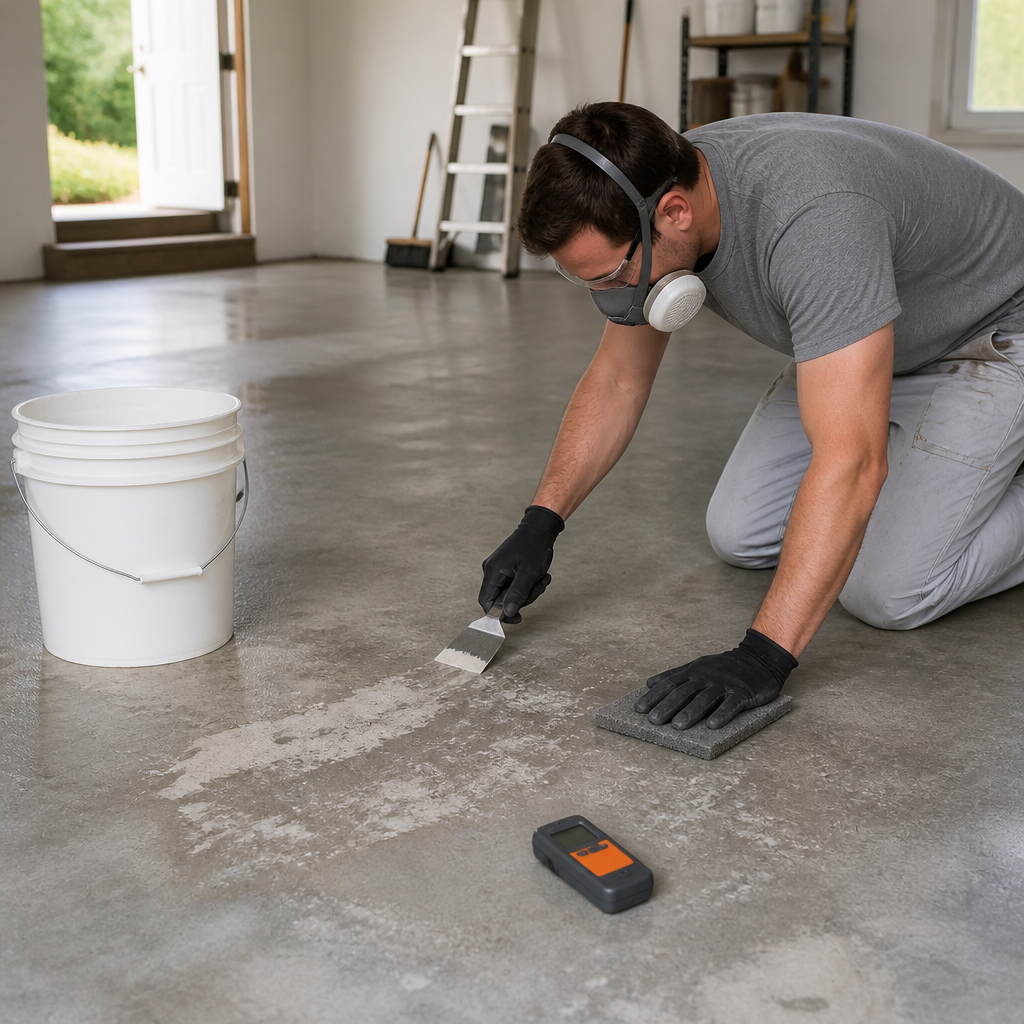
Garage floors collect oil, brake fluid, antifreeze and tire rubber, and they leave a film that paint cannot grip. Use a dedicated degreaser on the slab, scrub with a stiff brush and rinse thoroughly. Ordinary dish soap does not cut it. Stains that remain after one pass usually need a second application, and any patch that still beads water is not ready.
Walls get dirty in a different way. Dust from sanding, cobwebs and overspray from a pressure washer all leave residue. Wipe the walls down with a damp microfiber cloth and let them dry completely before priming. Never paint over a damp surface, even if it looks dry on top.
Patching and Priming Bare Walls
Garage walls take a beating from ladders, shelving brackets and the occasional bumper. Fill dents and screw holes with a setting compound or a quality patching product, let it cure, then sand flush. Feather the edges so the patch does not show under raking light, which is common in a garage where a single overhead fixture throws shadows across the wall.
Primer is the step most homeowners try to skip. On bare drywall, a sealing primer evens out absorption and stops the topcoat from looking blotchy. On concrete block, a block filler closes the pores so you do not need three coats of finish to get coverage. Skipping primer almost always costs more paint and gives a worse result.
Checking Moisture Before You Commit
Concrete floors in the Fraser Valley can hold moisture, especially older slabs or garages that sit near damp ground. Before you choose a floor coating, tape a square of clear plastic sheeting to the slab on all four edges and leave it for 24 hours. If condensation forms under the plastic, moisture is moving through the concrete, and a standard coating will likely blister.
In that case, the answer is not a thicker coat of paint. It is a moisture-tolerant product, a vapour barrier discussed with a qualified contractor, or better drainage outside the door. Painting over a wet slab is the most expensive mistake we see on floors, because the failure is slow and the repair means stripping everything back to bare concrete.
Preparation is the part nobody photographs, and it is the part that decides whether the paint still looks good after the first wet winter.
Pro tip: Keep a simple checklist with your prep steps, such as “degreased,” “patched,” “primed” and “dry for 24 hours.” It sounds fussy, but it stops crews and DIY painters from rolling topcoat over a step that was skipped.
Choosing a Garage Floor Coating
The floor is where garage paint earns its keep. It takes tire pressure, dropped tools, fluid spills and the constant scrape of a shovel in winter. The right coating depends on how the garage is used, not just on what looks good on a colour chip.
One-Part Acrylic Epoxy Floor Paint
One-part acrylic epoxy floor paints come ready to use, which makes them a practical choice for homeowners who want a durable, cleanable floor without mixing components. Manufacturers such as Benjamin Moore sell one-part concrete and garage floor paints designed for concrete, masonry and block. They suit light-duty garages where a car is parked, storage sits on the floor and spills are wiped up quickly.
The trade-off is chemical and abrasion resistance. Under heavy tire scrubbing, a car turning on the same spot or solvent spills left overnight, a one-part product will wear through faster than a two-part system. For many Lower Mainland homeowners that is an acceptable compromise, but it is the wrong choice for a home workshop where engine work happens every week.
Two-Part Epoxy Systems
Two-part epoxy has a resin and a hardener that react once they are mixed. The result is a harder, more chemical-resistant film that handles heavy loads better than a one-part coating. A manufacturer’s datasheet for a two-part garage floor epoxy calls for 3 parts of the base component mixed with 1 part of the converter, which is exactly why you should measure the mix and never eyeball it.
Two-part systems also have a pot life, the working window after mixing. Mix more than you can apply in that window and the material hardens in the can or the roller tray. These systems reward careful prep and punish rushed application, so they suit owners who are willing to take their time or hire a crew that does this regularly.
Where Floor Coatings Fail
Most failed floors share the same three causes: oil residue that was never removed, moisture coming up through the slab, and coating applied too thick or too cold. Thick coats often look fine for weeks, then the surface stays soft or cracks at the edges. Cold slabs slow the cure, which keeps the coating tacky longer and lets dust settle into it.
Check the product label for minimum application and cure temperatures, and do not start if the slab is cold or a damp front is due to roll in. That matters most in autumn, when a mild afternoon can mislead you into thinking the slab is ready when it is still holding cold from the night before.
| Option | Best Use | Main Trade-off |
|---|---|---|
| One-part acrylic epoxy floor paint | Light-duty garages, quick refreshes, DIY-friendly application | Less resistance to chemicals and heavy abrasion than two-part systems |
| Two-part epoxy floor system | Workshops, heavy vehicles and garages with frequent fluid spills | Mix ratio, pot life and surface prep leave little room for shortcuts |
| Standard acrylic floor paint | Budget refresh of dry, low-traffic storage areas | Wears through quickly at tire paths and door thresholds |
Wall Colour, Sheen and Lighting in Garages
Colour in a garage does more than decorate. It changes how much light you get from the fixtures you already have, and it affects how quickly scuffs and dirt become visible. Choose here for practicality first and appearance second.
Choosing a Sheen That Survives Scuffs
Flat finishes look refined in a showroom, but they show every bumper mark and do not wipe clean well. In a garage, satin or eggshell is usually the minimum. Semi-gloss on the lower walls near the car door makes cleaning much easier, though it highlights every flaw in the surface, so it only works after careful prep.
Our default for most garage walls is satin, because it wipes clean without drawing the eye across the room. Sheen matters more than colour when it comes to how the wall looks after two years of daily use.
Light Reflectance and Bright Whites
Many garages have only one or two ceiling fixtures, and the walls do much of the lighting work. Warm greys and pale neutrals bounce light well, while very dark colours absorb it and make the space feel like a cave. Bright white is not always the best answer, because it can look stark and shows every mark. A lighter neutral with a little warmth usually reads cleaner and easier to work in.
If you plan to add LED fixtures during the paint job, decide on the colour temperature before the walls go up. Cool light on a cool grey can look blue, while warm light on a cream wall can look yellow under the fixture. Test a sample board on the actual wall and check it at night as well as in daylight.
Zoning the Space With Colour
Some homeowners paint a band along the lower third of the wall to mark a parking zone, or use a different tone on the workbench wall to separate work from storage. These approaches work when the colour matches your routine. A band that gets scraped by car doors every day should be a durable finish, and a workbench wall should be easy to wipe after a messy project.
Keep the palette limited. Two colours and one accent usually look intentional, while four or five start to look like a paint sample sale. A garage is a working room, and the colour scheme should make it easier to find things, not harder.
Painting Garage Walls in Fraser Valley Conditions
Wet autumns, cool nights and damp winters shape every garage painting schedule in Abbotsford and Langley. The paint does not care what the calendar says. It cares about temperature, humidity and how long the surface stays dry after application.
Timing Around Wet Weather
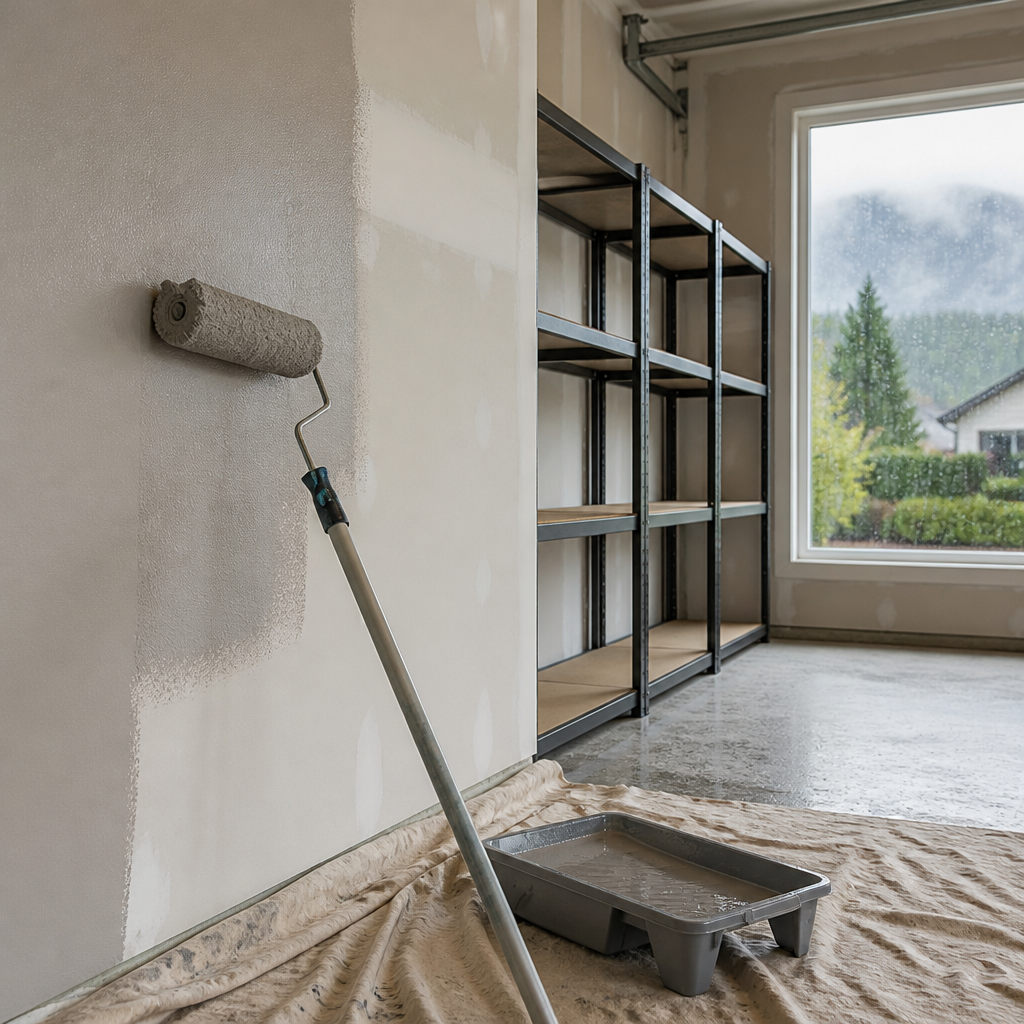
Schedule wall work for a run of dry days, with a forecast that stays above the product’s minimum application temperature. Avoid painting if rain is expected within the drying window stated on the label. Walls dry faster than floors, but high humidity slows drying on both, and a closed garage traps moisture that would otherwise leave.
When conditions allow, open the overhead door during daylight hours to move humid air out. Close it at night to keep the space from cooling too quickly. This is a small habit, but it makes a noticeable difference to how the topcoat levels and cures.
Ventilation and Fumes
Solvent-based primers and some floor coatings release strong vapours, and a closed garage concentrates them quickly. Open the main door and any side doors, and run a fan that moves air outward rather than into the house. Keep pilot lights, heaters and any tool that throws sparks away from the work area until the product has cured.
Keep the door to the house closed during the job. Fumes that drift into the living space are a problem that no amount of airing out fixes quickly, and dust from sanding travels the same way.
Cold Garages and Minimum Temperatures
Many garages in the Fraser Valley are unheated, and a cold slab can drop below product minimums even on a mild day. Use a surface thermometer rather than relying on the air reading. If you need a heater, choose one rated for garage use and keep it well clear of open cans and fumes.
Store paint indoors overnight so the cans are not cold when you open them. Cold product thickens, applies unevenly and can leave brush marks that never flatten out. A few degrees of planning saves a full re-coat later.
Working With a Painter on Your Garage
Garage jobs often get priced low because they look simple. A fair estimate reflects the prep and the floor, not just the square footage of wall. A good quote tells you exactly what is being done and why.
What a Detailed Quote Should Include
A detailed quote lists the cleaning method, degreasing, patching scope, primer type, number of topcoats, floor coating system and whether moisture testing is included. It should also say what happens if the moisture test fails. Estimators who walk the space in person find problems that photos miss, such as a gutter leak above the door or a cracked slab section near the drain.
A quote that says “paint garage, two coats” tells you almost nothing. A quote that lists each prep step tells you what you are paying for, and it gives you a fair basis for comparing offers from different providers.
Protecting Vehicles, Tools and Cabinets
Clear the space as much as possible before work starts. Shelves and cabinets should come off the walls or be wrapped, and loose items should go into a separate room. Vehicles need to be moved out during floor coating, because tire marks on a fresh floor are a hard lesson to learn.
If you are also thinking about refinishing garage cabinets, schedule that as a separate phase. Sanding dust from cabinet work will settle on fresh walls and floors, so it is better handled before the final wall coat or after the floor has fully cured. For the kitchen side, see Abbotsford cabinet painting.
Cleanup and Handover
Cleanup should include removing masking tape, scraping drips off the door track and checking that the floor has fully cured before the car returns. Confirm the cure times in writing. At Dreamscape Painting, we have worked across the Lower Mainland since 1990, and we leave the space cleaner than we found it because that is how a family-run company wants its work remembered.
Pro tip: Ask for a written cure schedule for the floor, with dates for light foot traffic, vehicles and full chemical exposure. Tape a copy to the wall beside the door so everyone in the house follows the same rules.
Frequently Asked Questions
Can I paint a garage floor in the Fraser Valley during winter?
You can, but only on a dry stretch of mild weather that stays above the product’s minimum application and cure temperatures. Test the slab for moisture before you start, and avoid cold nights during the cure window, because they slow hardening and invite dust.
How long before I can park on a painted garage floor?
It depends on the product. One-part acrylic epoxy coatings usually need a day or more before light foot traffic and several days before vehicles. Two-part epoxy systems can take longer to reach full cure, so follow the datasheet and your installer’s written schedule rather than a general rule.
Do I need to empty the garage before painting?
Yes, as much as you reasonably can. Walls need clear access for patching and rolling, and the floor needs to be free of vehicles, tools and stored items. Anything that must stay should be covered with drop cloths and moved away from the work zone.
Is epoxy floor paint worth it for a home garage?
If you park a vehicle there every day, deal with fluid drips or run a workbench with heavy tools, a two-part epoxy system is usually worth the extra effort. If the garage is mostly for storage, a good one-part acrylic epoxy floor paint is often enough, provided the slab is dry and well prepared.
What is the best sheen for garage walls?
Satin is the most practical choice for most garage walls because it cleans easily and does not show every mark. Semi-gloss works well on lower walls near the car door or workbench, but it highlights surface flaws, so it demands careful patching and priming beforehand.
Have you painted a garage in the Fraser Valley, and what surprised you most about the floor, the walls or the prep work?

