

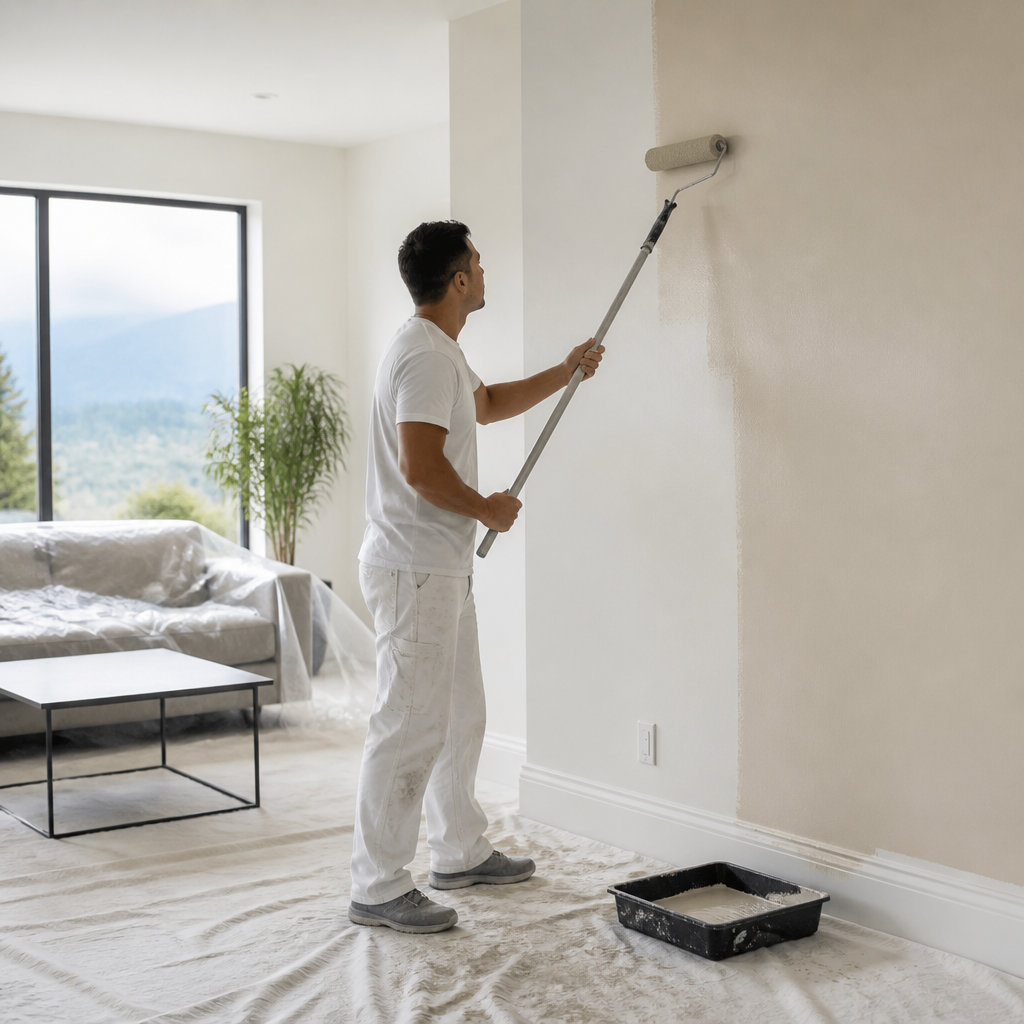
Ask ten homeowners how many coats of paint an interior wall needs, and the answers will vary widely. Some apply a single coat and stop. Others apply three or four without a clear reason. The question of how many coats of paint interior walls require has a practical answer, and it depends on a small set of measurable factors: the existing color, the hiding power of the paint, the condition of the surface, and the sheen. This article explains how experienced painters in Abbotsford, Langley, Surrey, and across the Fraser Valley decide on coat count, and where the common two-coat rule needs adjustment.
Table of Contents
- Quick Takeaways
- Why One Coat Rarely Covers an Interior Wall
- The Two-Coat Standard and Its Exceptions
- Primer, Tinted Colors, and Color Changes
- Products and Sheens That Reduce Coat Count
- Comparing Common Coating Approaches
- Drying Times and Recoat Windows
- Estimating Coats and Materials
- Frequently Asked Questions
- References
Quick Takeaways
| Key Insight | Explanation |
|---|---|
| Two coats is the working baseline | Two coats of quality topcoat on a sound, properly prepared wall usually produce even color and full hide. |
| Dark to light changes need more work | Expect a third coat or a tinted primer when moving from a deep color to a pale one. |
| Bare drywall and patches need primer | New drywall, joint compound, and repaired spots absorb paint unevenly and should be primed before topcoats. |
| Sheen affects coverage | Flat and matte finishes generally hide better in one pass than gloss, which shows roller marks and lap lines. |
| Respect the recoat window | Wait for the time stated on the label, commonly 2 to 4 hours, before applying the next coat. Humid conditions extend that wait. |
| Measure before purchasing | Calculate wall area and apply the coverage rating on the can, adjusted for the expected coat count, to avoid running short mid-project. |
Why One Coat Rarely Covers an Interior Wall
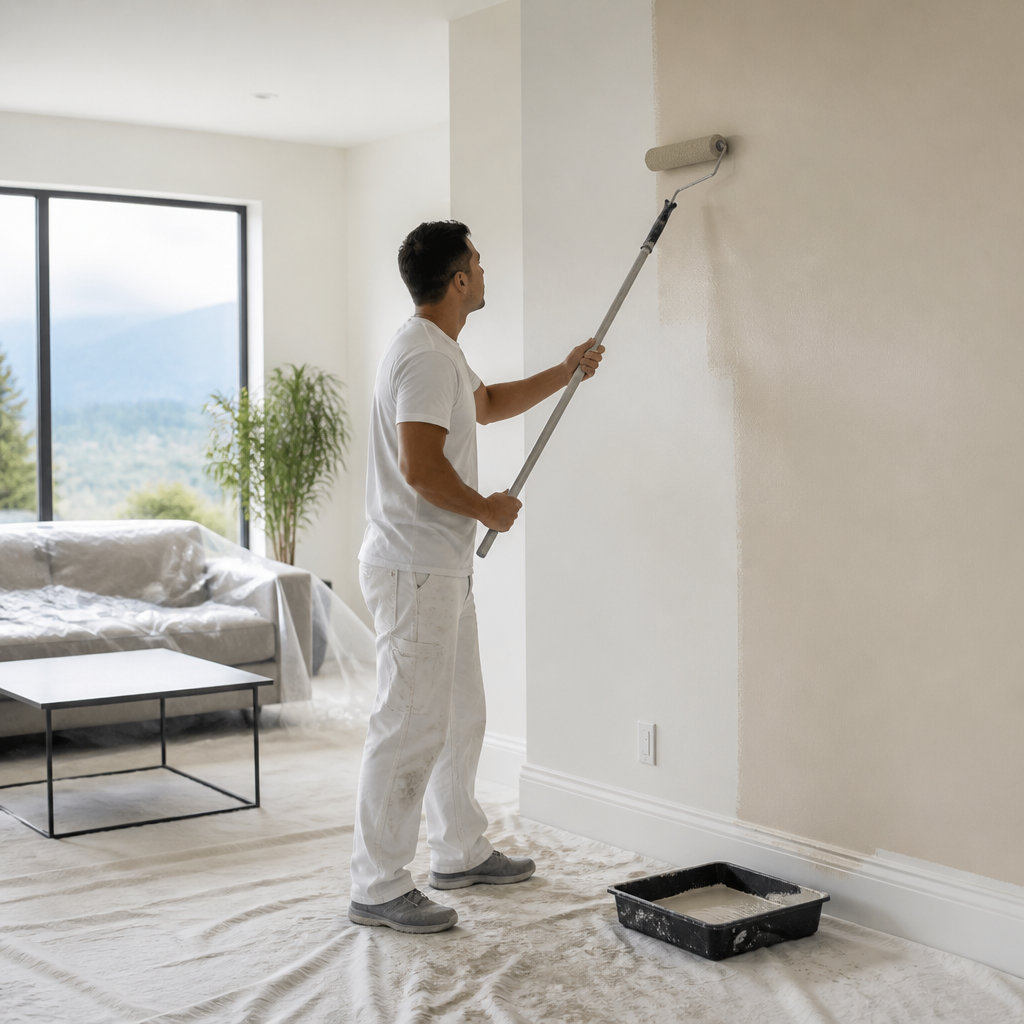
A single coat of paint rarely produces a finished interior wall. Paint is a suspension of pigment and binder, and the film left after drying must be thick enough to block the color underneath. When a new color is close to the old one, a single coat may look acceptable from a distance, but close inspection often reveals patchy areas, lap marks, and uneven sheen. Quotes for our interior painting services are always free.
Hiding power and the color underneath
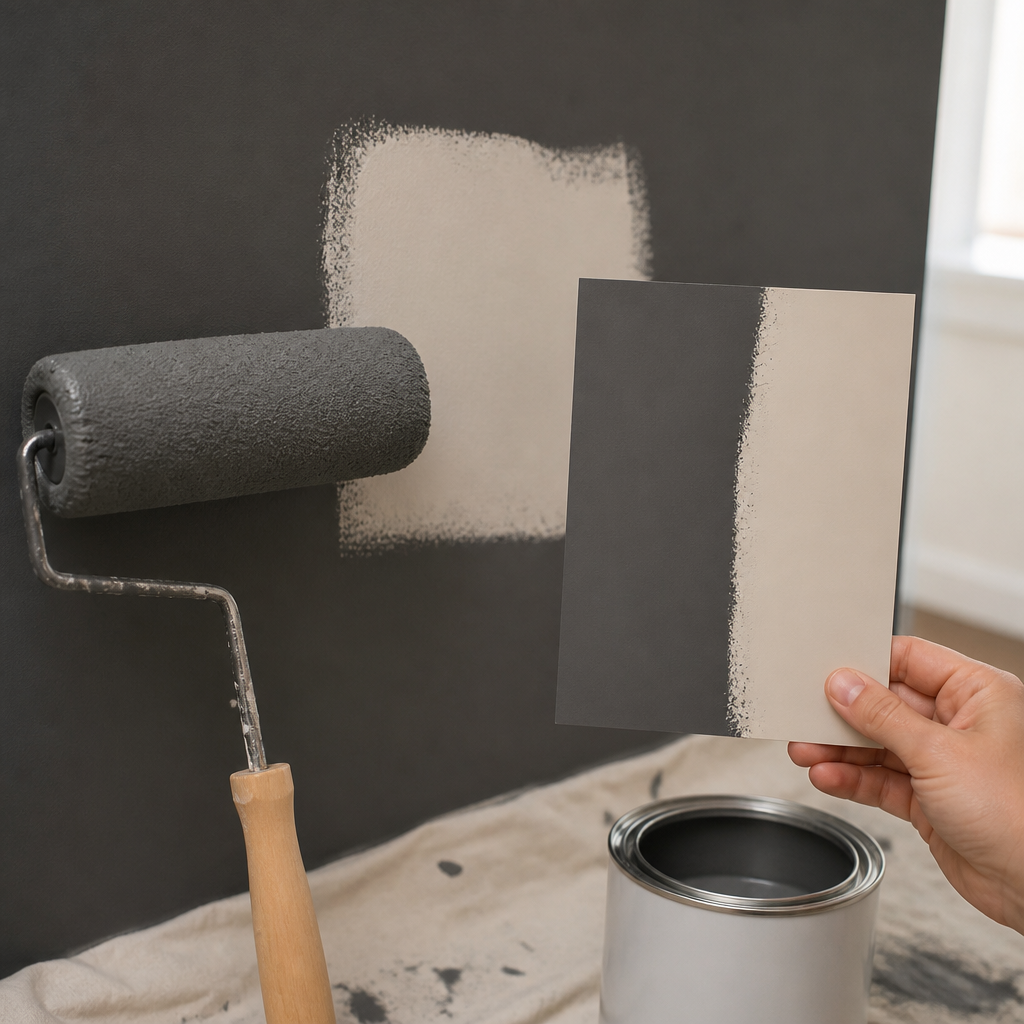
Hiding power describes how well a paint blocks the color beneath it in one application. Bob Vila’s hands-on paint testing measured how many coats each product needed to conceal a black circle drawn on drywall, which turns coat count into a measurable result rather than a matter of opinion. Coverage ratings printed on the can offer a starting point, but they describe performance on a clean, neutral surface.
Sheen and how the surface absorbs paint
Sheen changes how a wall looks after each coat. Flat and matte finishes contain more pigment and generally hide better in a single pass, while gloss and semi-gloss finishes reveal every roller overlap and brush mark. Porous surfaces, including unprimed drywall and joint compound, draw paint into the material, so the first coat is partly absorbed and the color looks thin.
In practice, the second coat is what makes a wall look finished. It fills the thin areas left by absorption, evens the sheen, and builds the film thickness that supports cleaning. Skipping that second pass to save time usually shows up as visible patches in daylight or under lamps placed at an angle.
The Two-Coat Standard and Its Exceptions
Two coats is the working standard for most interior walls. The first coat establishes the color and seals the surface, and the second coat evens the finish and builds the thickness needed for durability. For a typical repaint in a Lower Mainland home, a sound surface and quality paint applied in two coats will meet most expectations for appearance and cleaning.
When two coats are the baseline
Two coats are appropriate when the wall is clean, sound, and previously painted in a color close to the new one. A repaint in a similar shade is the most common case in occupied homes. The second coat should be applied only after the first has dried to the recoat time stated by the manufacturer. Applying it too soon can lift the first coat or leave the film soft and prone to marking.
Situations that call for a third coat
A third coat is often needed on walls with heavy color changes, on deep feature colors, or on surfaces where patches have a different texture or porosity. Accent colors in deep reds, navies, and charcoals frequently require three coats or a tinted primer to reach a uniform color. Patched areas that show a visible difference in sheen after two coats usually need one additional pass over those spots to restore uniformity.
Primer, Tinted Colors, and Color Changes
Primer determines how much paint the topcoat needs. It seals porous surfaces, blocks stains, and provides a uniform base for the color. Skipping primer on new drywall, repaired patches, or heavily stained areas often adds a coat to the job and produces uneven results that are difficult to correct with topcoats alone.
Priming new drywall and patched areas
New drywall and joint compound absorb paint at different rates, which leaves flashing that can show through a single topcoat. A drywall primer or sealer applied before the topcoat equalizes absorption across the surface. Spot priming patches before the full wall is painted reduces the number of topcoats needed and lowers the risk of visible repair lines.
Moving from dark colors to light ones
Moving from a deep color to a pale one is the most reliable way to increase coat count. Deep pigments remain visible under a light topcoat unless the primer is tinted toward the new shade. Tinted primer often reduces the number of topcoats required, and the tint should be requested at the time of purchase so that the base color sits close to the final result.
Pro tip: Ask for a tinted primer when a wall is moving more than a few shades lighter. A gray-tinted base for a pale neutral is a common choice, and it reduces the chance that a fourth coat will be needed to cover deep pigment.
Products and Sheens That Reduce Coat Count
Product selection influences how many coats a wall needs. Higher-quality paints generally contain more solids and perform better on coverage, although price is not a reliable indicator on its own. Reviewing lab-tested results from independent publications helps separate marketing claims from measured performance.
Reading the hide and coverage rating
The label lists a coverage area per container, which assumes a single coat on a suitable surface. Treat that figure as a planning number rather than a guarantee. Coverage on a dark wall or a porous surface will be lower, and the number of coats increases accordingly. Consumer Reports publishes lab-tested reviews of interior paints, which provide a measured comparison of how products perform in use.
Sheen choices for kitchens, bathrooms, and trim
Sheen decisions affect cleaning and touch-up as much as coat count. Flat finishes hide imperfections well but tolerate scrubbing less well. For that reason, many crews use matte or eggshell on living areas and a washable satin or semi-gloss on trim, kitchens, and bathrooms. Changing sheen on the same wall generally requires a full fresh coat to avoid visible differences in gloss. For kitchens, see our cabinet painting process.
Comparing Common Coating Approaches
Three approaches cover most interior projects. Each produces a different coat count, labor time, and cost profile. The right choice depends on the existing color, the condition of the surface, and the finish the client expects.
| Approach | Typical Coat Count | Best Use Case |
|---|---|---|
| Single-coat high-hide topcoat | One coat | Touch-ups and light repaints on a sealed surface where the new color is close to the existing one |
| Standard two-coat repaint | Two topcoats | Most interior walls and ceilings in occupied homes and commercial spaces with sound surfaces |
| Primer followed by two topcoats | One primer and two topcoats | New drywall, patched walls, stain-prone areas, and large color changes |
Single-coat products are most reliable when the surface is sound and the color change is modest. Applying them over a deep color or raw drywall usually produces a second coat anyway, which removes the time saving. Their value lies in predictable outcomes on well-prepared surfaces, not in eliminating the second pass.
Coat count affects labor more than materials. A third coat adds a complete application pass across the wall, along with additional cutting in, masking adjustments, and cleanup. On a project covering several rooms, that difference is measurable on the final invoice and in the schedule.
Drying Times and Recoat Windows
Recoat timing is the step most often rushed. A second coat applied before the first has set can lift, blister, or dry with a soft film. Manufacturer guidance on the order of painting a room recommends letting each coat dry completely before the next, with a typical wait of 2 to 4 hours, although the product label always governs.
Pro tip: Mark the time each coat was applied on the masking tape or in a site log. Comparing that record with the label’s recoat window prevents rushed second coats on cool or damp days.
Respecting the recoat window
Humidity extends drying times. The damp autumn and winter weather common across the Lower Mainland can slow a wall that would dry quickly in a dry climate. Painters should check readiness by touch and by appearance, not by the clock alone. Improving air movement in the room, without directing drafts across wet paint, can shorten the wait.
Sequencing a full room
A practical sequence starts with the ceiling, moves to the walls, then the trim, and finishes with doors. Each stage is completed within its recoat window before the next coat begins, so the room is not returned to use with wet surfaces. Cutting in edges first and rolling the field while keeping a wet edge reduces lap marks, which otherwise become one of the most visible faults in a second coat.
Estimating Coats and Materials
Estimating coat count and paint quantity before work begins prevents delays and color mismatches. Professional estimators measure wall area, deduct large openings, and add allowance for the second coat and any patching. The number of coats then multiplies the quantity of paint needed for the job.
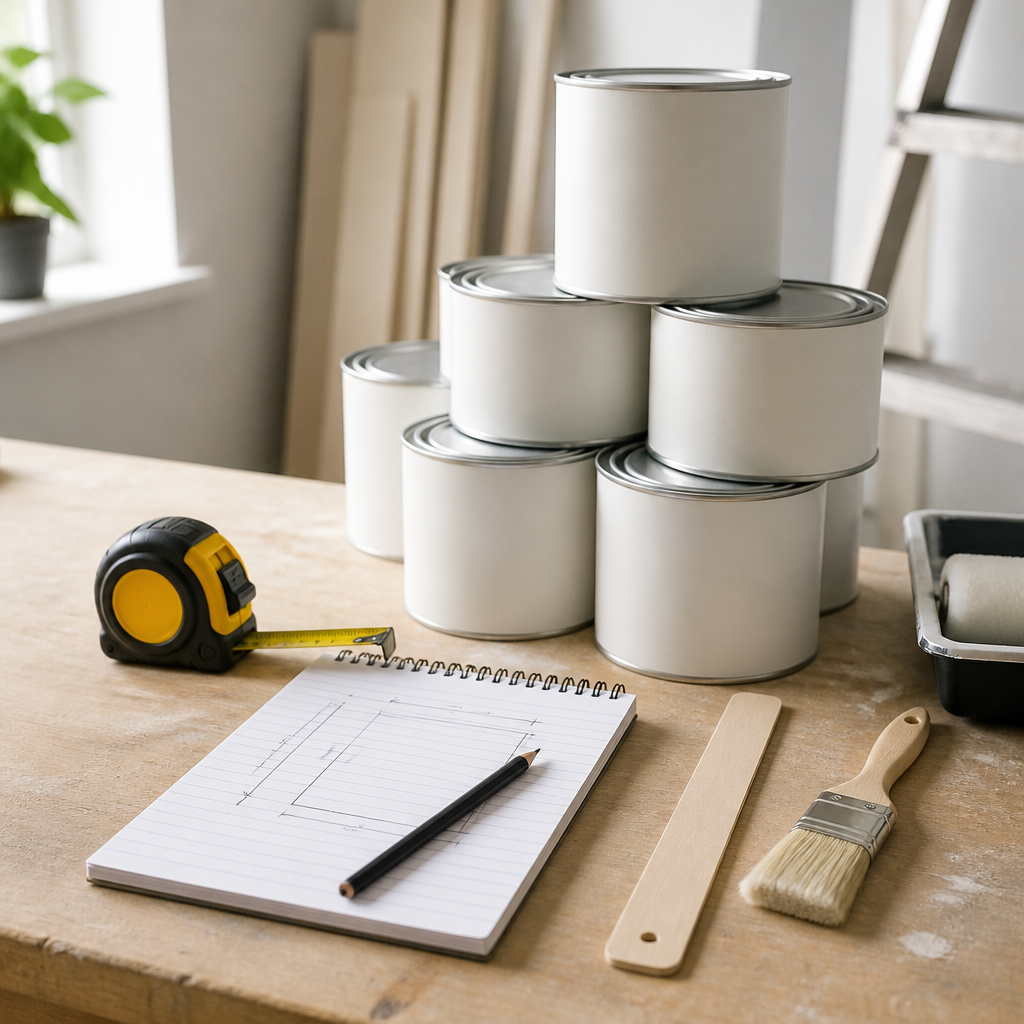
The number of coats a wall needs is a property of the surface, the color change, and the paint. It is not a fixed rule that applies to every room.
Calculating paint quantity from room dimensions
Room dimensions provide a reliable starting point. Multiply the perimeter of the room by the wall height, subtract large windows and doors, and calculate the ceiling area separately. Online paint calculators perform the same arithmetic and allow the expected coat count to be entered directly, which makes the estimate easier to adjust for a third coat.
Recording coats for future repaints
Recording the brand, color code, sheen, and number of coats applied to each room helps with future touch-ups. A written record also shows whether a wall was primed, which affects how the next repaint should be planned. Leftover paint should be stored in sealed containers labeled with the room name and date.
Pro tip: Keep a small sample of the final color on a painted offcut or a hidden section of the wall. Matching a future touch-up to that sample is far more accurate than matching from memory, especially after the wall has aged under lighting.
Frequently Asked Questions
Is two coats of paint always enough for interior walls?
No. Two coats is the standard for repaints in a similar color on sound surfaces. Dark to light color changes, unprimed drywall, and heavily patched walls usually require a primer, a tinted base, or a third coat.
Can a one-coat paint save time on a repaint?
One-coat products work best on sound surfaces with a similar color. On deep colors, raw drywall, or large color changes, a second coat is usually still needed, so the expected time saving may not be realized.
How long should I wait between coats?
Follow the label. Manufacturer guidance commonly cites 2 to 4 hours, but humidity and temperature in the room can extend that window. A second coat applied too early can lift or leave soft spots.
Does primer count as a coat of paint?
Primer is a separate layer that prepares the surface. It does not replace topcoats, but it seals porous areas and evens absorption, which often reduces the number of topcoats needed to reach a uniform color.
Why does a wall look patchy after painting?
Patchiness usually results from uneven absorption, lap marks, or applying a second coat before the first has set. Priming repaired areas and rolling in complete sections while maintaining a wet edge reduce the problem.
When should a homeowner request an on-site estimate?
An on-site estimate is useful for large interiors, significant color changes, or multi-room commercial spaces. An estimator from Dreamscape Painting can confirm surface condition and the likely coat count before paint is purchased.
We welcome your feedback or experience with coat counts on your own interior projects, particularly where the color change or surface condition required more work than expected.
We would love your feedback and any insights you would share with others. What perspective would you add?

