

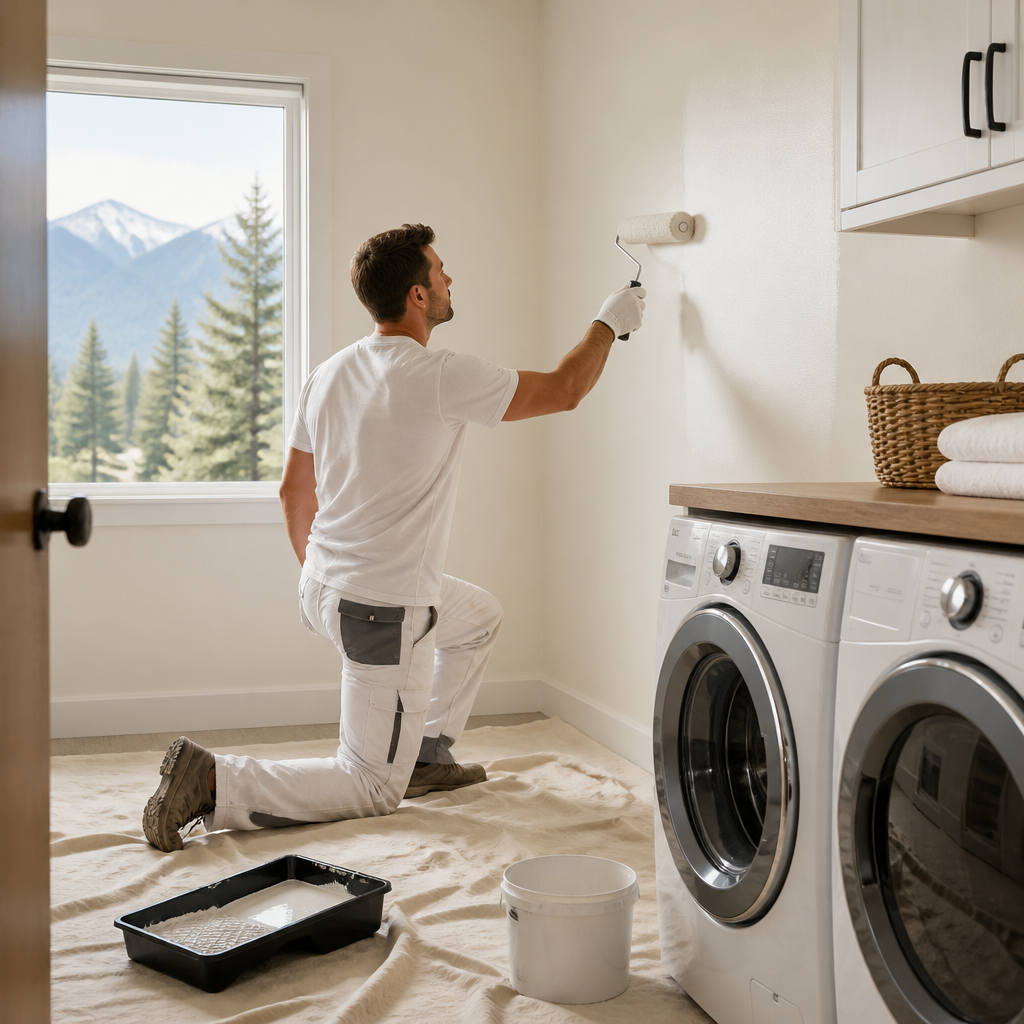
Laundry rooms and utility spaces concentrate the conditions that break down paint fastest: steam from washers, heat from dryers, lint, and regular contact with cleaning products. Homeowners in Surrey, Langley, and Abbotsford often notice peeling paint near machines or softened cabinet finishes within a few years of a standard repaint. Successful laundry room painting in BC depends on two decisions made in sequence. First, correct the moisture sources. Second, select a finish built for humidity and frequent cleaning. This article explains which finishes perform, which preparation steps prevent early failure, and how to plan a utility room paint finish that stays serviceable.
Table of Contents
- Quick Takeaways
- Why Laundry Rooms Fail Faster Than Other Rooms
- Fixing Moisture Sources Before Paint
- Choosing a Moisture-Resistant Interior Paint
- Managing Heat and Heavy Contact Surfaces
- Color and Visibility in Utility Spaces
- Comparing Finish Options for Utility Rooms
- Cleaning and Long-Term Maintenance
- Frequently Asked Questions
- References
Quick Takeaways
| Key Insight | Explanation |
|---|---|
| Correct moisture before painting | Paint cannot bridge an active leak, condensation cycle, or dryer venting fault. Resolve these conditions first, then prime and coat. |
| Specify satin on general wall areas | Satin or semi-gloss finishes are typically more durable and easier to wipe clean than flat finishes in wet, high-contact rooms. |
| Choose 100% acrylic with mildew resistance | Acrylic binders stay flexible and adhere well in humid air, while mildew-resistant additives slow growth in poorly ventilated corners. |
| Paint within the product temperature range | Latex paints are typically applied within about 50°F to 90°F. A cold or damp utility room can prevent proper curing. |
| Use leveling enamel on cabinets and shelving | Cabinets and shelves take more contact than walls. A leveling enamel produces a smoother, cleanable surface after proper degreasing and priming. |
| Test color under the room’s own lighting | Many utility spaces have little or no daylight. Sample colors should be evaluated under the installed fixtures before the full room is painted. |
Why Laundry Rooms Fail Faster Than Other Rooms
Paint failure in laundry rooms rarely traces back to a single cause. These rooms combine three stresses that seldom appear together elsewhere in a home: sustained humidity from washing, heat from drying equipment, and mechanical contact from baskets, hampers, and folding surfaces.
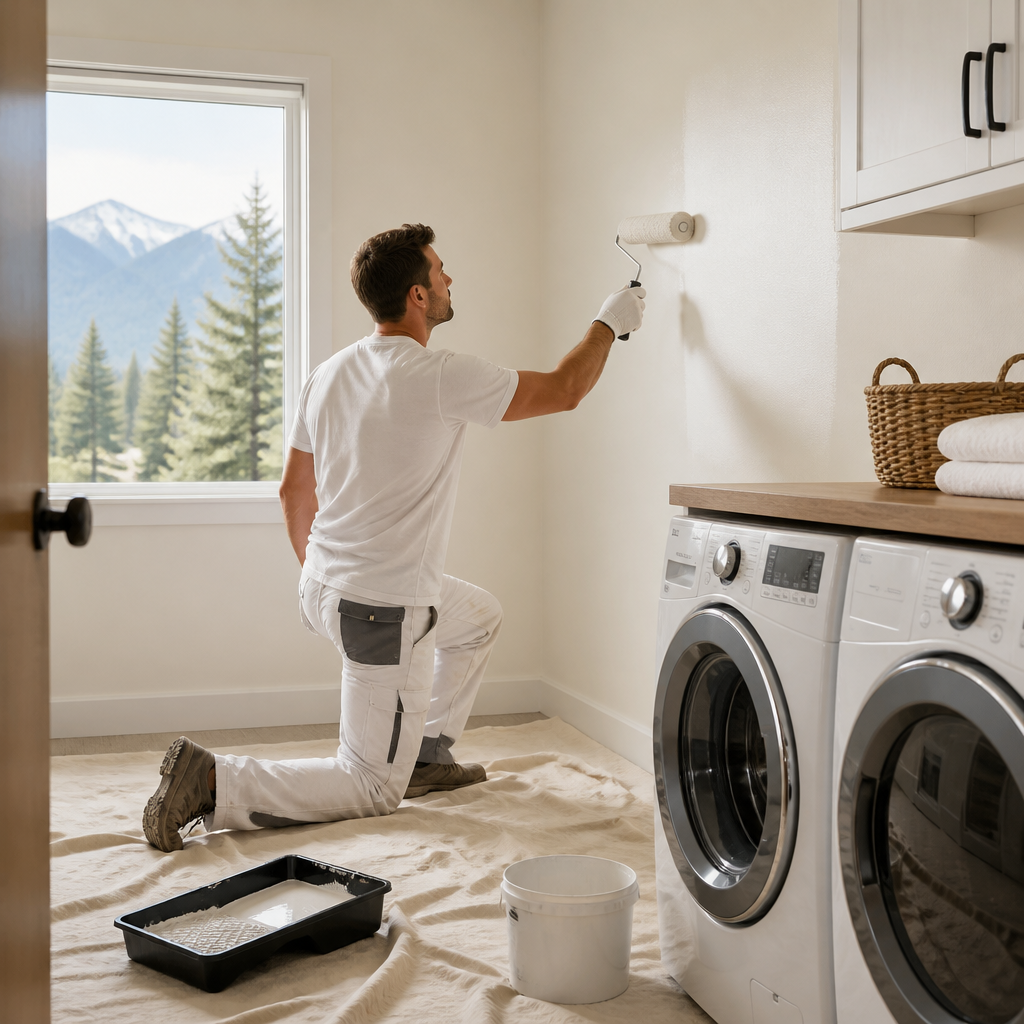
Each stress affects the paint film differently. Humidity softens weak films and supports mildew in corners and behind appliances. Heat speeds drying and can leave a film under-cured. Contact wears flat finishes and lifts edges at door frames and counter returns.
Where failures usually begin
The first signs of trouble appear in predictable places. The wall directly behind a washer, the drywall above a utility sink, and the corners where ceilings meet exterior walls tend to show staining or bubbling before other areas. These locations receive the most moisture and the least airflow.
Cabinet doors and the lower edges of shelving fail for a different reason. They are touched constantly, wiped with cleaning products, and often painted with a finish never designed for repeated contact. A coating that performs well in a bedroom may dull or lift within one season on a laundry cabinet. We refinish laundry cabinets as well as kitchens; see cabinet painting in Maple Ridge and New Westminster cabinet painting.
Fixing Moisture Sources Before Paint
Paint cannot correct an active moisture problem. A coating applied over a slow leak, a poorly vented dryer, or a recurring condensation cycle will fail at the same points regardless of its quality. The sequence of work matters more than the product selected.
Dryer venting and exhaust
Dryer ducts should discharge fully outdoors through a properly sized and sealed path. A duct that terminates inside the room, or that runs through a long, crushed, or sagging section, traps heat and moisture against the wall. Before painting, confirm that the vent is clear, that the connections are secure, and that the wall behind the dryer is dry after a full cycle.
Lint buildup inside the duct is a common cause of heat-related damage. Cleaning the duct and the lint trap before painting prevents fresh residue from settling on a newly coated surface.
Leaks, condensation, and ventilation
Check supply and drain lines for weeping at fittings, and look for staining on ceilings below any upstairs bathroom. Condensation often forms on cold exterior walls during winter, and a room without an exhaust fan or operable window holds humidity long after each wash. Installing or upgrading an exhaust fan is usually more effective than selecting a premium paint alone.
Once the moisture source is resolved, degrease all surfaces, allow them to dry fully, and repair damaged drywall. Prime bare patches with a stain-blocking primer before the topcoat. Dreamscape Painting applies this sequence on utility and laundry projects across the Lower Mainland, because a coating cannot outperform the conditions behind it. For specialized interior work, the company’s interior painting services include surface assessment before any coating is specified.
Pro tip: Tape a sheet of plastic to the wall behind the dryer for 24 hours. Moisture beading on the underside of the plastic suggests condensation or leakage that should be corrected before any coating is applied.
Choosing a Moisture-Resistant Interior Paint
The term moisture-resistant describes a range of products rather than a single standard. Practical selection starts with the binder, the sheen, and the mildew protection built into the dried film. Labels that claim waterproof performance require careful reading, because laundry room walls are rarely submerged.
Binder and film chemistry
For interior walls in utility spaces, a high-quality 100% acrylic latex is a dependable starting point. Acrylic binders remain flexible through temperature changes and bond well to primed drywall and previously painted surfaces. Many moisture-resistant products pair this binder with additives that slow mildew growth on the dried film.
Specify these properties with the paint supplier rather than relying on the words bathroom or waterproof on a label. Ask for the product’s mildew-resistance rating and confirm that it is intended for interior walls.
Sheen selection for wet zones
Sheen has a direct effect on performance. Flat and matte finishes hide surface irregularities but absorb stains and tolerate wiping poorly. Satin and semi-gloss finishes form a harder surface that can be cleaned with a damp cloth and mild detergent. For most laundry walls, satin is the practical choice, with semi-gloss reserved for trim, doors, and frames that receive frequent contact.
A common error is applying a higher sheen to drywall that has not been properly prepared. Gloss reveals every roller mark and joint imperfection, so surface preparation becomes more important as sheen increases.
Surface preparation determines more of a painted wall’s moisture performance than the wording on the can.
Pro tip: Request a sample of the chosen sheen on the actual wall material before committing the full room. Gloss level varies noticeably between drywall, previously painted plaster, and wood trim.
Managing Heat and Heavy Contact Surfaces
Heat affects paint in two ways. Radiant warmth from dryers and water heaters accelerates the drying of recently applied films, and repeated temperature changes can stress coatings at the edges of appliance cutouts. Application conditions matter as well, since a film applied in poor conditions may never reach full hardness.
Behr’s guidance on painting in heat and humidity notes that latex paints are typically applied within a range of about 50°F to 90°F. In a utility room off an unheated garage, or in a basement during a cold snap, the room may fall below that threshold before the paint has cured. Schedule the work when the room can be held at a stable temperature for the full drying period.
Cabinets, shelving, and counters
Cabinets and shelving require a leveling enamel or a durable cabinet-grade finish. Enamel flows out to a smooth surface, reduces brush marks, and resists repeated wiping without dulling. Lightly sand glossy surfaces, degrease them, and apply a bonding primer before the topcoat.
Allow the enamel to cure before reinstalling shelves or loading baskets. Stacking items on a surface that feels dry but has not hardened is a frequent cause of marks and lifted edges in the first month.
Wall zones within splash range
Global Paint’s guidance on laundry room design recommends a washable finish for walls near machines, counters, and baskets, and a leveling enamel for cabinets and shelving. The same guidance stresses keeping paint away from appliance vents and allowing clearance and cure time before reinstalling shelves. These points reflect the same conditions observed on field projects, and they belong in the job schedule from the outset.
Protect appliance connections, switch plates, and outlet covers during masking. Removing masking tape while a coating remains tacky can pull the film at the edge, creating a repair that is visible for years.
Color and Visibility in Utility Spaces
Utility rooms are often the least daylit rooms in a home, which affects both color selection and perceived quality. Pale walls amplify the available light, which supports sorting laundry and treating stains. Task lighting remains essential for these activities.
A medium-value color behind white appliances reduces glare and gives the equipment a more integrated setting. Very bright whites can make appliances look yellowed under warm bulbs, while very dark colors show lint, scuffs, and touch-ups more readily, which increases maintenance.
Testing samples under real fixtures
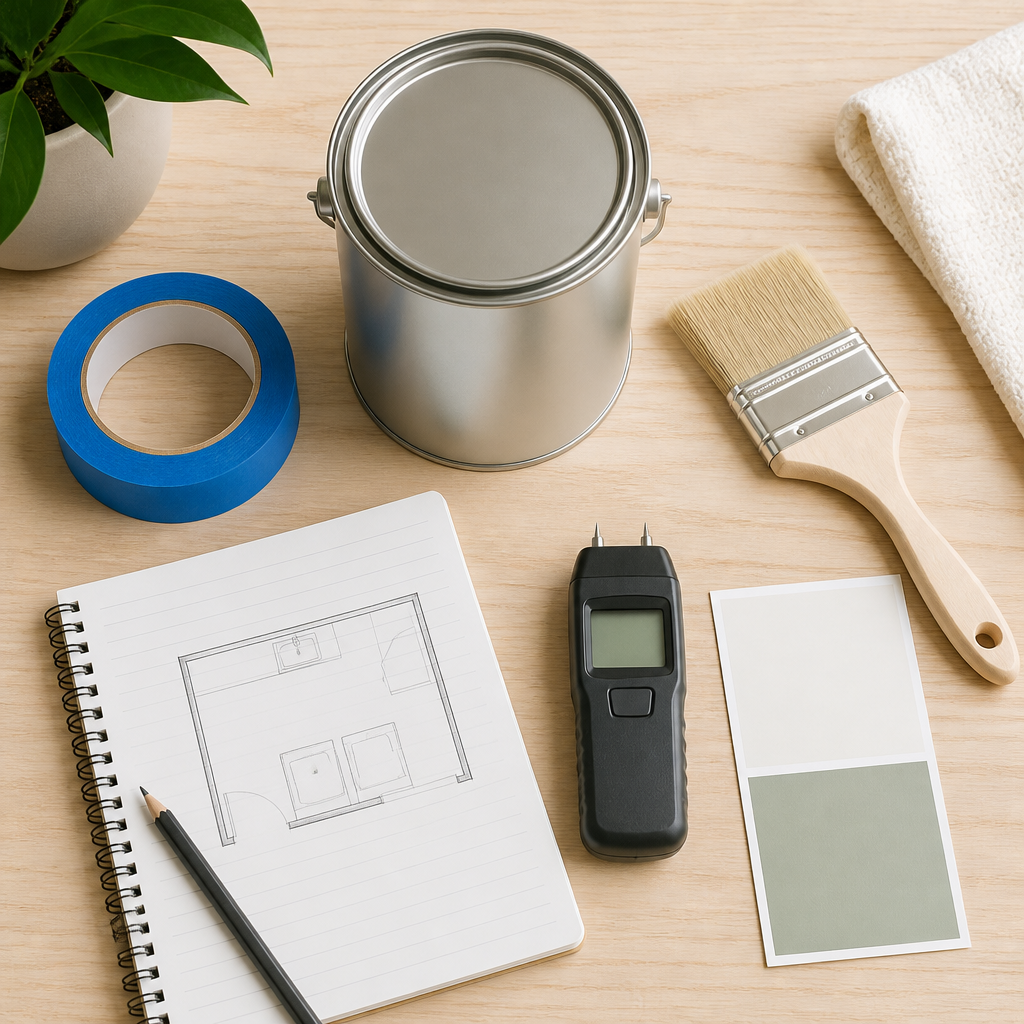
Review samples under the room’s actual fixtures, since utility spaces frequently rely on a single ceiling light or a fluorescent tube. A color that appears warm in a showroom can look grey or green under cool LED lighting. Apply a sample board large enough to show the color accurately, and evaluate it in the morning, afternoon, and evening.
Coordinating with adjacent rooms
Repeating a hallway trim color or a kitchen cabinet undertone helps the laundry area belong to the larger home. A utility room can carry one stronger accent on a cabinet or door, provided the accent uses the same durable finish applied elsewhere in the room.
Comparing Finish Options for Utility Rooms
The table below compares three common finish approaches for laundry rooms and utility spaces. Performance depends on preparation and application, but the differences in sheen, cleanability, and surface requirements are consistent across projects.
| Finish Approach | Best Use in Utility Spaces | Key Limitation |
|---|---|---|
| Satin 100% acrylic latex with mildew resistance | Walls near machines, counters, and general wall areas | Less forgiving of surface flaws than flat finishes, so preparation must be thorough |
| Semi-gloss acrylic enamel | Doors, door frames, trim, and high-contact edges | Reveals roller marks and substrate imperfections, and requires careful sanding |
| Leveling enamel (cabinet-grade) | Cabinets, shelving, and built-in storage | Requires degreasing, sanding, and a bonding primer, with a longer cure before heavy use |
Combining finishes within one room
Most laundry rooms benefit from combining two or three of these approaches rather than applying one product throughout. The wall finish protects the largest surface area, while the semi-gloss and enamel finishes handle the surfaces that take the most contact. This approach keeps material costs reasonable and avoids overspecifying areas that receive little wear.
Cleaning and Long-Term Maintenance
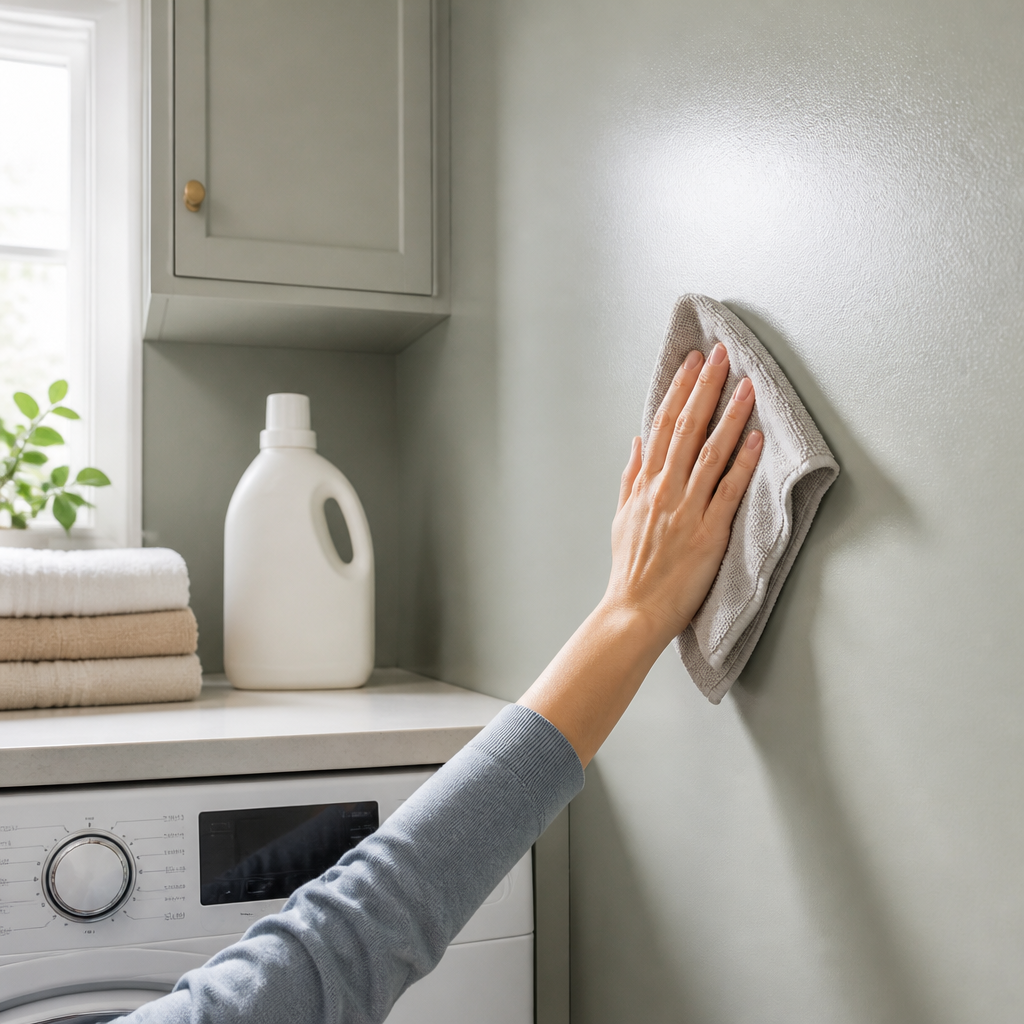
A moisture-resistant finish performs best when it is cleaned correctly. Abrasive scrubbing removes sheen, and harsh chemical blends can leave residue that attracts dirt. Use a mild detergent, a soft cloth, and a damp sponge, then dry the surface.
Routine cleaning schedule
Wipe walls near machines at regular intervals, and inspect door frames, cabinet edges, and the wall behind the dryer each season. Lint and detergent residue accumulate quickly in these areas. Early removal prevents the film from absorbing soils that later appear as discoloration.
Touch-up and recoating intervals
Keep a labeled container of the original topcoat for touch-ups. Repairs on high-contact areas should be made promptly, before moisture reaches the bare substrate. Full repainting typically becomes necessary when the film shows widespread blistering, mildew that returns after cleaning, or repeated edge lifting. Those symptoms usually indicate a moisture source that has not been resolved.
Pro tip: Store a small labeled can of the original topcoat with the color code and sheen recorded on the lid. Matching a color years later is far easier with the original formula on hand.
Frequently Asked Questions
What is the best paint finish for a laundry room in BC?
For general wall areas, a satin 100% acrylic latex with mildew resistance offers a sound balance of cleanability and workability. Semi-gloss suits trim and doors, and a leveling enamel is the appropriate choice for cabinets and shelving.
Can mildew be painted over in a utility room?
Painting over active mildew traps it beneath the film and leads to early failure. Clean the affected area with a suitable cleaner, allow it to dry fully, correct the moisture source, and then prime with a stain-blocking or mildew-resistant primer before the topcoat.
Is bathroom paint suitable for a laundry room?
Many products labeled for bathrooms are suitable for laundry rooms, but the label alone does not confirm performance. Compare the binder, sheen, and mildew resistance. Laundry rooms also face heat and heavy contact, so surfaces such as cabinets require a finish selected for those conditions.
What temperature is needed to paint a utility room?
Latex paints are typically applied within a range of about 50°F to 90°F, according to Behr’s guidance on painting in heat and humidity. Check the data sheet for the specific product, and keep the room at a stable temperature throughout the curing period.
How often should a laundry room be repainted?
Repainting is better treated as a response to condition than as a fixed schedule. Touch-ups should follow visible wear on high-contact areas. Full repainting is warranted when blistering, recurring mildew, or edge lifting persists after the moisture source has been corrected.
Does dryer venting affect how paint performs?
Yes. A dryer vent that discharges heat and moisture into the room raises humidity against the adjacent wall and can cause staining and peeling in that area. Confirm that the duct is clear and fully vented outdoors before painting.
We welcome your feedback: which finish has held up best in your laundry room or utility space, and what conditions did it face?

