

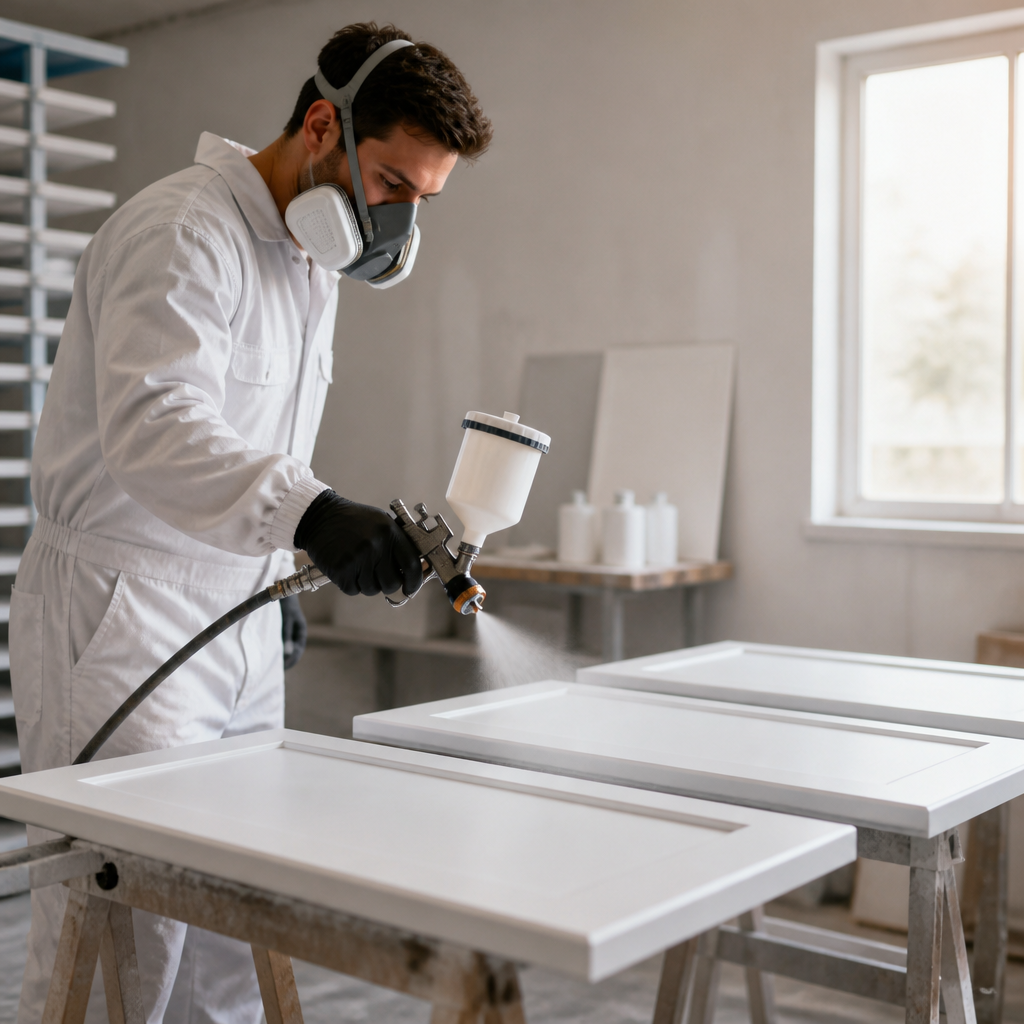
Most kitchen cabinet paint jobs fail in the same places: the bottom edges of lower doors, the areas around pull hardware, and the front edges of drawer boxes. These are the surfaces that take impact, grease and friction every day. An industrial cabinet paint finish is designed to resist those exact failures, and it is built through a sequence of steps most homeowners never see. This article explains where DIY attempts usually go wrong, what a professional process involves, and why the difference shows up in daily wear. If you live in Abbotsford, Langley, Surrey or elsewhere in the Fraser Valley, the details matter even more because of our damp winters. See cabinet painting in Langley and Pitt Meadows cabinet painting.
Table of Contents
- Quick Takeaways
- Where Cabinet Finishes Fail First
- Surface Preparation Decides the Result
- Primer and Coating Systems That Hold Up
- Spraying Versus Brushing in a Working Kitchen
- Comparing Professional and DIY Cabinet Painting
- Costs, Warranty and Future Refinishing
- Fraser Valley Considerations for Cabinet Finishes
- Frequently Asked Questions
- References
Quick Takeaways
| Key Insight | Explanation |
|---|---|
| Preparation causes most failures | Paint grips the surface underneath it. Cooking residue and a glossy factory sheen will defeat even a premium topcoat if they are not removed and scuffed. |
| Fill hardware holes and open grain | Unfilled screw holes and open grain telegraph through the finish as shadows and textured lines, and they often start chipping first. |
| Primer is structural, not optional | A bonding primer built for hard, nonporous surfaces keeps the topcoat from lifting at the stiles and rails where doors get handled most. |
| Thin coats cure harder than thick coats | Heavy brushed coats can feel dry while staying soft underneath, so a single hot pot or a slammed drawer can leave a mark within days. |
| Dry time is not cure time | A door can feel dry to the touch long before the film is ready for daily use. Follow the product data sheet, not the feel of the surface. |
| Wood moves, so the system must flex | Solid wood doors shift with humidity. A finish needs to stay bonded at the joints, not just form a hard shell over them. |
| Cheap repairs cost more later | A DIY finish that fails at the edges usually means stripping back to bare wood, which is more labour than the original project. |
Where Cabinet Finishes Fail First
Before talking about process, it helps to know where cabinets actually break down. In most Lower Mainland kitchens, the first signs of trouble show up at the bottom edge of lower doors, around the pull hardware, and on the front lip of drawer boxes. Those are the points where hands, grocery bags and cleaning cloths make contact dozens of times a day.
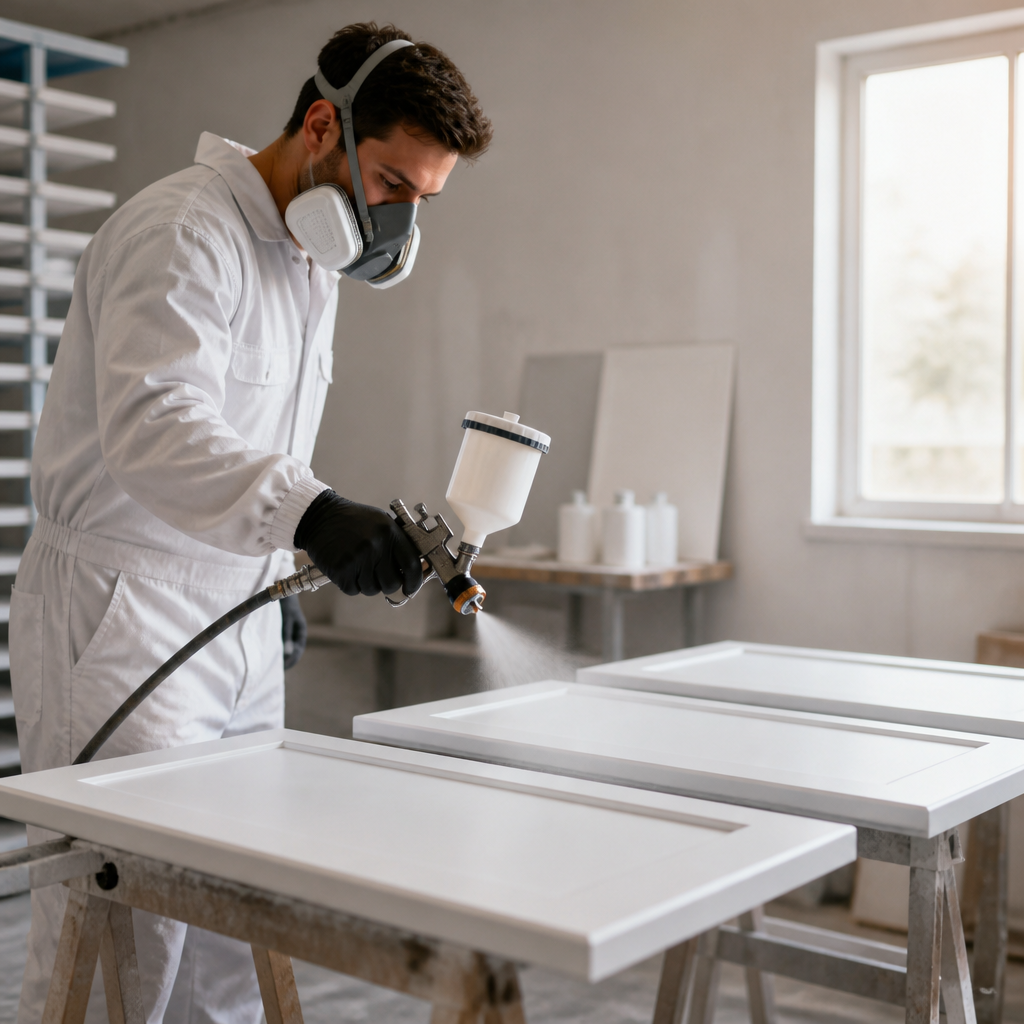
A homeowner asking a designer’s blog about durable painted cabinets captured the worry well. They had read that paint cracks at the joints because wood expands and contracts, that painted finishes chip, and they were weighing a plastic-looking alternative for a kitchen used by a busy family. That confusion is common. Paint does not fail simply because it is paint. It fails because the surface was not ready, the film is too thin at the edges, or the coating cannot move with the wood.
Most cabinet finish failures are a preparation problem that shows up months later as a coating problem.
In practice, when we inspect a door that has peeled after a DIY job, we almost never find a bad can of paint. We find a glossy surface that was wiped instead of cleaned, a sanding pass that skipped the profiles, and a primer that was never meant for cabinet work. The product was usually fine. The process was not.
Surface Preparation Decides the Result
The difference between a finish that lasts and one that peels is decided before the first coat goes on. Kitchen doors pick up cooking oil vapour, hand lotion and cleaning residue that you cannot see but paint cannot grip. A professional job starts with a thorough degreasing wash, followed by sanding that removes the factory sheen and gives the new coating something to bond to.
Degreasing and Scuff Sanding Kitchen Fronts
A common DIY mistake is wiping doors with a damp cloth and calling them clean. Residue collects in the grain and around handle holes, and a thin film of it is enough to make a topcoat lift within months. Trained painters work through every door with a dedicated degreaser, rinse it, and let it dry completely before any sanding starts.
Sanding is about texture, not removing wood. The goal is an even scuff across every face, including the profiles and recessed panels where rollers tend to skip. We give the back of each door the same attention as the front, because the back gets scuffed by cabinet hardware and bumped during every reinstall.
Pro tip: After washing a door, wipe it with a clean white cloth. If the cloth picks up any grey or yellow residue, the surface needs another wash before you sand.
Filling Hardware Holes and Open Grain
Old hardware leaves screw holes, and older cabinets often have open grain on oak and other ring-porous woods. Both show through a painted finish as dark shadows or textured lines. Filling them with a flexible filler and sanding it flush before priming is slower work, but it keeps the surface level so the topcoat cures with an even sheen.
Hinges and handles reinstalled too close to an old hole can crack a repair that looked solid. Checking each filled hole after the primer coat is one of the simplest quality steps you can take, and it is the step that gets rushed the most on DIY projects.
Primer and Coating Systems That Hold Up
Primer is not a formality on cabinets. It is the layer that bonds the old surface to the new coating and manages the transition between hard, slick material and the topcoat. Manufacturers make cabinet-specific products for this job. Benjamin Moore’s product page for Insl-X Cabinet Coat describes superior adhesion that lets the coating paint difficult surfaces, including polyurethane and varnish, without a separate primer. That is a useful claim, but it should be checked against the data sheet and the surface you are actually working on, not treated as a shortcut.
Bonding Primer Versus Standard Wall Primer
Standard wall primer is designed for porous drywall, not for the slick factory finish on many cabinet doors. Using it is one of the most common DIY errors we see. A bonding primer is formulated to grip hard, nonporous surfaces, and it reduces the chance of the topcoat lifting at the edges where doors take the most handling.
The bonding step is also where a professional crew can catch problems early. A primed door that shows lifting, bubbles or uneven adhesion can be sanded and redone before it becomes a topcoat failure, which is far cheaper than discovering the problem a year later.
Choosing a Urethane Acrylic Topcoat
Benjamin Moore’s technical data sheet for its CC-56XX Cabinet Coat describes it as a urethane acrylic cabinet and trim finish. A urethane acrylic formula is built for hard, high-traffic surfaces, which is why it suits cabinets far better than general interior wall paint. The same data sheet includes specific thinning instructions, which is a reminder that performance depends on how the paint is prepared as much as which product you buy.
Always follow the printed instructions for your specific product, including thinning ratios, recoat windows and cure guidance. Shortcuts on these details are where durable finishes quietly become ordinary ones.
Spraying Versus Brushing in a Working Kitchen
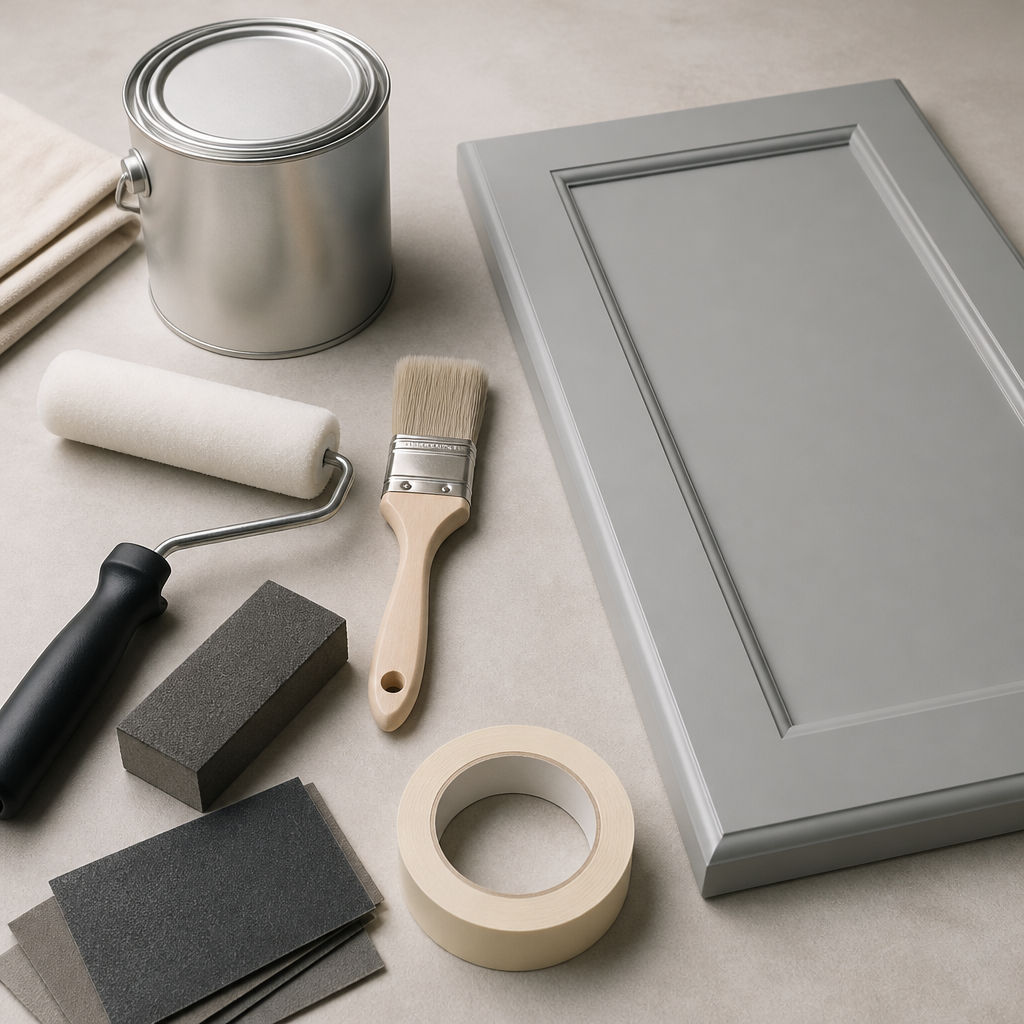
Application method changes the final surface. A brush and roller finish can work on a single bathroom vanity, but on wide flat panels it leaves texture, brush marks and drips that show up in raking light. Spraying lays down thin, even films that level out smoother and cure harder.
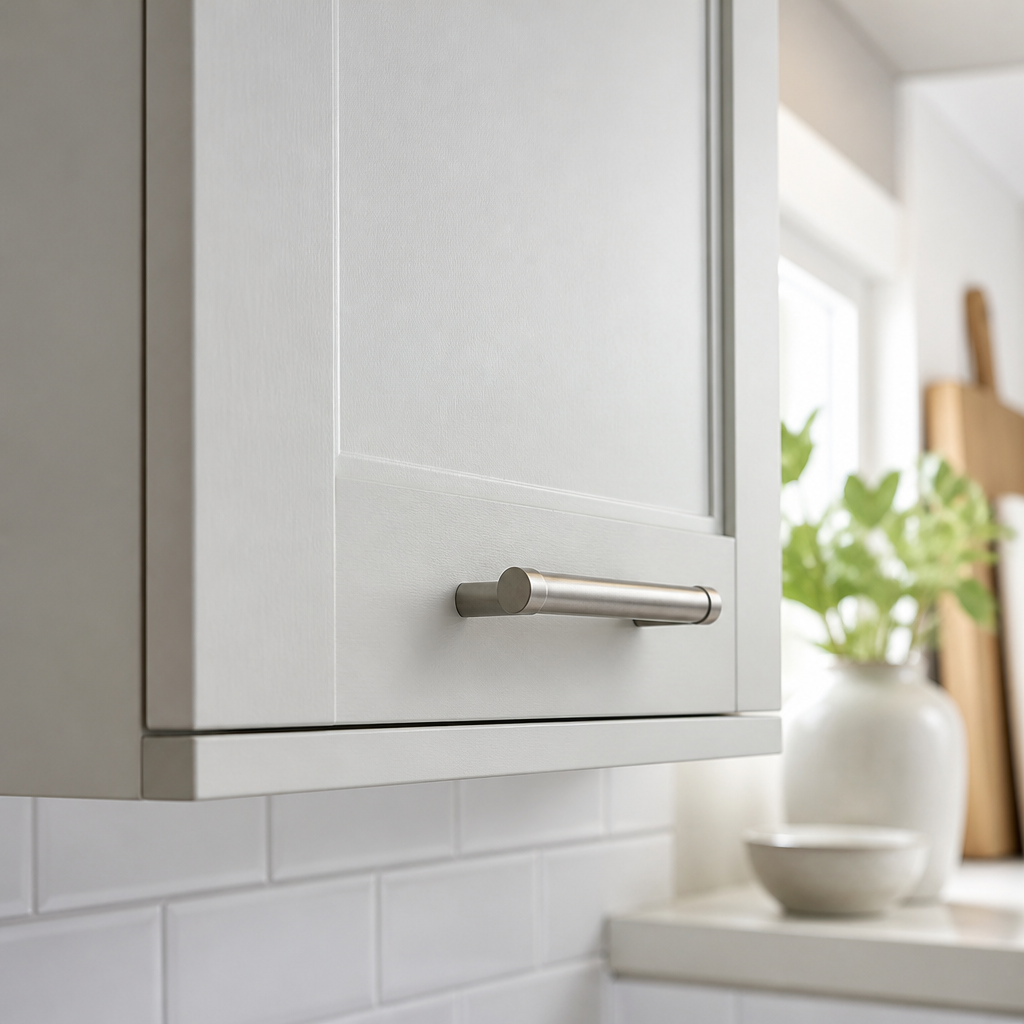
Spraying is not a magic step on its own. It requires careful masking, a controlled environment and enough drying time between coats. In a kitchen full of appliances, plumbing and countertops, protecting surfaces can take as long as the spraying itself, and that protection is part of why the finish holds up.
Why Thin Coats Cure Harder
A heavy brushed coat holds solvent and water inside the film longer. The surface can feel dry while remaining soft underneath, so the first hot pot set down on a fresh door or the first firm close of a drawer leaves an impression. Two or three thin coats usually cure more completely than one thick coat, even if it takes a little longer to complete the job.
Masking and Protecting a Kitchen Mid-Renovation
Good crews mask hinges, glass panels, countertops and flooring before coating. They also stage the work so doors can be removed, labelled and rehung in their original positions. Swapping two doors during reinstallation creates uneven gaps that never look right, no matter how well the paint went on.
Pro tip: Label every door and drawer front with its location before removal, using painter’s tape on the inside edge. Doors that go back into the wrong opening are one of the most common causes of uneven reveals.
Comparing Professional and DIY Cabinet Painting
Choosing between a professional refinish and a DIY project comes down to what you expect the finish to do after two or three years of daily use. The table below compares three common routes. Each has a place, but they deliver very different durability and cost outcomes.
| Approach | Typical Strengths | Typical Weak Points |
|---|---|---|
| DIY brush and roller with standard wall paint | Low upfront cost and quick to start on a weekend | Weak adhesion on glossy doors, visible brush marks, and chipping along edges and handle areas |
| Professional refinish with cabinet-specific coating | Full prep, bonding primer, controlled application and a harder cured film | Higher upfront cost and scheduling lead time, especially in busy seasons |
| Cabinet refacing with new door fronts | A new look with different door profiles, while keeping the existing cabinet boxes | Generally more expensive than refinishing and changes the original cabinet character |
DIY is not the wrong choice for every project. A laundry room or a guest bathroom can handle a careful DIY job. For a kitchen used every day, the professional route consistently holds up better, because the most important work happens in steps that are hard to see and easy to skip.
Costs, Warranty and Future Refinishing
The cheapest cabinet finish is the one you never have to redo. A DIY job that fails at the edges within a year usually means sanding back to bare wood, and that work costs more labour than the original project. Professionals in online refinishing communities regularly warn that poor preparation and finish quality can double future refinishing costs. Treat that as a pattern to avoid rather than a precise formula, since every kitchen is different.
Where the Money Goes on a Cabinet Refinish
Most of the cost of a cabinet refinish is labour spent on preparation, masking and handling doors. Paint itself is a small share of the total. That is why a bargain quote that skips sanding or priming usually costs more within a few years, once the failures begin.
Ask any estimator to walk you through the steps, and ask whether doors are removed for coating or masked in place. Both approaches can produce a good result, but they should be priced and scheduled honestly.
What a Cabinet Warranty Should Cover
A warranty should be specific about what it covers, how long it runs and what it excludes, such as damage from heat, impact or cleaning products that were not recommended. Read the wording before you sign. A general promise of quality is not a warranty. Ask how adhesion failures are handled and whether a repair visit is included.
Pro tip: Ask for the product name and the number of coats in the written estimate. A quote that does not name the coating or the coat count makes it hard to compare two offers fairly.
Fraser Valley Considerations for Cabinet Finishes
Homes in Abbotsford, Langley and Surrey often see wet winters and high indoor humidity from cooking and showers. Those conditions make cure time and moisture control more important than they are in drier climates. A finish that looks perfect on a mild October afternoon can show problems later if it was applied in damp conditions without proper ventilation and dehumidification.
Humidity and Cure Time in Coastal Homes
Humidity slows the drying of water-based and urethane-modified coatings, and it can trap moisture in the film. When the air is damp, we pay closer attention to room temperature, airflow and the time between coats. Rushing a cabinet job in a damp house is one of the fastest ways to end up with a finish that feels fine but marks easily.
Booking Around the Holiday Season
Work scheduled from late October into November gives coatings time to cure before the holiday cooking starts. Waiting until December can compress the schedule and leave a family without a usable kitchen during the busiest week of the year. Book early, and confirm how long doors will be out of the kitchen before the job begins.
If you want an honest assessment of your cabinets, contact Dreamscape Painting for an estimate. Our estimators will check the door condition, the existing finish and the room conditions before recommending a process.
Frequently Asked Questions
Why does a professional cabinet finish last longer than a DIY paint job?
A professional finish typically includes thorough degreasing, sanding, hardware hole repair, a bonding primer and thin, controlled coats of a cabinet-specific topcoat. Each step supports the next, so the final film bonds better and resists chipping at the edges where doors take the most wear.
Can I paint cabinets without sanding them first?
You can apply paint without sanding, but the result is rarely durable. Without scuff sanding, the coating has little to grip, and it is more likely to peel or chip, especially along handles and door edges.
Is a bonding primer really necessary on cabinets?
For most glossy or previously finished cabinet doors, yes. A bonding primer is designed to adhere to hard, nonporous surfaces. Some cabinet-specific coatings are described as adhering without a separate primer, but you should confirm that against the product data sheet and the surface you are working on.
How long should painted cabinets cure before daily use?
Dry to the touch and fully cured are different stages. Cure time depends on the product, the number of coats, temperature and humidity, so follow the manufacturer’s guidance. Avoid heavy handling, hot cookware and slamming drawers until the film has had enough time to harden.
Does paint crack at cabinet joints?
Cabinet doors are made of wood that moves with humidity, so joints are a real stress point. A properly prepared, flexible coating system reduces the risk of cracking, but no finish can ignore wood movement entirely. Good prep and realistic expectations matter as much as the product itself.
Tell us about your own cabinet finish experience, whether a DIY project chipped within a year or a professional refinish has held up well for a decade.

