

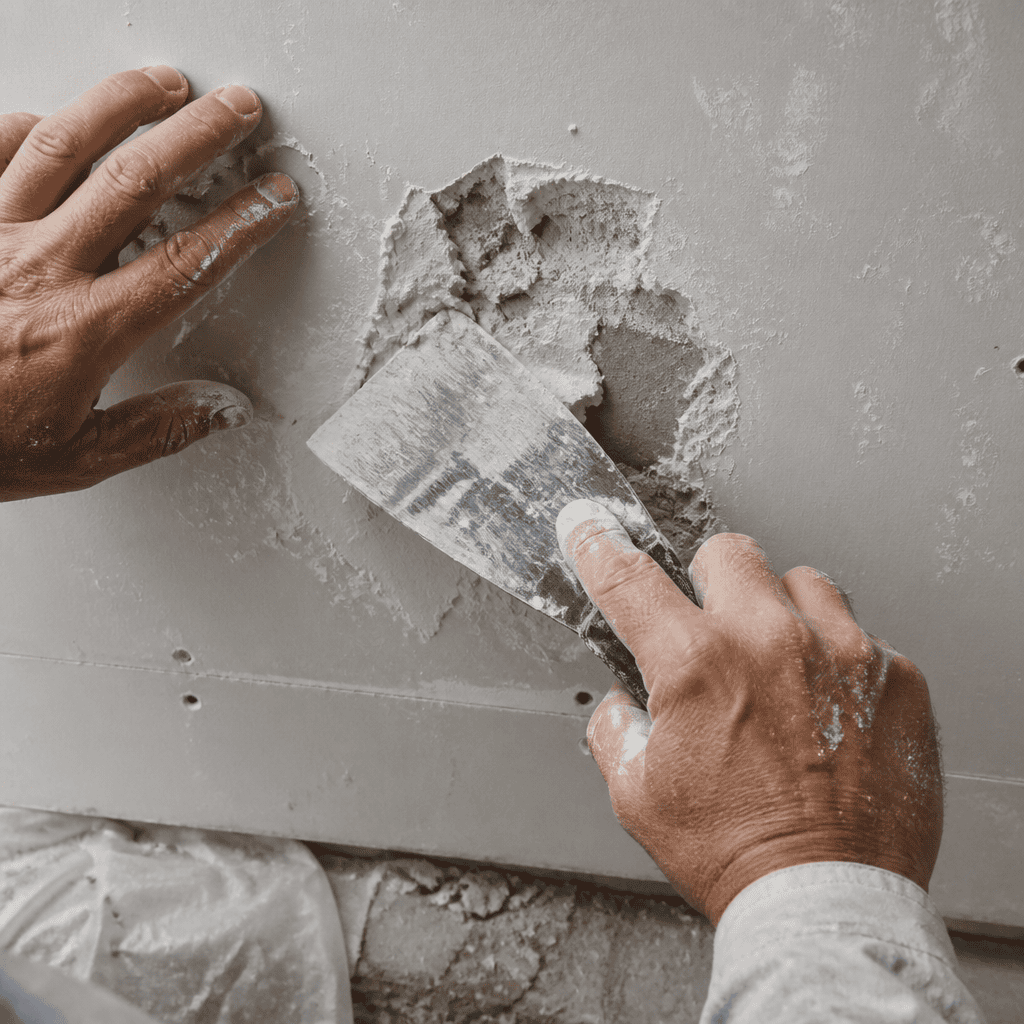
Most paint failures have nothing to do with the paint itself. The data consistently shows that poor surface prep painting is responsible for the majority of peeling, bubbling, and uneven finishes that homeowners deal with years after a job is supposedly done. At Dreamscape Painting Ltd., we have spent over 35 years working across the Lower Mainland, and the single most common issue we find on repaint jobs is that the previous contractor skipped or rushed the preparation phase. This article explains exactly what professional painters do before a single drop of paint touches a wall, and why cutting corners on prep is always a false economy.
Table of Contents
- Quick Takeaways
- Why Surface Prep Determines Paint Job Quality
- The Professional Inspection Process
- Cleaning and Degreasing Surfaces
- Repairing Damage Before Painting
- Sanding and Feathering
- Priming the Right Way
- Prep Method Comparison
- Frequently Asked Questions
- References
Quick Takeaways
| Key Insight | Explanation |
|---|---|
| Prep takes longer than painting | On a well-executed interior job, surface preparation typically accounts for 60 to 70 percent of total labor time. Painting is the fast part. |
| Cleaning is non-negotiable | Grease, dust, and soap film prevent paint adhesion. Even a visually clean wall can have surface contaminants that cause early peeling. |
| Primer selection is paint-specific | Oil-based primers, shellac-based primers, and water-based primers each serve different substrates. Using the wrong one undermines adhesion regardless of paint quality. |
| Sanding is required between coats | A light scuff sand between primer and topcoat ensures mechanical adhesion and eliminates raised grain or dust nibs that create a rough final finish. |
| Moisture is the most dangerous variable | Painting over a surface with moisture content above acceptable thresholds is the leading cause of premature paint failure on Lower Mainland exterior jobs. |
| Masking protects the final result | Professional masking with quality tape and plastic sheeting is not just about cleanliness. It defines crisp lines that define the perceived quality of the whole job. |
| Caulking before primer beats caulking after | Caulk applied before priming creates a sealed, unified surface. Caulk applied after the topcoat looks patchy and ages faster. |
Why Surface Prep Determines Paint Job Quality
Paint is a coating, not a filler. It cannot hide poor surfaces, and it definitely cannot bond to surfaces that are contaminated, unstable, or too smooth to accept adhesion. Professional painters Vancouver homeowners hire understand this distinction, while budget operators often treat prep as optional overhead they can skip to win a lower bid.
The Paint Quality Institute, an industry body that has studied coating performance for decades, consistently identifies improper surface preparation as the root cause of the majority of residential paint failures. When a paint job starts to peel at two years instead of lasting eight to twelve, the problem almost always started before the first coat went on.
At Dreamscape Painting, our estimators walk every project with this principle in mind: the condition of the substrate determines the scope of prep, and the scope of prep determines how long the finished job will last. There is no shortcut around that sequence.
The Professional Inspection Process
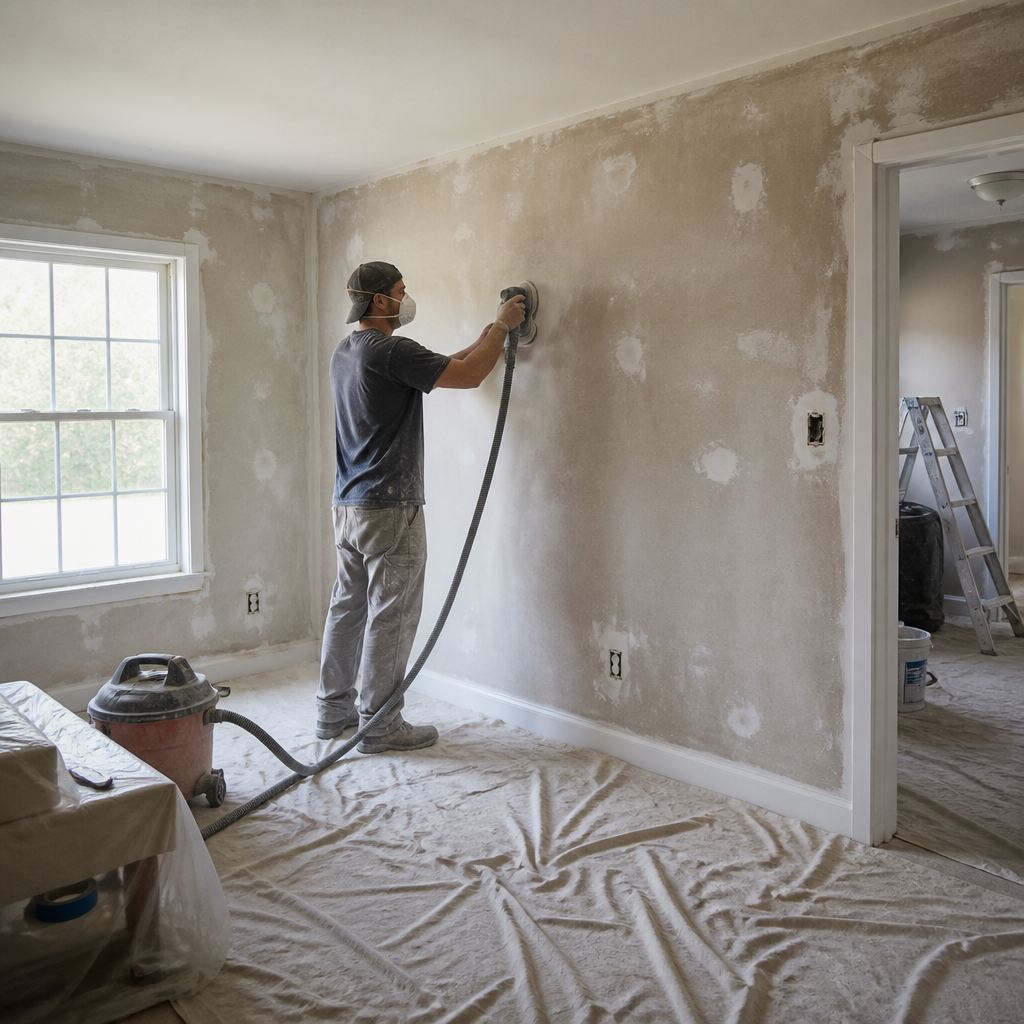
Before any equipment comes out, experienced painters conduct a systematic inspection of every surface that will be coated. This is not a quick visual scan. It is a hands-on assessment that looks for specific problems, each of which requires a different preparation response.
What Professionals Are Actually Looking For
A proper inspection checks for adhesion failures in existing paint, which appear as flaking, bubbling, or areas where paint lifts when pressed with a thumbnail. It also checks for water staining, which signals active or historical moisture intrusion. Painting over an active leak does nothing except create a more expensive problem later.
Inspectors also probe for soft or punky drywall, check window and door frames for gaps in caulking, and test walls for chalking on older exterior paint. Chalking is a powdery deterioration of aged paint that, if not removed, will cause your new topcoat to peel away with the chalk layer beneath it.
Moisture Testing on Exterior Surfaces
In the Fraser Valley and Greater Vancouver climate, moisture is the dominant threat to exterior paint longevity. Professional painters use a pin-type or pinless moisture meter to test wood siding and trim before committing to a coating. The generally accepted threshold for painting over wood is 15 percent moisture content or below, though some manufacturers specify 12 percent. Painting over wood above these thresholds virtually guarantees early failure.
Pro tip: If you are getting quotes for an exterior repaint and the contractor never mentions moisture testing or pulls out a meter, that is a strong signal they are cutting corners on the work that protects your investment.
Cleaning and Degreasing Surfaces
A wall that looks clean is not necessarily ready to paint. Kitchen surfaces accumulate grease deposits that are invisible to the eye but completely disrupt paint adhesion. Bathroom walls carry soap residue. Even living room walls collect a film of airborne oils and dust over time.
The Correct Cleaning Protocol for Interior Surfaces
Professional painters use trisodium phosphate (TSP) or TSP substitute solutions to degrease surfaces before painting. This is not a product available in the paint aisle of a grocery store. It is a purpose-built cleaning agent that cuts through grease and light oxidation without leaving a residue that would interfere with adhesion.
After cleaning with TSP, surfaces are rinsed with clean water and allowed to dry completely. Applying primer over a surface that is still damp from cleaning is a prep error that produces the same outcome as painting over rain-wet siding.
Exterior Pressure Washing Standards
On exterior surfaces, the standard professional approach is pressure washing with appropriate PSI settings for the substrate. Wood siding requires lower pressure than masonry or concrete. Overpressuring wood drives water deep into the substrate and can raise the grain severely, creating extra sanding work and extended drying time.
After pressure washing exterior surfaces, professional painters allow a minimum of 24 to 48 hours of drying time before proceeding, longer in humid Lower Mainland conditions. Rushing this step is one of the most common ways contractors cut time at the expense of the homeowner’s paint job.
Pro tip: Request that your painting contractor document the cleaning step and drying wait time in writing. This creates accountability and gives you a point of reference if adhesion issues appear later.
Repairing Damage Before Painting
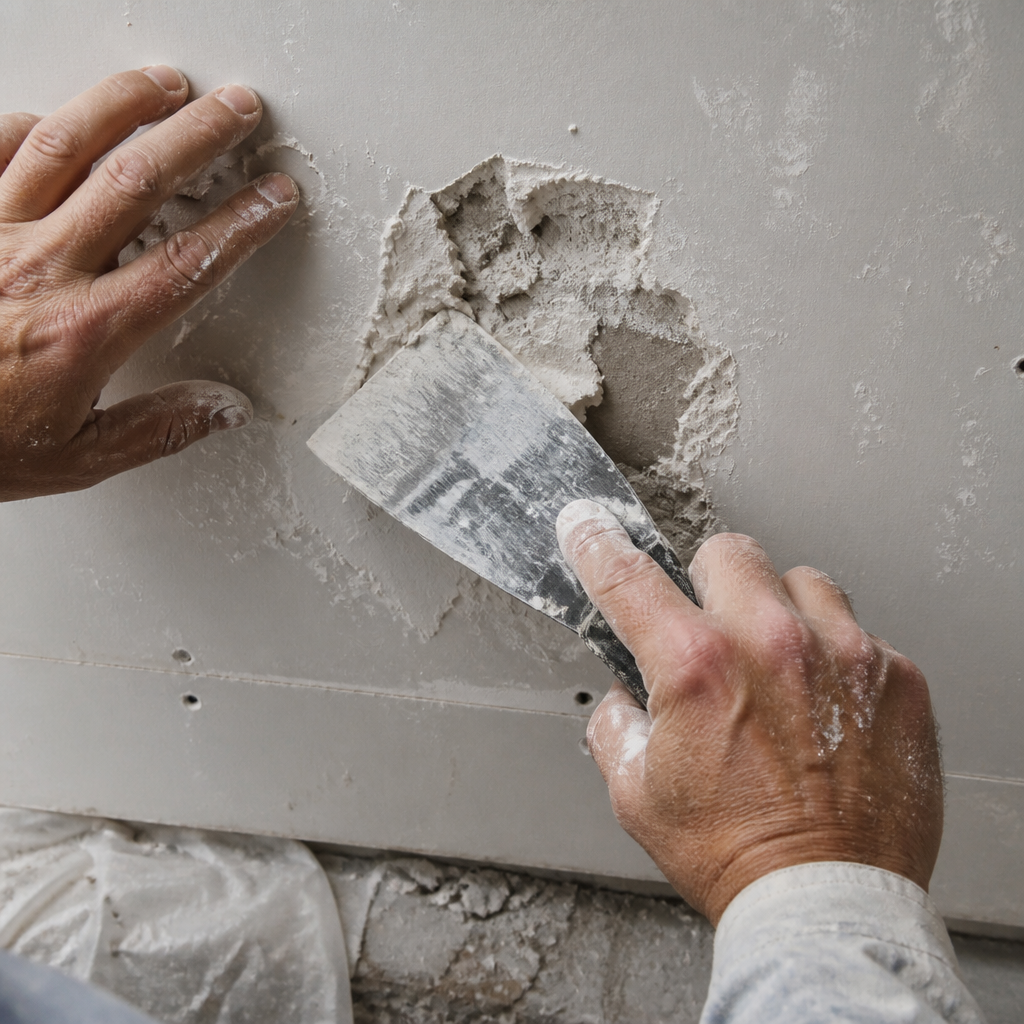
No amount of paint will hide a crack, dent, or hole. What it will do is draw attention to it by creating a shadow line or an uneven sheen at the repair location. Proper patching and filling before primer is applied is what separates a genuinely smooth interior finish from one that only looks acceptable from a distance.
Drywall Patching and Skim Coating
Small fastener holes and minor dents are filled with lightweight spackling compound, feathered flat, and sanded once dry. Larger holes require backing material, joint compound applied in multiple thin coats, and careful sanding between coats. Rushing joint compound by applying one thick coat is a common mistake that causes cracking and shrinkage, creating a worse finish than the original damage.
For walls with widespread texture inconsistency or numerous old repairs, a full skim coat is the correct approach. Skim coating is a thin layer of joint compound applied over the entire wall surface to create a uniform substrate. It is labor-intensive work, but it is the only way to achieve a consistently flat finish on a damaged wall.
Caulking Gaps and Transitions
Every gap where trim meets wall, where window frames meet siding, or where different building materials meet is a point of air, water, and pest entry. Professional painters caulk every gap and transition with paintable acrylic latex caulk before priming. The caulk is tooled smooth, allowed to skin over, and then primed and painted as part of the unified surface.
Gaps left uncaulked do not just look unprofessional. On exterior applications in the Lower Mainland’s wet climate, they are entry points for moisture that will destroy your paint job from behind the wall surface.
Sanding and Feathering
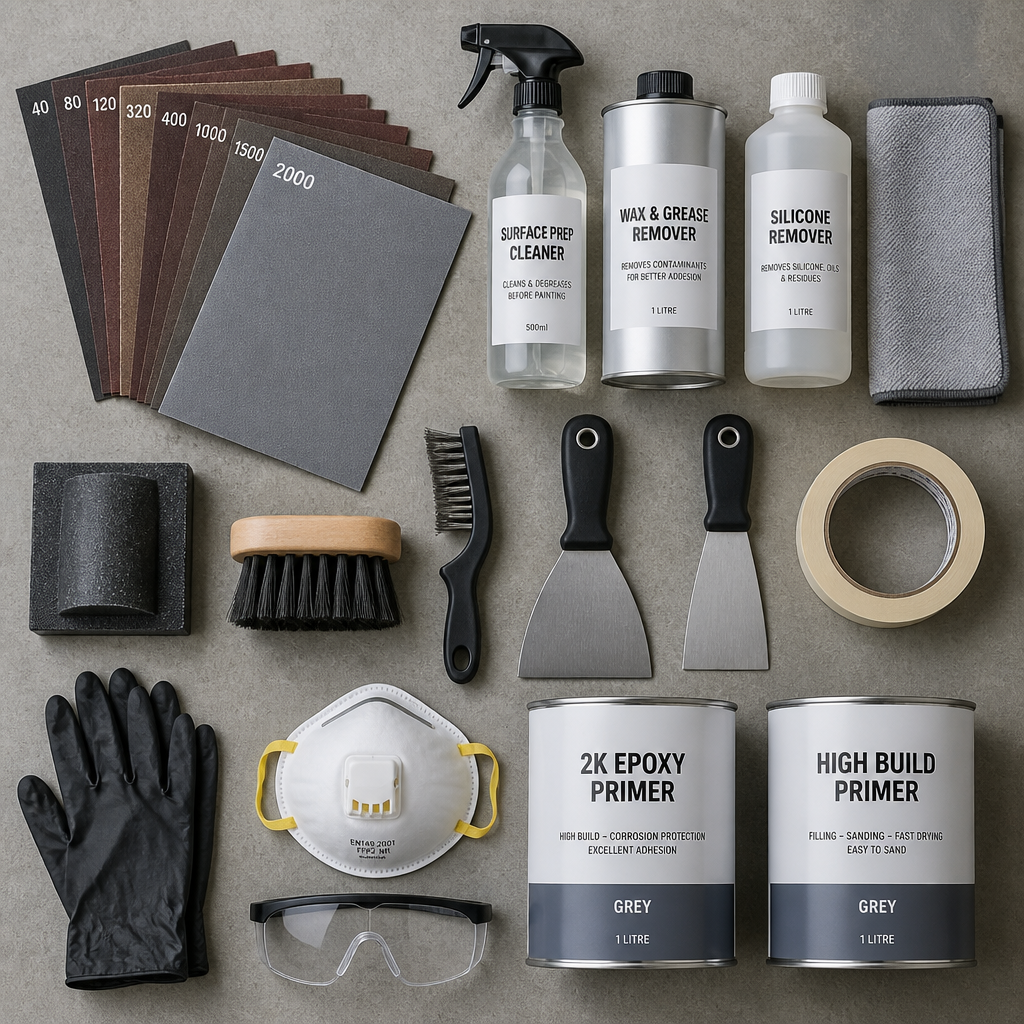
Sanding is probably the most underappreciated step in the professional prep process. Homeowners who have tried DIY painting often skip or minimize sanding, then wonder why their finish looks rough or why paint fails to adhere evenly. Sanding accomplishes three things: it smooths repaired areas flush with surrounding surfaces, it creates mechanical tooth on glossy surfaces that paint needs to grip, and it removes surface contamination that cleaning may have missed.
Sanding Glossy Surfaces for Adhesion
Paint does not bond well to a gloss finish. If existing walls or trim have a semi-gloss or high-gloss finish, they must be sanded with 120 to 150 grit sandpaper to dull the sheen before primer or paint is applied. This is especially important for cabinet refinishing, where the factory finish on cabinet doors is often extremely hard and slick. Skipping this step is the reason many DIY cabinet paint jobs begin chipping within six months.
Feathering Patch Edges
When a patched area is sanded, the edge of the repair must be feathered, meaning sanded to a gradual taper so there is no visible ridge where the patch ends and the original surface begins. Feathering requires careful hand sanding with a sanding block to maintain a flat reference plane. Power sanding without experience creates dips and waves that are very obvious under an eggshell or satin finish.
Priming the Right Way
Primer is not watered-down paint. It is a purpose-engineered bonding and sealing product that prepares a substrate to accept the topcoat correctly. In practice, the choice of primer depends entirely on the substrate, the existing paint condition, and the type of topcoat being applied.
When to Use Shellac-Based Primer
Shellac-based primer, such as Zinsser BIN, is the correct choice for blocking water stains, smoke damage, grease bleed-through, or heavy tannin bleed from knots in wood. Water-based primers will not block these stains reliably. A common mistake is applying a water-based primer over a water stain, watching it bleed through, applying a second coat, watching it bleed through again, and never understanding why.
Shellac blocks stains in one coat in almost every residential situation. It dries fast, sands well, and accepts any topcoat. The downside is cleanup with denatured alcohol and strong odor, which means ventilation is required.
Spot Priming vs. Full Coat Priming
On a repaint where the existing paint is in sound condition, spot priming patched areas is often sufficient. On a surface that has been stripped to bare substrate, that has multiple conflicting sheens, or that has significant staining, a full primer coat over the entire surface is required. Spot priming a surface that needs a full coat is a compromise that shows up as sheen variation in the finished topcoat, a problem called flashing.
“Surface preparation is the foundation of any successful coating project. The quality of preparation directly determines the quality and longevity of the final finish.” – Paint Quality Institute, Coating Application Guidelines
Prep Method Comparison
Not all prep approaches are equal. The table below compares three approaches commonly seen in the Lower Mainland residential painting market, from what budget contractors do to what a professional outfit like Dreamscape Painting actually delivers.
| Prep Approach | What It Includes | Expected Paint Job Lifespan |
|---|---|---|
| Minimal Prep (Budget Contractor) | Light dusting, no TSP wash, no moisture testing, no caulking, no sanding, one coat of primer on bare spots only | 2 to 4 years before visible failure on exterior; 4 to 6 years interior before sheen issues and adhesion loss |
| Partial Prep (Mid-Tier Contractor) | TSP wash, basic patching, some caulking, spot priming, sanding patches only | 5 to 8 years exterior; 7 to 10 years interior with reasonable maintenance |
| Full Professional Prep (Dreamscape Standard) | TSP wash or pressure wash with drying wait, moisture testing, complete patching, full caulking of all transitions, sanding with feathering, correct primer selection for substrate, inter-coat sanding | 10 to 15 years exterior with proper paint product; 12 to 15 years interior before a repaint is warranted |
The difference in labor between minimal and full professional prep is real, and it does add to the upfront cost. But consider that redoing an exterior paint job every three years versus every twelve years is not a savings. It is a compounding expense that adds up to far more over a decade of homeownership.
Frequently Asked Questions
How long does surface prep take compared to the actual painting?
On most professional interior painting projects, prep work accounts for roughly 60 to 70 percent of total labor time. A room that takes two hours to paint might require three to five hours of cleaning, patching, sanding, caulking, masking, and priming before the first topcoat goes on. Contractors who quote fast turnarounds are almost always skipping this phase.
Can I paint over existing paint without sanding?
It depends on the existing paint condition and the sheen level. If the existing paint is flat or eggshell finish, is clean, and is in sound condition, you can often apply a new coat with minimal sanding beyond patched areas. If the existing paint is semi-gloss or gloss, sanding is required for adhesion. If the existing paint is peeling, flaking, or chalking, full removal or treatment is necessary before any new coating.
Why do professional painters use TSP when regular soap works?
TSP and TSP substitute are specifically formulated to cut through oil-based contaminants, grease, and oxidized surface films that regular soap and water leave behind. Dish soap leaves a thin residue that actually interferes with paint adhesion. TSP rinses cleanly and prepares the surface chemically for primer. In kitchens and areas near cooking surfaces, TSP is not optional. It is the correct tool for the job.
What is the difference between priming and painting a second coat?
Primer is engineered for adhesion and sealing, not for color or finish. It bonds to the substrate and creates a stable, uniform base for the topcoat. Paint is engineered for color, washability, and surface aesthetics. Applying a second coat of paint is not a substitute for primer on bare or compromised surfaces. Skipping primer to save cost is one of the most common reasons residential paint jobs fail early.
How do I know if a painting contractor is actually doing proper prep?
Ask them to walk you through their prep checklist before work begins. Legitimate professional painters will describe specific steps: TSP washing, drying time, moisture testing on exterior surfaces, patching materials they use, caulk products, primer type and brand. If a contractor gives you vague answers or says they will just do a light sand and prime, that is a signal that their prep is not comprehensive. At Dreamscape Painting, we discuss prep scope with every client before signing a contract because it directly determines how long the job lasts.
Does cabinet refinishing require the same prep as wall painting?
Cabinet refinishing actually requires more intensive prep than wall painting. Factory cabinet finishes are typically catalyzed lacquers or conversion varnishes that are extremely hard and non-porous. They must be sanded thoroughly, often chemically deglossed, and primed with an adhesion-promoting primer before any topcoat. Rushing cabinet prep produces a finish that chips at drawer edges and door corners within months. Done correctly, a professionally refinished cabinet should hold its finish for eight to twelve years under normal household use.
If you have had a painting contractor cut corners on prep in the past, or if you are currently comparing quotes and wondering why prices vary so much, we would genuinely like to hear about your experience and what questions you still have about what good prep actually looks like in practice.
We would love your feedback and any insights you would share with others. What perspective would you add?
References
- United States Environmental Protection Agency: guidance on lead paint safety and surface preparation standards for older residential properties
- National Research Council of Canada: building science research on moisture control and exterior coating performance in wet climates
- Forbes Home: expert analysis of painting contractor selection, cost factors, and what quality preparation actually delivers for homeowners
- Statista: residential renovation and painting industry market data including consumer spending patterns and contractor performance metrics
- Family Handyman: practitioner-level detail on surface preparation techniques, primer selection, and repair methods used by professional painters

