

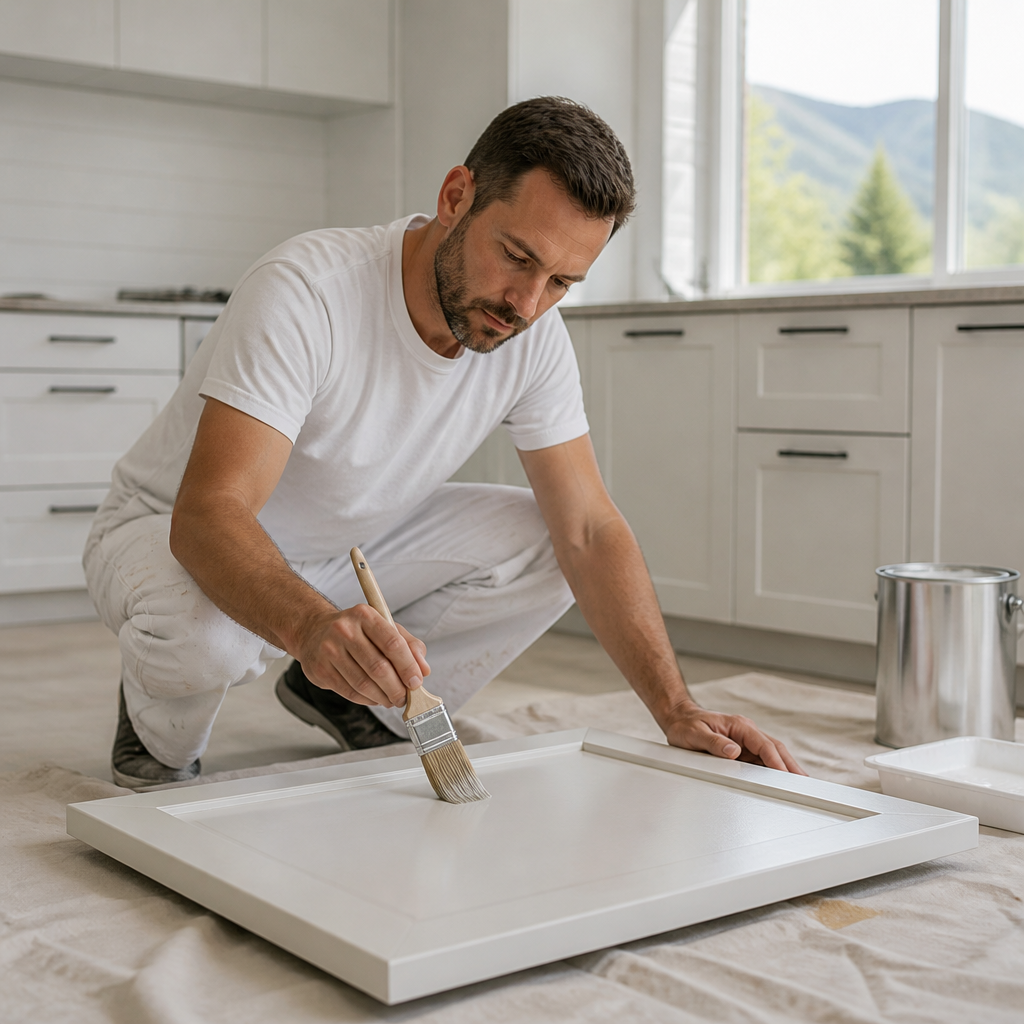
Cabinet refinishing is often judged on how the doors look on installation day. The more useful test comes later, after two wet winters, daily grease exposure, and repeated handling of drawer faces. Two-stage cabinet painting BC specialists separate surface preparation from color application, and that separation has a direct effect on adhesion, color uniformity, and long-term wear. This article explains what the term means in practice, how each stage works, and why the method suits kitchens and commercial interiors across Surrey, Langley, Abbotsford, and the wider Fraser Valley.
Table of Contents
- Quick Takeaways
- What Two-Stage Cabinet Painting Means
- Why Single-Stage Finishes Fall Short
- Stage One: Preparation and Bonding
- Stage Two: Topcoat Application
- The Cabinet Painting Process in Surrey and the Fraser Valley
- Comparing Two-Stage With Other Approaches
- Choosing a Professional Cabinet Refinishing Partner in the Fraser Valley
- Frequently Asked Questions
- References
Quick Takeaways
| Key Insight | Explanation |
|---|---|
| Two-stage means two distinct phases | The first stage cleans, sands, repairs, and primes. The second stage applies the color topcoat. Each phase has one job, and the order matters. |
| Degreasing must come before sanding | Sanding grease into a door spreads contamination and clogs the abrasive. Grease is a frequent cause of early peeling near handles. |
| Sanding should be light and followed by full dust removal | The goal is to scuff the surface so the primer can grip it. Dust left in routed profiles shows as grit under the topcoat. |
| Spray application gives the most even door faces | Brush and roller marks on flat panels and routed profiles are difficult to remove once the coating cures. |
| Cure time is longer than dry time | A finish can feel dry within hours but continue to harden for days. Doors reinstalled too early can mark or stick. |
| Humidity in the Lower Mainland extends drying | Damp autumn and winter air slows evaporation. Confirm conditions before each coat and plan longer cure windows. |
What Two-Stage Cabinet Painting Means
Two-stage cabinet painting is a finishing method that divides the work into two distinct phases. The first phase cleans, degreases, sands, repairs, and primes the existing surface so the coating has a secure base. The second phase applies the color topcoat once that base has cured and passed inspection. Each phase has a single purpose, and the result depends on completing both in order.
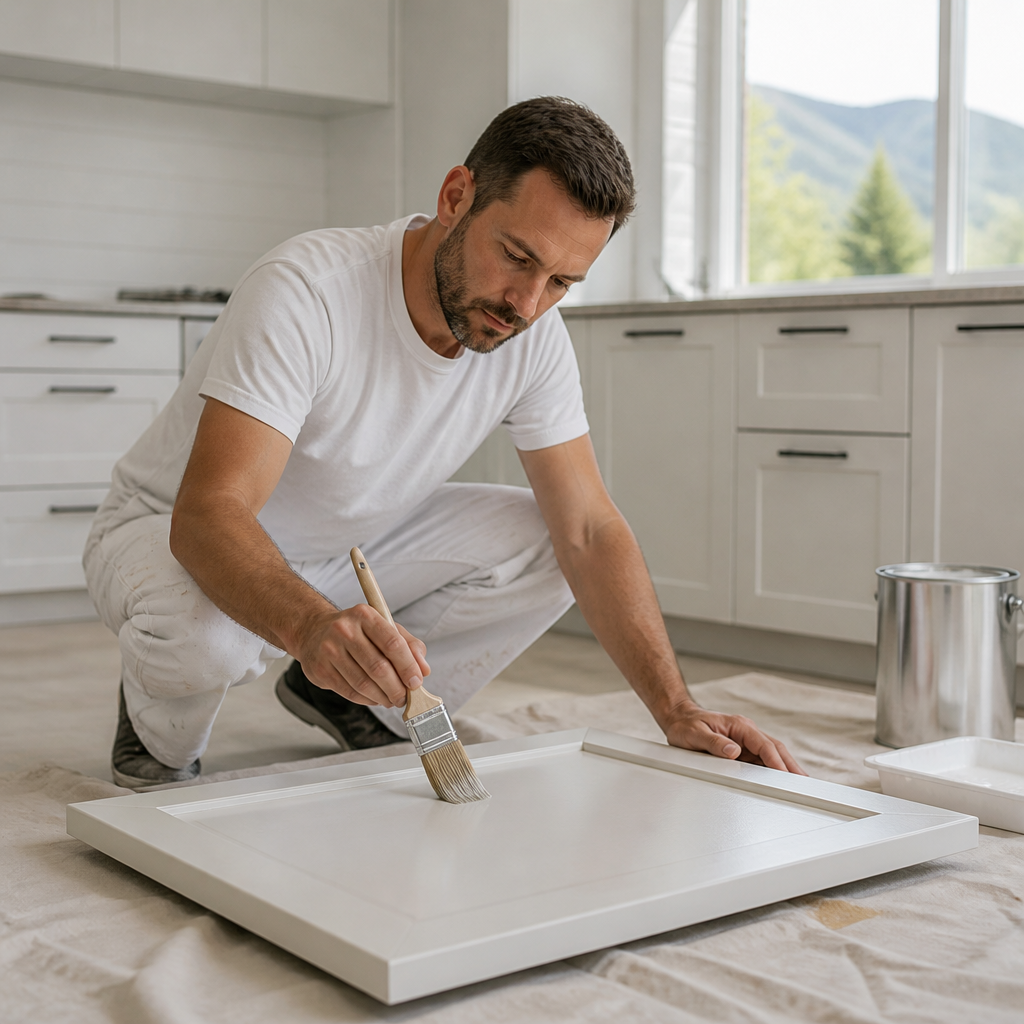
The term is used in more than one way across the trade. Some shops use it to describe a primer followed by a finish coat. Others use it for a two-component catalyzed coating that cures through a chemical reaction after base and hardener are mixed. This article uses the first meaning, which describes how the work is divided on site in our process, and it notes where the second meaning changes the picture.
Why the Term Causes Confusion
Homeowners often hear “two-stage” alongside “two coats” and assume the two phrases mean the same thing. They do not. Two coats of the same paint applied in one session is a single-stage job with extra material, because the second coat has no separate bonding role. A true two-stage process treats the bonding layer as a finished step in its own right, inspected and cured before any color is applied.
The distinction matters when comparing quotes. A written scope should name the bonding product, the number of topcoats, and the cure window between stages. Estimates that describe only color and sheen leave the most important variables unstated.
A topcoat can only be as durable as the surface beneath it, so the preparation stage determines most of the final outcome.
Why Single-Stage Finishes Fall Short
A single-stage approach applies one paint system directly to the cabinet surface after cleaning. It can look acceptable on delivery day, which is why it appears in many quick refresh projects. The shortcomings usually appear later, because the coating is asked to bond, level, and protect in a single pass.
Cabinets rarely present a clean surface. Kitchen doors collect cooking oils and cleaning product film, and bathroom vanities accumulate moisture and cosmetics. Sherwin-Williams guidance on painting kitchen cabinets recommends using a product such as TSP to remove grease and other substances before the surface is prepared, because contamination interferes with adhesion.
Adhesion on Previously Finished Surfaces
Many cabinets carry an earlier finish, such as lacquer, varnish, or a previous coat of paint. When new coating is laid over that finish without a bonding step, the weakest layer determines the failure point. Peeling often begins at the edges of doors and around handles, where the film is flexed and rubbed most.
Single-stage projects also tend to shorten the repair step. Small chips, screw holes, and worn edges are filled quickly or not at all, and the flaw shows through the finished sheen. The result looks acceptable from a distance and reveals its defects under side lighting.
Wear Patterns Around Handles and Edges
High-use zones show wear first. Around pulls and along the lower edges of drawer fronts, the coating takes repeated contact from hands and cleaning cloths. A finish without a well-bonded foundation may show yellowing, dulling, or thin spots in those areas within months rather than years.
In practice, a homeowner who reviews a single-stage refresh after one year will often find the doors intact while the high-touch areas already show change. That pattern reflects a coating with less mechanical grip than the surface required.
Stage One: Preparation and Bonding
Stage one sets the performance ceiling for the entire job. It begins with an inventory of the cabinetry, including box condition, door alignment, hinge function, and the type of existing finish. Identifying the substrate early allows the crew to select the correct cleaner, sanding grit, and primer before materials are opened.
Cleaning comes first, before any abrasion. Sanding over grease spreads contamination and loads the abrasive with residue. The degreasing agent is applied, scrubbed with a non-abrasive pad, rinsed, and allowed to dry completely before the next step begins.
Degreasing Before Any Sanding
Degreasing focuses on the areas that collect the most contamination. Edges near the cooktop, the handle zones, and the underside of upper cabinet doors often carry a film that is not visible to the eye. A thorough cleaning removes that film before it can interfere with the primer.
Pro tip: After degreasing, wipe a test area with a clean white cloth. If the cloth picks up any color or grime, repeat the cleaning before sanding begins.
Light Sanding and Detailed Repair
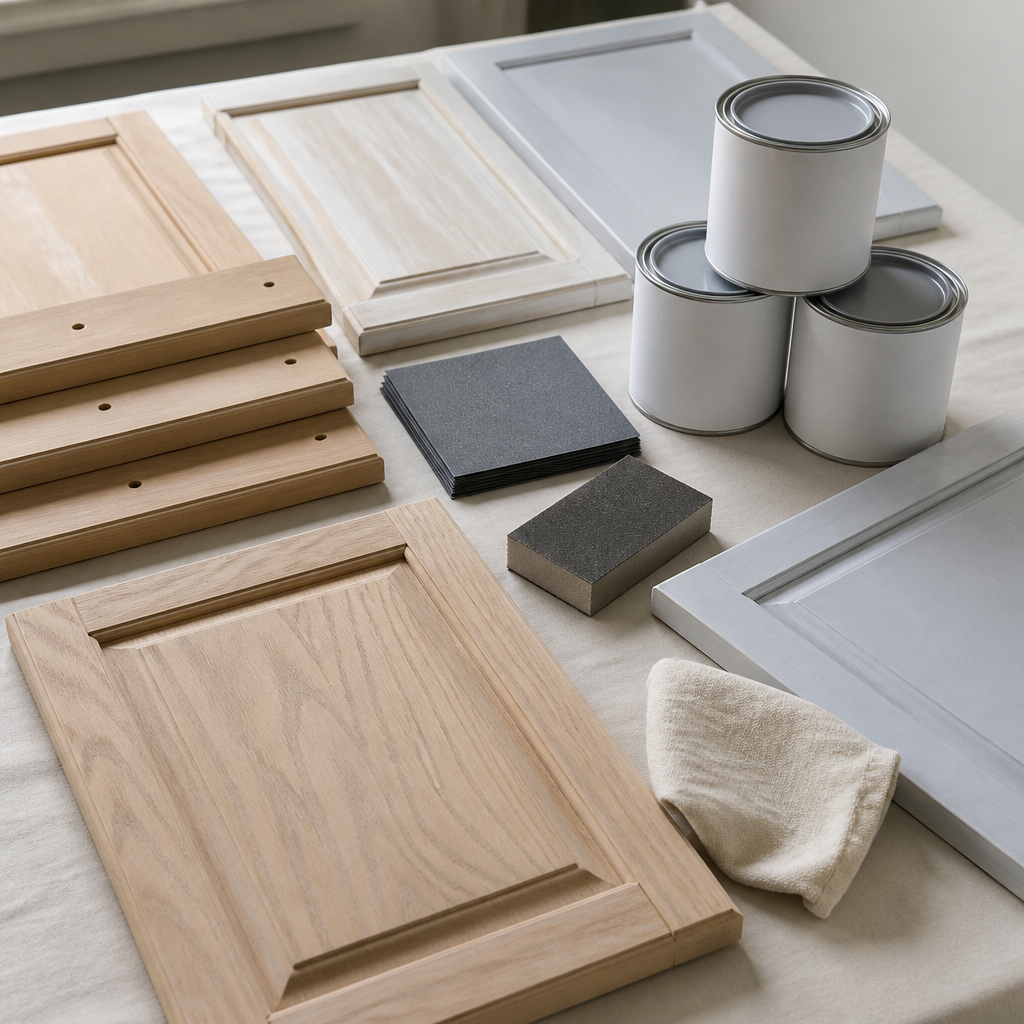
Sanding should be light and purposeful. The objective is to scuff the surface so the primer can grip it, not to strip the existing finish. Sherwin-Williams guidance recommends sanding lightly before applying primer, particularly in areas with heavy wear.
Detailed repair follows sanding. Dents, chips, and open screw holes are filled with a product compatible with the primer, and the repaired areas are sanded flush. Dust is then removed completely with a tack cloth or a vacuum with a brush attachment, because residue left in profiles is a common source of visible grit under a topcoat.
Selecting a Bonding Primer
The bonding primer is chosen for compatibility with both the substrate and the topcoat. Raw wood, previously finished wood, and laminate or thermofoil surfaces each call for a different approach. A primer that bonds well to a prepared wood door may not perform the same way on a glossy laminate, so the choice is confirmed before application rather than assumed.
Primer is applied thinly and evenly, with attention to edges and routed profiles where film builds unevenly. It is allowed to cure fully before any further sanding or topcoat work. Skipping that cure window is one of the more frequent shortcuts in rushed work, and it is difficult to correct once color is on the surface.
Stage Two: Topcoat Application
Stage two begins only after the bonding layer has cured and been inspected. Inspection checks for runs, missed edges, and any remaining dust. Defects are corrected before color is applied, because a topcoat will display them.
The topcoat is applied in thin, controlled coats, with each coat allowed to cure before recoating. Thin coats reduce the risk of runs and produce a more uniform sheen. Heavy application may appear faster, but it tends to trap solvents and leave visible texture.
Spray Application on Doors and Drawer Fronts
Spray application is the standard for doors and drawer fronts in professional work. A sprayer distributes the coating evenly across flat panels, raised profiles, and routed edges without the brush marks or roller stipple that show under side light. Achieving the same result with a brush on a vertical door is difficult without visible texture.
Spray work requires masking, controlled airflow, and a clean enclosed workspace. Dust, pet hair, and airborne particles settle quickly on wet finish, so the setting is as important as the equipment. This is one reason the work is best completed in a dedicated area rather than an occupied kitchen.
Coat Count and Recoat Timing
Most professional topcoat schedules use at least two finish coats, with light sanding or inspection between coats where the product calls for it. A professional discussion of cabinet finishing steps describes two coats for finish work and at least 24 hours of drying before handling. Drying guidance varies by product and conditions, so the manufacturer’s technical data sheet should govern the schedule on any specific job.
Sherwin-Williams’ cabinet refinishing guide describes urethane trim enamel as the best choice for the most durable results, and it also lists hybrid acrylic-alkyd options. The product selection should follow the surface and expected traffic rather than sheen preference alone.
Pro tip: Ask for the recoat window in writing. Recoating too early can disturb the film beneath, while an overly long wait may affect adhesion between coats, so the schedule should be stated rather than estimated.
Cure Time Before Reinstallation
Dry time and cure time are different. A finish can feel dry to the touch within hours but continue to harden for days. Doors reinstalled too early can mark, stick, or dent, particularly with products that cure slowly.
A practical schedule holds doors flat or on a drying rack in a clean space until the coating reaches full hardness. Hardware is reinstalled only after the cure window is complete, and handles are tested gently before regular use resumes.
The Cabinet Painting Process in Surrey and the Fraser Valley
Local conditions shape the schedule. Homes in Surrey, Langley, and Abbotsford experience their heaviest moisture during the cooler months, and that season overlaps with many interior renovation projects. Damp air slows evaporation, which extends drying and curing times and raises the risk of surface defects if finishing is rushed.
Humidity and Curing in Coastal Winters
During damp weather, the crew checks conditions before starting each coat and records the drying interval for the product in use. Working through a humid period without that check often leads to longer tack times and a softer film. Scheduling heavy finishing work for drier stretches, or setting up a controlled workspace, reduces that risk.
Ventilation must balance two goals. The workspace needs enough airflow to carry solvents away, and it must stay free of the dust that moving air can carry onto wet finish. Managing both is part of the professional workflow rather than an afterthought.
Older Kitchens With Layered Finishes
Many older kitchens carry several generations of finish. A cabinet may have a previous coat of paint, a varnish layer, and years of grease deposited near the cooktop. Each layer changes how the new coating bonds, so the assessment must be thorough before the plan is set.
Where the substrate is sound but heavily worn, a two-stage process is typically the more predictable path. Where a box or door is failing structurally, the sound recommendation is repair or replacement of that component, because a new finish applied to a failing part will not last.
Comparing Two-Stage With Other Approaches
The table below compares three common approaches to cabinet finishing. The comparison focuses on process steps and on the conditions where each approach is most appropriate. Matching the approach to the condition of the cabinetry and its expected use produces the most reliable outcome.
| Approach | Typical Process | Where It Performs Best |
|---|---|---|
| Two-stage (bonding primer and sprayed topcoat) | Degrease, sand, repair, prime, then spray two or more topcoats under controlled conditions | Heavily used kitchens, commercial interiors, and doors where a smooth, factory-like finish is expected |
| Single-stage (one paint system applied directly) | Clean, lightly scuff, then apply paint in one or two passes | Low-traffic surfaces with a sound existing finish, such as interior trim or a guest vanity |
| DIY brush and roller | Remove doors, clean, sand, prime, then brush or roll two coats | Small, manageable projects, such as a powder room vanity, where visible brush texture is acceptable |
The table does not rank the three approaches. A single-stage job on a low-use surface may perform well for its purpose, while a two-stage job on a rarely used surface may exceed what the project requires. The decision rests on use, condition, and the finish standard the owner expects.
DIY work is a reasonable choice for small, low-risk pieces. A full kitchen involves removing doors, labeling hardware, protecting floors and counters, and reinstalling everything accurately. For that scope, many homeowners in the region move the work to a specialist.
Choosing a Professional Cabinet Refinishing Partner in the Fraser Valley
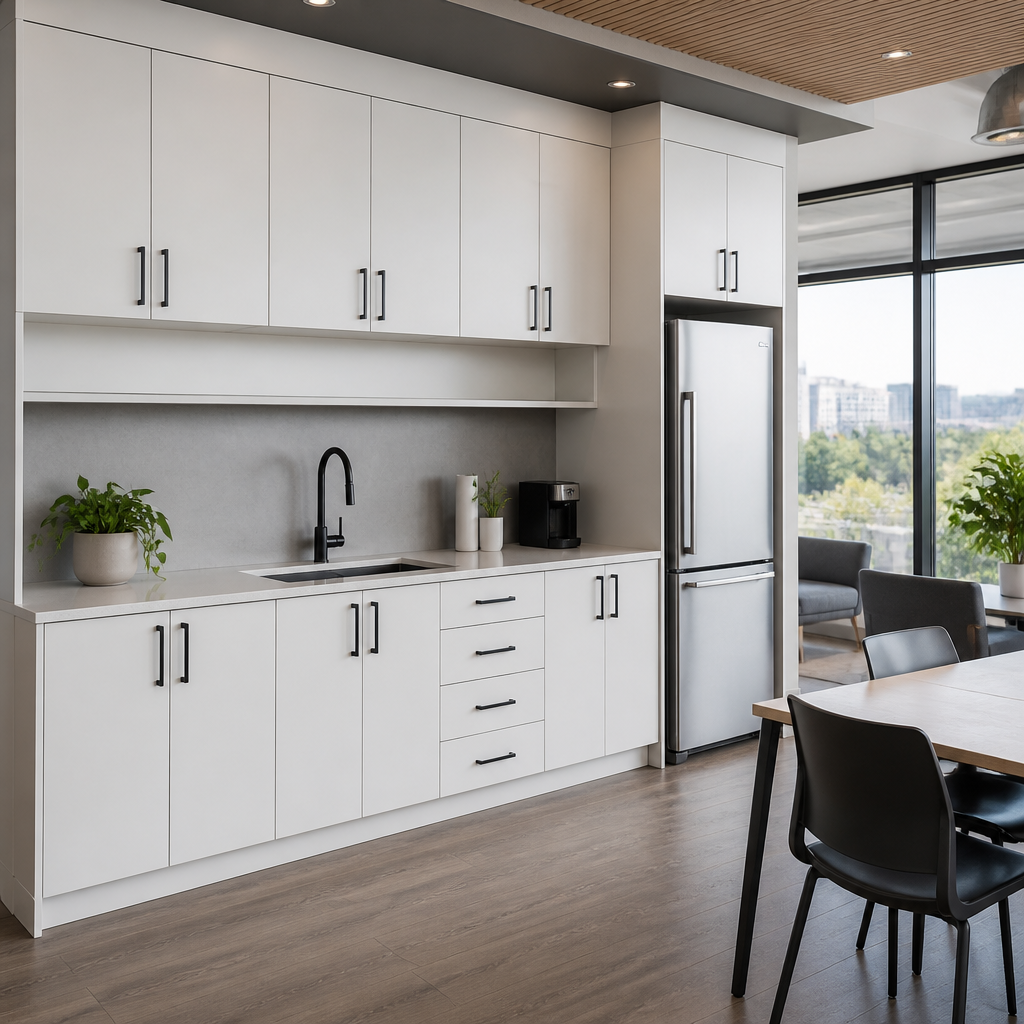
Dreamscape Painting Ltd. has provided interior painting, exterior painting, cabinet refinishing, and commercial painting across the Lower Mainland since 1990. The sequence described in this article informs how its cabinet refinishing work is planned, with attention to cleaning, repair, and controlled topcoat application. A written scope is the most reliable way to confirm that each stage is included in a quote.
Questions to Ask Before Booking
Ask which bonding product will be used, how many topcoats are included, and whether doors will be sprayed in a controlled area. Ask how drying and cure times will be managed and when doors return to regular use. Clear answers indicate a defined process rather than a color selection.
Ask also about cleanliness. Protection of floors, counters, and adjacent rooms, along with a daily cleanup plan, is part of a professional scope in an occupied home.
Preparation Standards to Confirm in Writing
A written preparation standard should name the degreasing step, the sanding approach, the repair method, and the primer. It should also state the number of finish coats. These details give the homeowner or facility manager a basis for comparing quotes and a reference point if questions arise at handover.
Pro tip: Request a sample door or finished panel before approving the full job. A sample shows sheen, color depth, and edge quality under the lighting in your own space, which is more reliable than a color chip.
Frequently Asked Questions
Is two-stage cabinet painting worth the extra steps?
For kitchens and high-use commercial interiors, the added preparation and cure time generally justify the process because the finish is tested daily. For a low-traffic surface with a sound existing finish, a simpler approach may meet the need.
How long does a two-stage cabinet painting project take?
The duration depends on the number of doors, the condition of the cabinetry, and the weather. Each stage must cure before the next begins, so drying windows often shape the schedule as much as labor does. A written timeline should be requested before work starts.
Can cabinets be painted during the wet months in the Fraser Valley?
Yes, provided the workspace is heated, ventilated, and controlled. Damp conditions extend drying and curing times, so conditions should be checked before each coat and longer cure windows planned than would be needed in drier weather.
Do doors need to be removed for a two-stage process?
Spray application on doors and drawer fronts generally requires removal, because flat panels can be sprayed evenly in a controlled setting and reinstalled after full cure. Frames and cabinet boxes are prepared in place where practical.
What is the most common cause of premature cabinet paint failure?
Inadequate cleaning is a frequent cause in practice. Grease and residue left on the surface block adhesion, and the failure often appears weeks later as peeling or lifting near handles. Degreasing before sanding addresses the root cause.
Share your experience with cabinet finishes in your own home or workplace, and tell us which details you found most useful when comparing options.
We would love your feedback and any insights you would share with others. What perspective would you add?

